
Gosh am I READY to share this project with you!! I started it and filmed it months ago but with moving and all it has been put on the back burner. Despite having to do this project TWICE because the wind knocked the door over and shattered it – I am ready and pleased to teach you How to Transform ANY Window into a Vintage Mirror. Thankfully this project is FAST, EASY and INEXPENSIVE – three of my favorite qualities in a DIY Project – Let’s Do this!!!
This post may contain Amazon Affiliate Links, which means I make a small commission at no extra cost to you. See my full disclosure at homemakingwithoutfear.com. Furthermore as an Amazon Associate, I may earn from qualifying purchases.
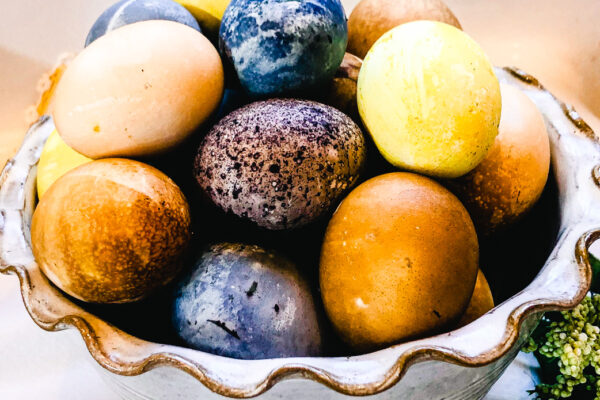
I love this project because the ultimate result is a kind of a surprise. It’s kind of like dunking an Easter egg into dye . . . you don’t REALLY know what color it will be until you pull it out and are finished. This project is sorta like that- take some basic spray paint and just TRUST the process.
For the spray paint you really could use ANY colors you like. The non-negotiable in this is the Mirror Effect spray paint. That is what makes the mirror finish – Duh! OK maybe I didn’t need to tell you that but hear me out.
The imperfections in the Mirror Effect is where the other colors shine through. I like using: Gold, Copper and then Black to finish it. TEAL or red would be beautiful too! BE CREATIVE – it doesn’t even have to look authentic but if you like the authentic vintage look – stick with the Gold- Copper- Black combo.
You can now WATCH the Transformation of ANY Window to a Vintage Mirror on YouTube
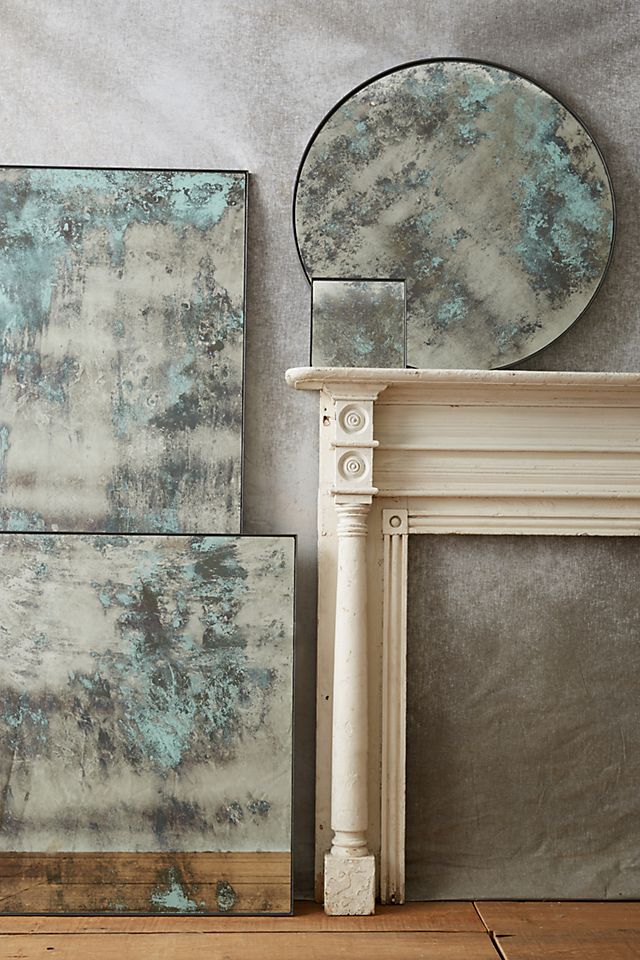
Look how beautiful these teal “Color Washed Mirrors” are from Anthropologie! At $100-$1,000 per mirror! I think we can do better than that.
Pin this Post for Later

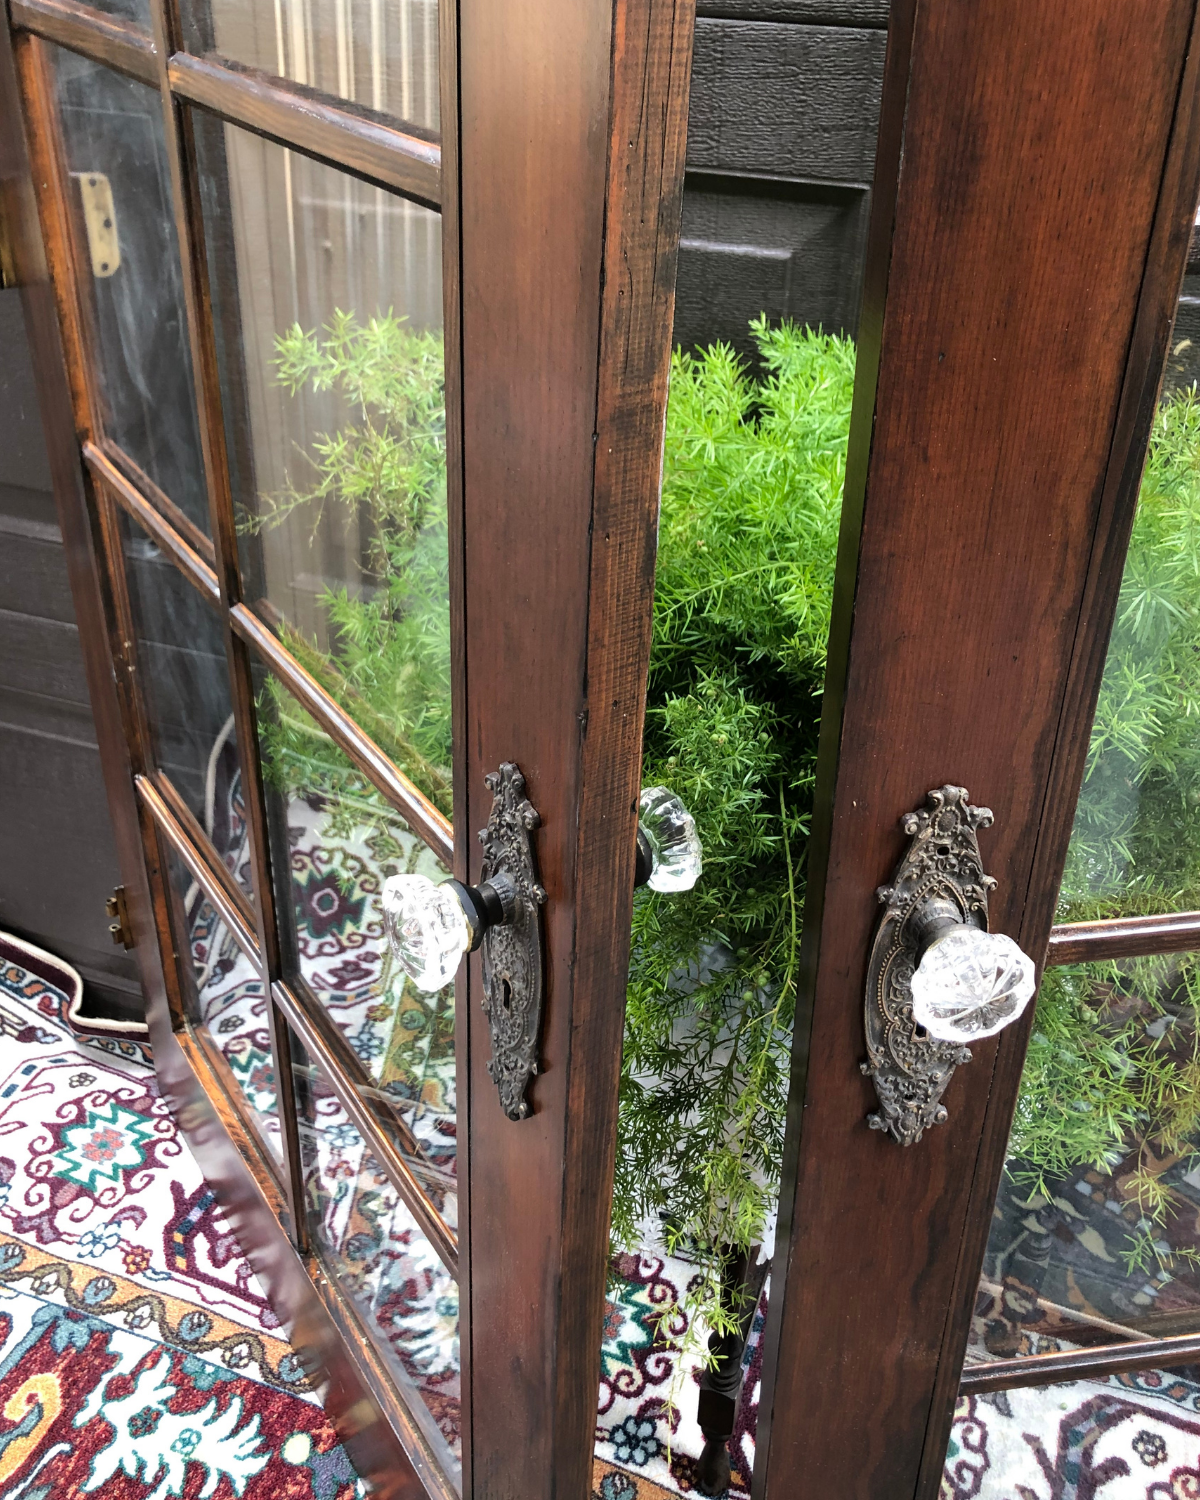
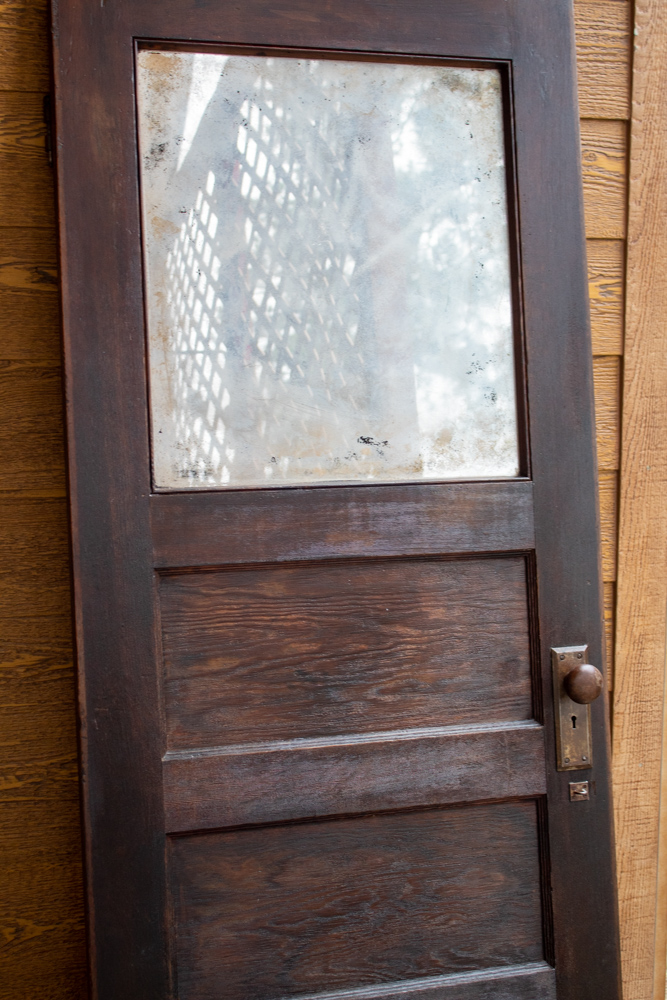
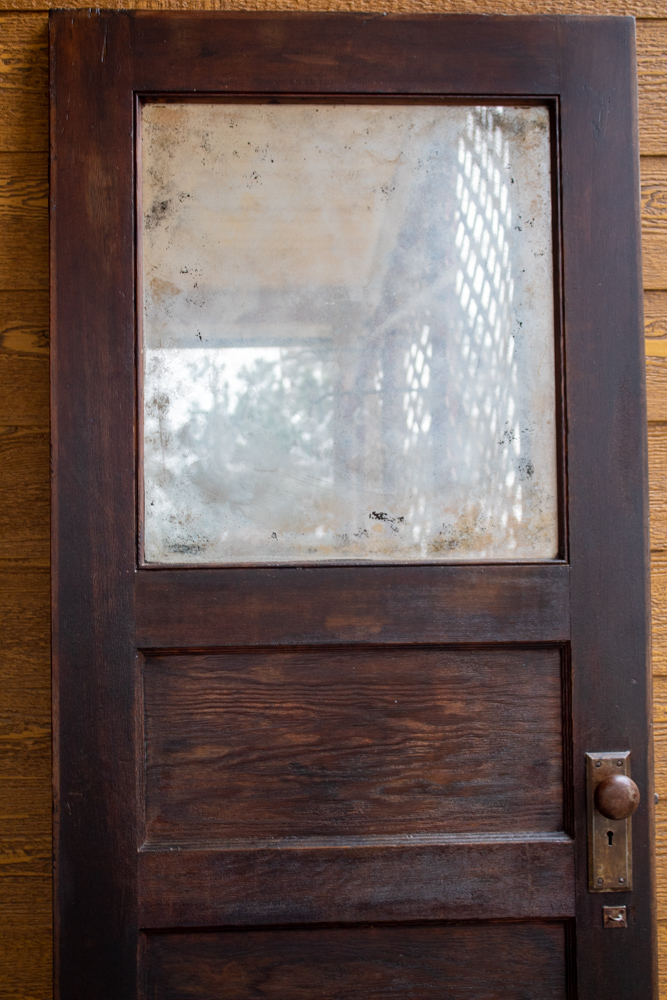
I used Dixie Belle “No Pain Gel Stain” in Colonial Black to clean up my door. . . Checkout this post on how I transformed my French Doors using the same Gel Stain –
Here is everything you will need to Transform ANY Window into a Vintage Mirror! – ON the CHEAP
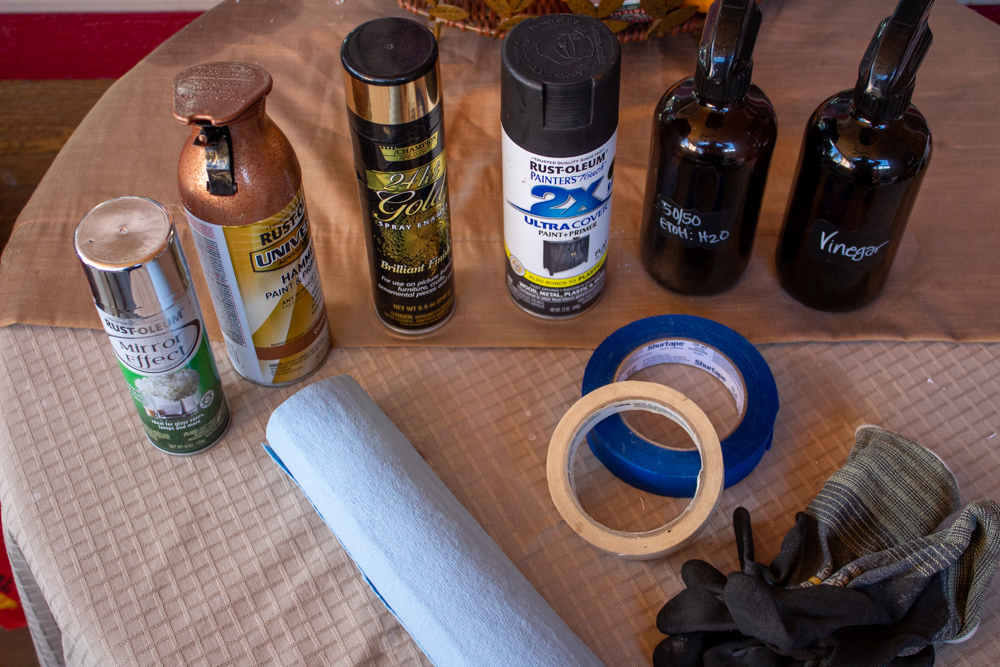
Materials
- Gloves
- Masking Tape
- Paper “Shop Towels” or Lint Free Cloth or lint free Baby Wipes
- Denatured Alcohol
- White Vinegar
- Water
- 2 spray bottles
- Mirror Effect Spray Paint
- Spray Paint in Chosen Colors to Shine Through the Mirror Effect: Gold, Copper, Teal, Red, or Black (I would recomend choosing at least 3 colors and end with Black)
How to Transform ANY Window into a Vintage Mirror: Step by Step Process with Photos
- Prepare 2 spray bottles: 1 with half denatured alcohol and half water mixture and the other with half white vinegar/half water.
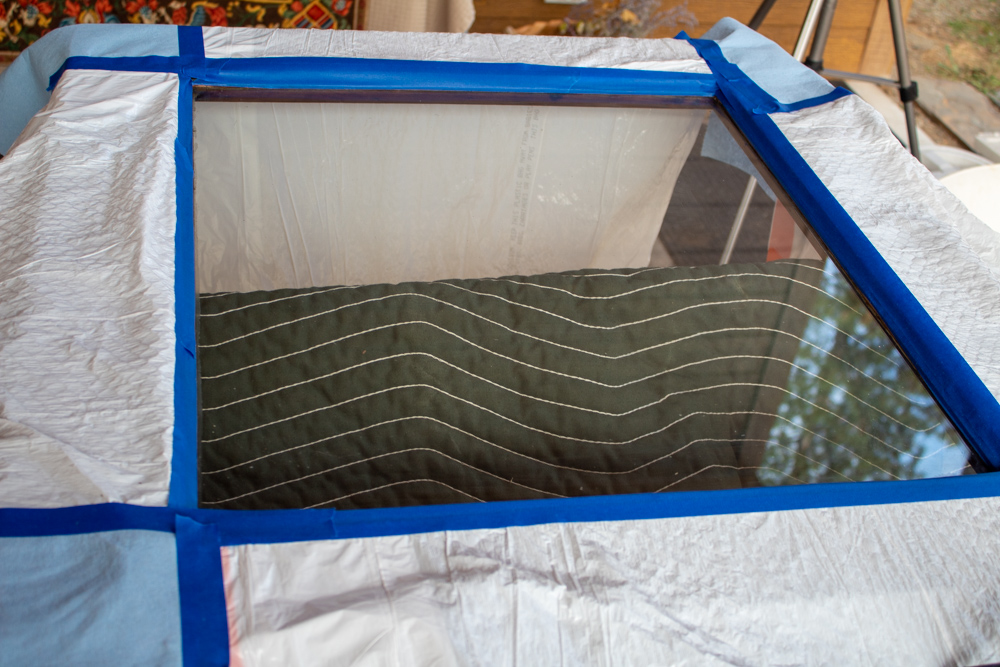
- Tape off any areas of your project that you do not want spray paint or overspray on.
- Put on gloves and prepare the BACK of your window/glass by spraying with denatured alcohol/water mixture and wiping clean with a lint free cloth.
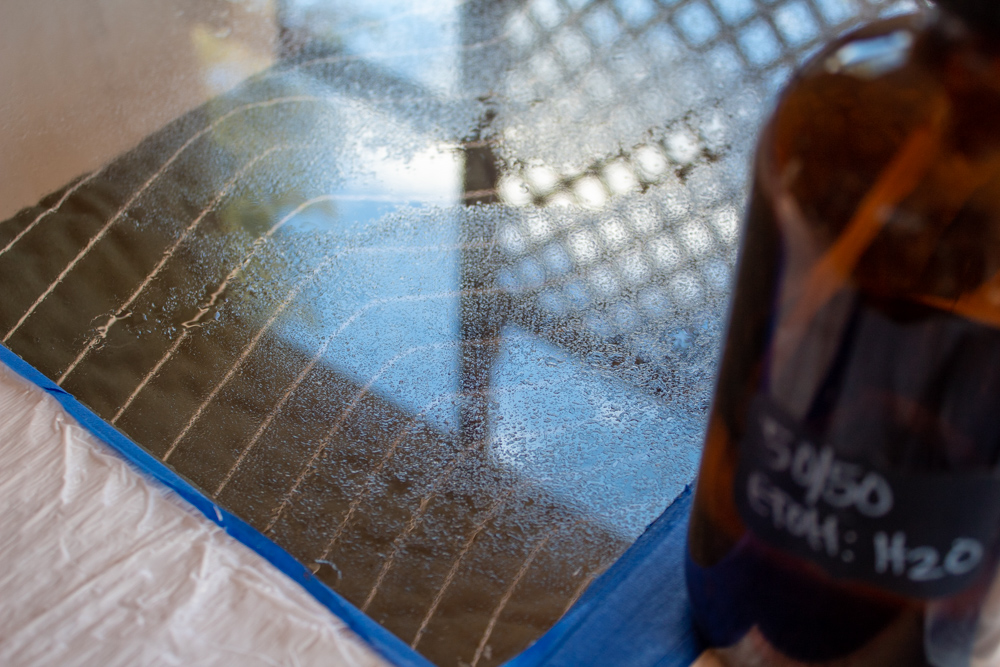
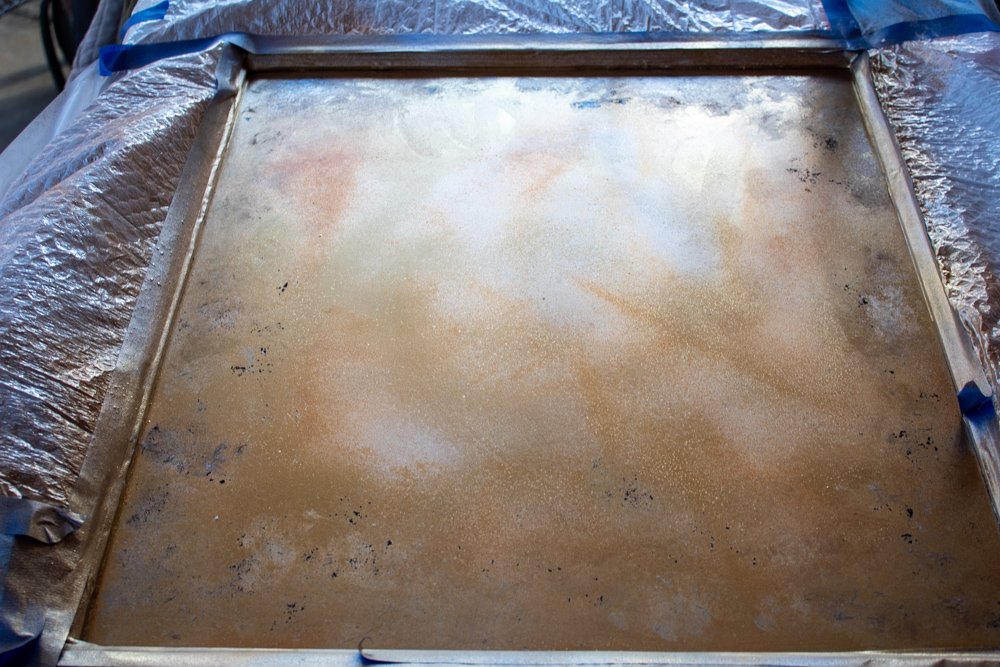
- Once the glass is clean and dry – Spray and dribble a light mist PLUS a few larger droplets of denatured alcohol/water mixture onto the BACK of the window but DO NOT WIPE them.
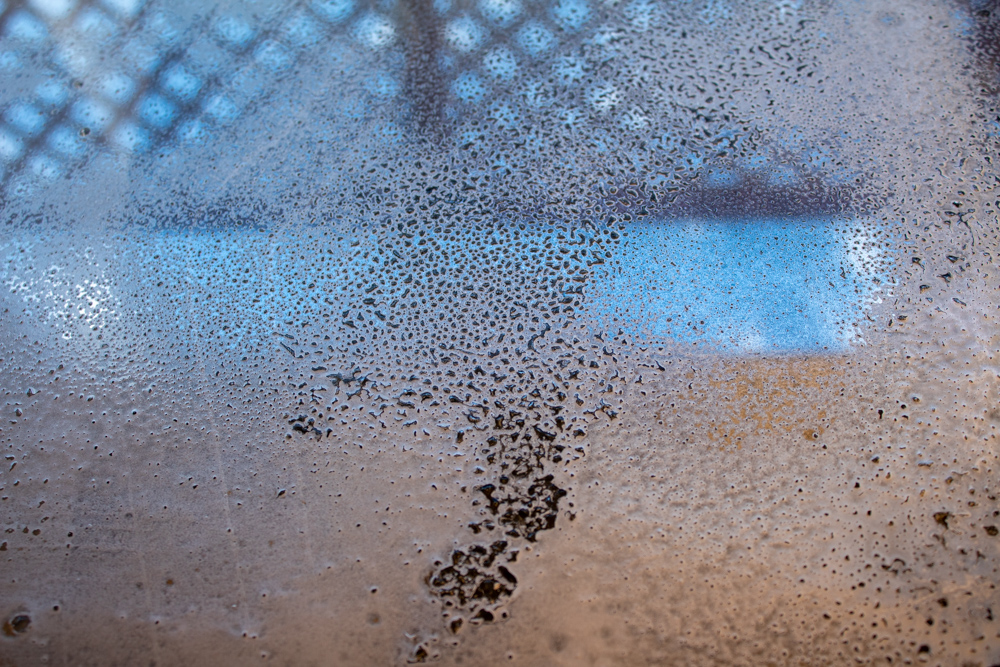
- Immediately spray a light layer of Mirror Effect Spray Paint over the glass, covering the mist and droplets of water/alcohol.
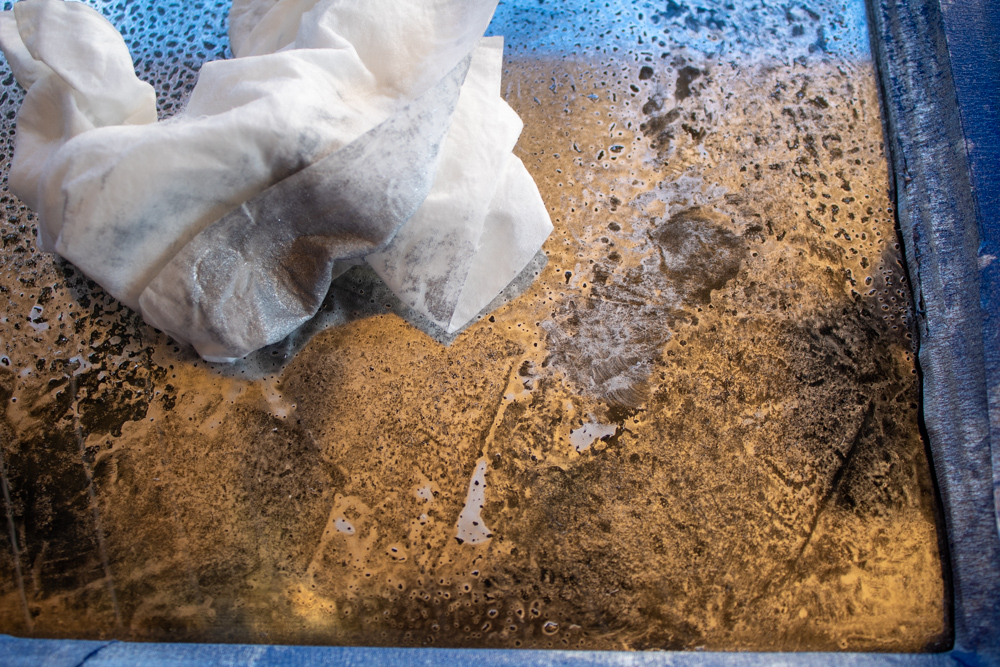
- Using a lint free cloth, wipe or towel lightly blot the drips and drops and mists from the glass. Don’t take off all of the mirror effect – focus blotting at edges of the project then let paint dry completely.
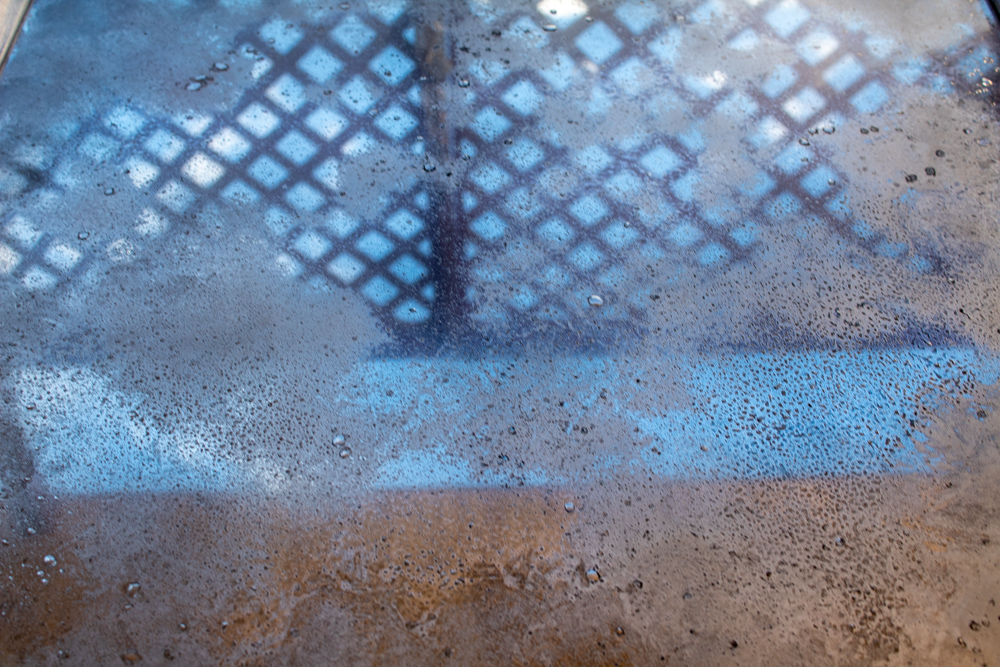
- Once the first light spray is dry – spray again with alcohol/water mixture. Make sure the mist is light but there are areas of large droplets. You could even make thin lines in the first layer of paint. Remember all of these areas will become color washed with then next layer of paint. Spray a SECOND light layer of Mirror effect over the mist, droplets to cover he whole glass. Dab at the drops, focusing on edges of project – Let this second coat of mirror effect dry undisturbed.
NOTE: mirror effect spray paint goes on grey/clear but as it dries becomes more mirrored. BE PATIENT – the final product is worth it.
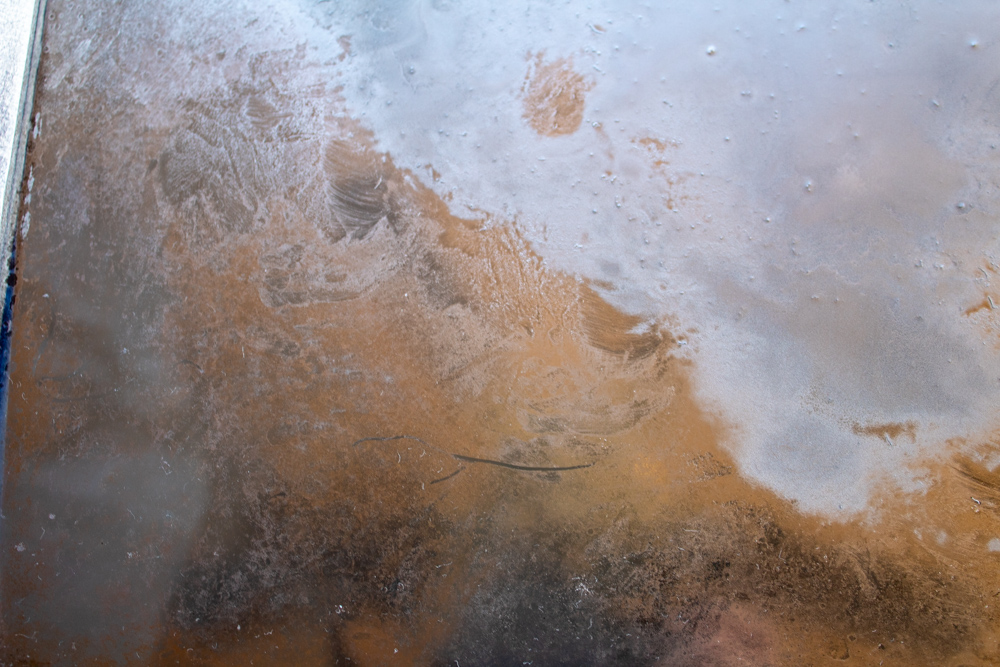
- SWITCH TO THE VINEGAR/WATER SPRAY BOTTLE NOW: spray a light mist with some larger droplets over the project and add a third coat of paint which will be a COLORED paint – I like to use gold. Lightly mist the whole product then give a few blots/dabs with a lint free cloth to remove some of the gold from here and there. – let dry completely
- Add more vinegar/water mist to the back of the mirror and apply a FOURTH COAT of spray paint (this will be the second color). Blot and dab lightly or add little lines that will look like fine cracks in the end.
- You may repeat this process and remove/add as much paint as you like. Have FUN with it. You can “peek” at end result by lifting the glass and looking at the other side of the project. PLAY with how and where you remove paint to allow the next color to shine through.

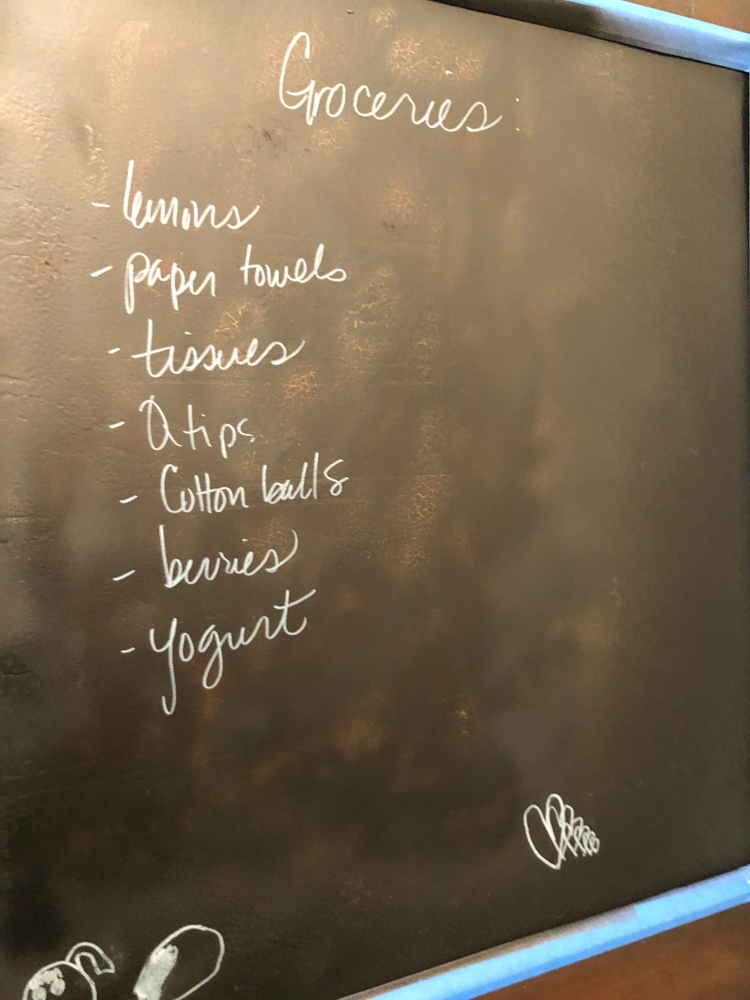
- I like to END with a nice full coverage layer of black spray paint. It gives a nice finish to the project, allows a dark base to shine through any remaining holes or cracks AND if you are doing a pantry door like I am – I use the black backside as a Chalkboard! How cool!!
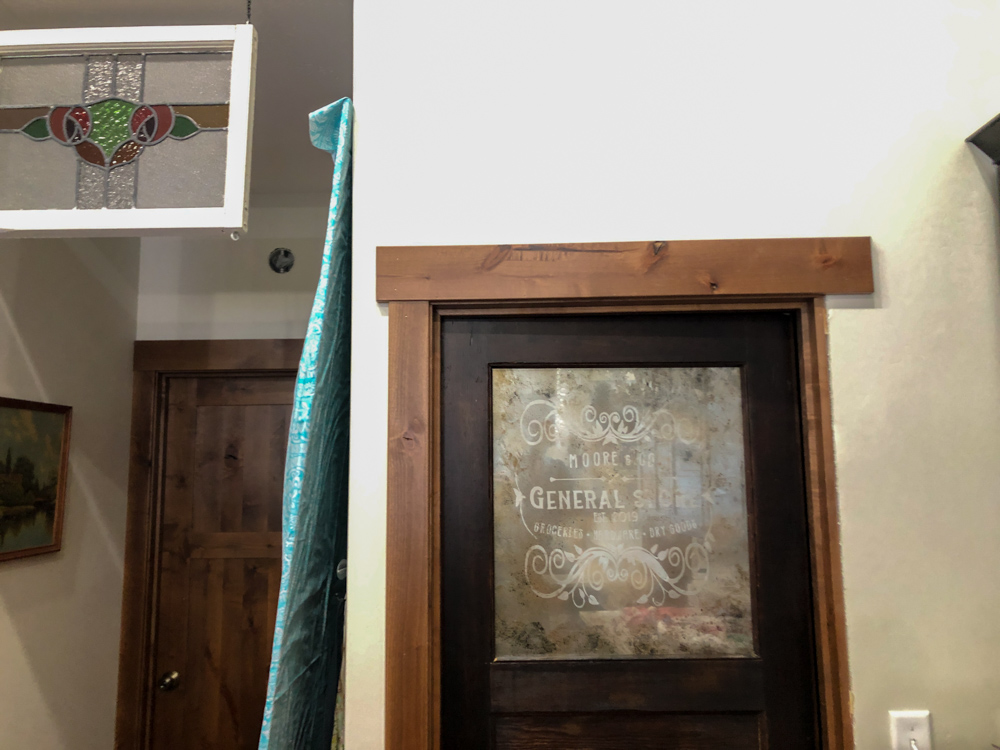

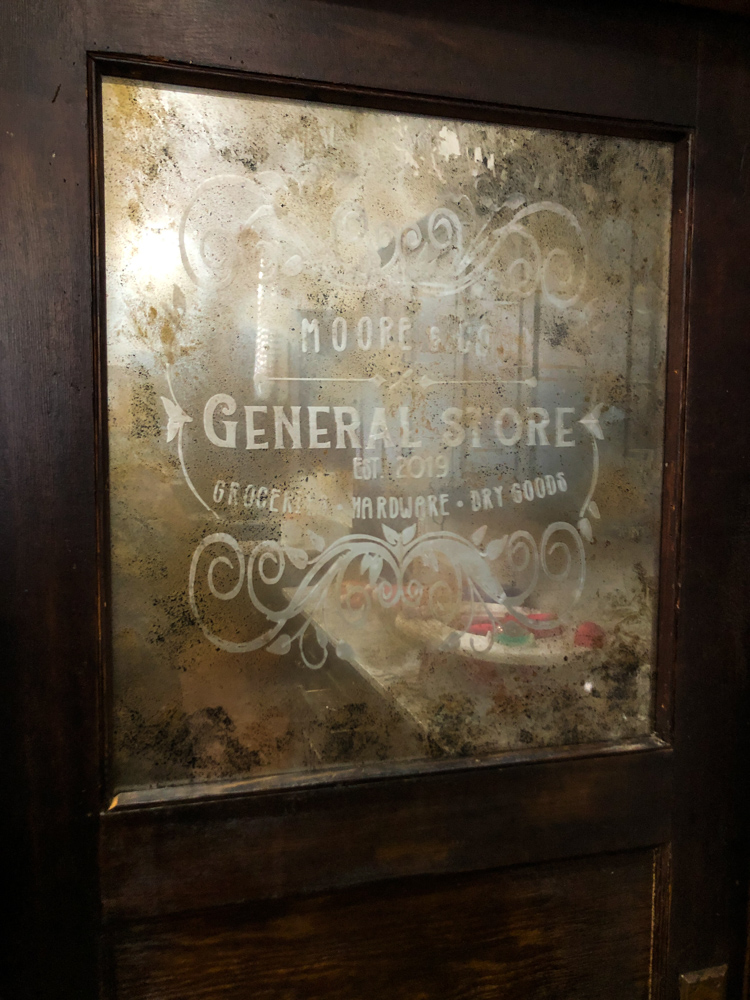
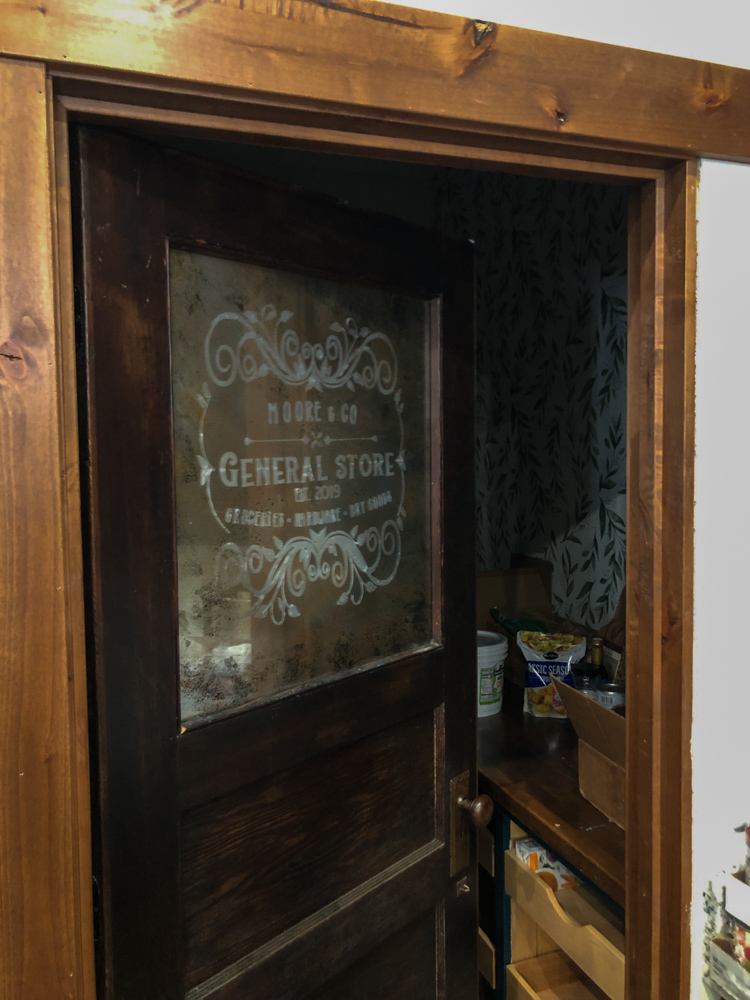
I chose to finish my Vintage Mirror Finish on my PANTRY DOOR by adding a Custom Stencil cut out of Clear, Frosted Vinyl. By using my Cricut Explore Air 2 for all my stenciled vinyl projects, I can easily add custom charm to any project.
I also turned the backside of my door into a chalkboard and may even add a stencil to make it look snazzy!! Stay tuned. I will update you if I decide to add this stencil.
MAKE YOUR OWN STENCILS & CUSTOMIZE YOUR VINTAGE MIRROR FURTHER!
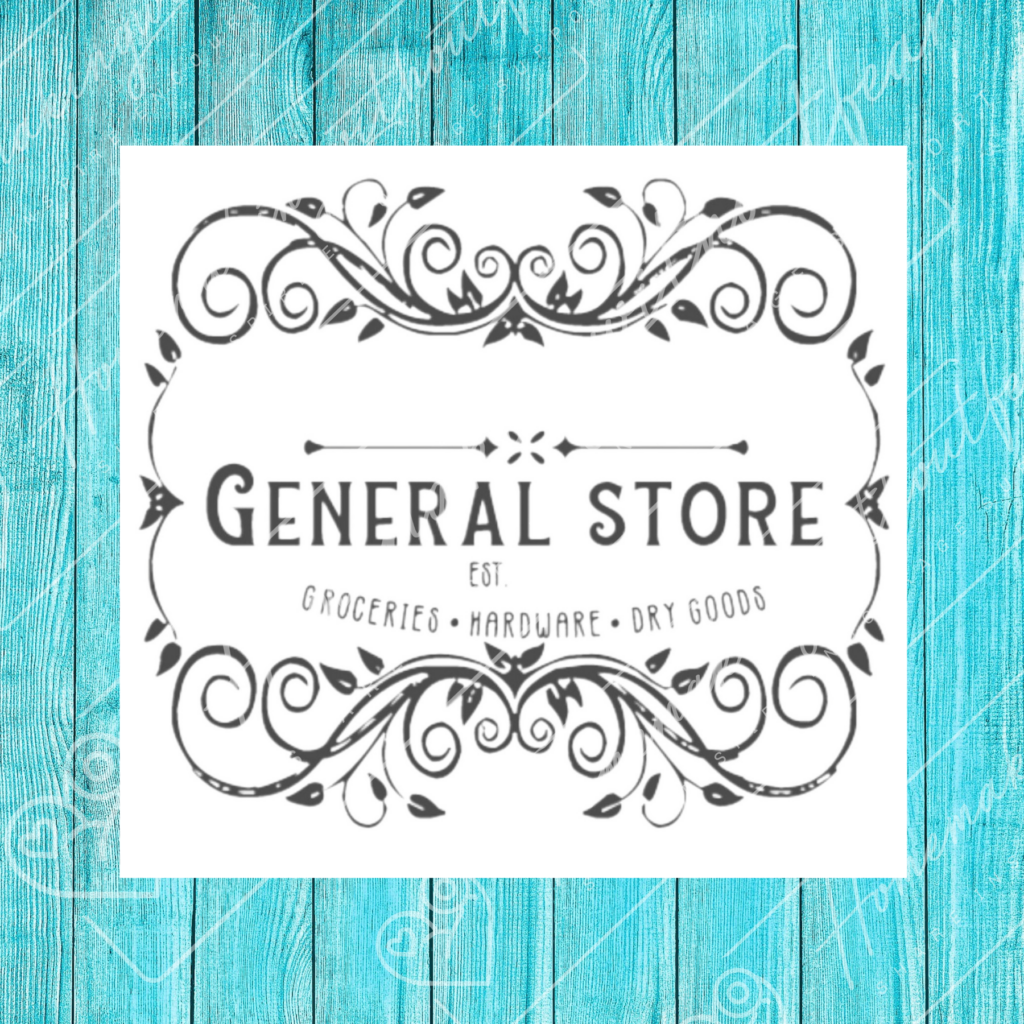
ALL MY STENCILS ARE AVAILABLE FOR PURCHASE IN AN INSTANT DOWNLOADABLE ZIP FILE CONTAINING AN INDIVIDUAL SVG-PNG-JPEG OF EACH STENCIL. PERFECT FOR CRICUT AND OTHER CUTTING MACHINES.
They are SUPER AFFORDABLE AT $1 PER INDIVIDUAL DOWNLOAD -OR- CHOOSE TO PURCHASE THE COMPLETE GENERAL STORE PACKAGE WHICH INCLUDES ALL FILES FOR $5! – UNLIMITED DOWNLOADS
10 Custom Designs Available:
- General Store Decorative (customizable)
- Custom General Store Flourish
- Custom General Store Scroll
- Farm to Table Flourish
- Hardware Scroll Farm to Table
- Farm To Table Wine Bold
- Farm to Table with Border
- Imported & Domestic Square
- Imported & Domestic Wine
- Persian Imported & Domestic
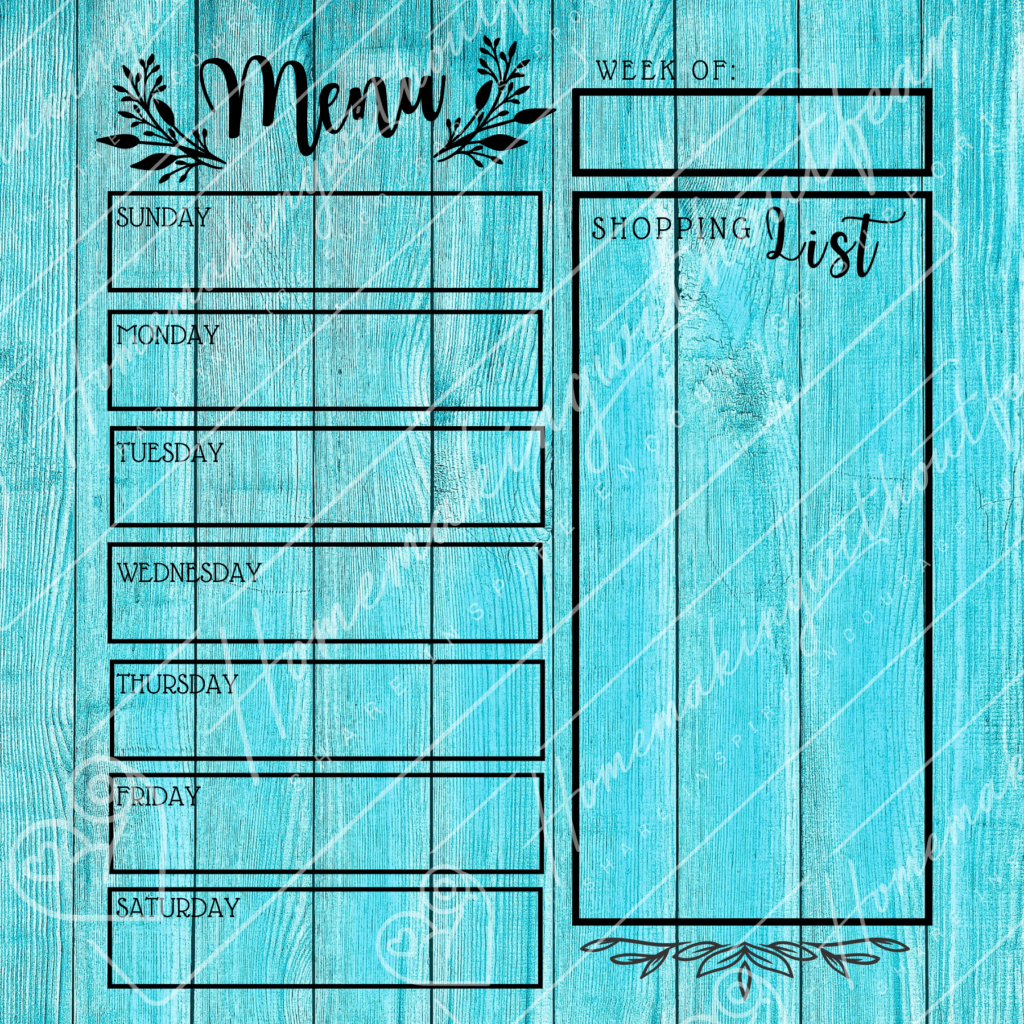


PLUS Get the Menu and Shopping List Chalkboard Stencil for only $5.00 (unlimited instant download)

Buy my product (Menu & Shopping List Stencil)
WATCH MY YOUTUBE VIDEO FOR A DISCOUNT CODE ON THE MENU & SHOPPING LIST STENCIL.
Pin this Post for Later
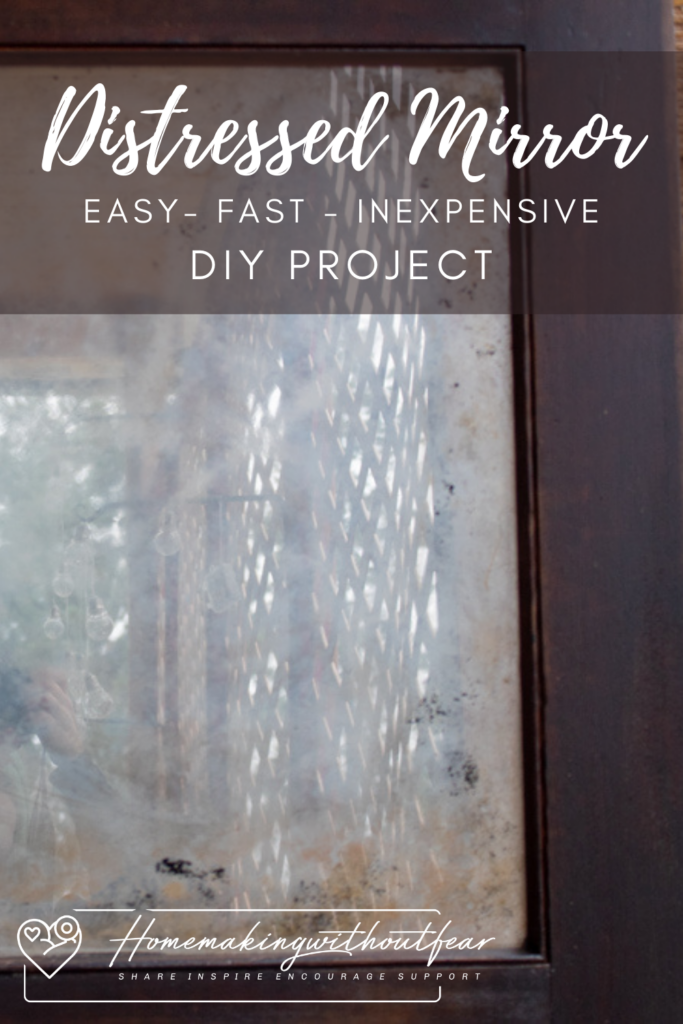

How to Transform ANY Window into a Vintage Mirror
This vintage Mirror DIY is FAST-EASY-INEXPENSIVE. Three of my favorite qualities in a DIY. Be creative and have fun with color choice. No matter how/what you choose the result is surprisingly beautiful.
Materials
- Gloves
- Making Tape
- Paper "Shop Towels" or Lint Free Cloth or lint free Baby Wipes
- Denatured Alcohol
- White Vinegar
- Water
- 2 spray bottles
- Mirror Effect Spray Paint
- Spray Paint in Chosen Colors to Shine Through the Mirror Effect: Gold, Copper, Teal, Red, or Black (I would recomend choosing at least 3 colors and end with Black)
Instructions
- Prepare 2 spray bottles: 1 with half denatured alcohol and half water mixture and the other with half white vinegar/half water.
- Tape off any areas of your project that you do not want spray paint or overspray on.
- Put on gloves and prepare the BACK of your window/glass by spraying with denatured alcohol/water mixture and wiping clean with a lint free cloth.
- Once the glass is clean and dry - Spray and dribble a light mist PLUS a few larger droplets of denatured alcohol/water mixture onto the BACK of the window but DO NOT WIPE them.
- Immediately spray a light layer of Mirror Effect Spray Paint over the glass, covering the mist and droplets of water/alcohol.
- Using a lint free cloth, wipe or towel lightly blot the drips and drops and mists from the glass. Don't take off all of the mirror effect - focus blotting at edges of the project then let paint dry completely.
- Once the first light spray is dry - spray again with alcohol/water mixture. Make sure the mist is light but there are areas of large droplets. You could even make thin lines in the first layer of paint. Remember all of these areas will become color washed with then next layer of paint. Spray a SECOND light layer of Mirror effect over the mist, droplets to cover the whole glass. Dab at the drops, focusing on edges of project - Let this second coat of mirror effect dry undisturbed. NOTE: mirror effect goes on grey/clear but as it dries becomes more mirrored. BE PATIENT - the final product is worth it.
- SWITCH TO THE VINEGAR/WATER SPRAY BOTTLE NOW: spray a light mist with some larger droplets over the project and add a third coat of paint which will be a COLORED paint - I like to use gold. Lightly mist the whole product then give a few blots/dabs with a lint free cloth to remove some of the gold from here and there. - let dry completely
- Add more vinegar/water mist to the back of the mirro and apply a THRID COAT of spray paint (this will be the second color). Blot and dab lightly or add little lines that will look like fine cracks in the end.
- You may repeat this process and remove/add as much paint as you like. Have FUN with it. You can "peak" at end result by lifting the glass and looking at the other side of the project. PLAY with how and where you remove paint to allow the next color to shine through.
- I like to END with a nice full coverage layer of black spray paint. It gives a nice finish to the project, allows a dark base to shine through any remaining holes or cracks AND if you are doing a pantry door like I am - I use the black backside as a Chalkboard! How cool!!