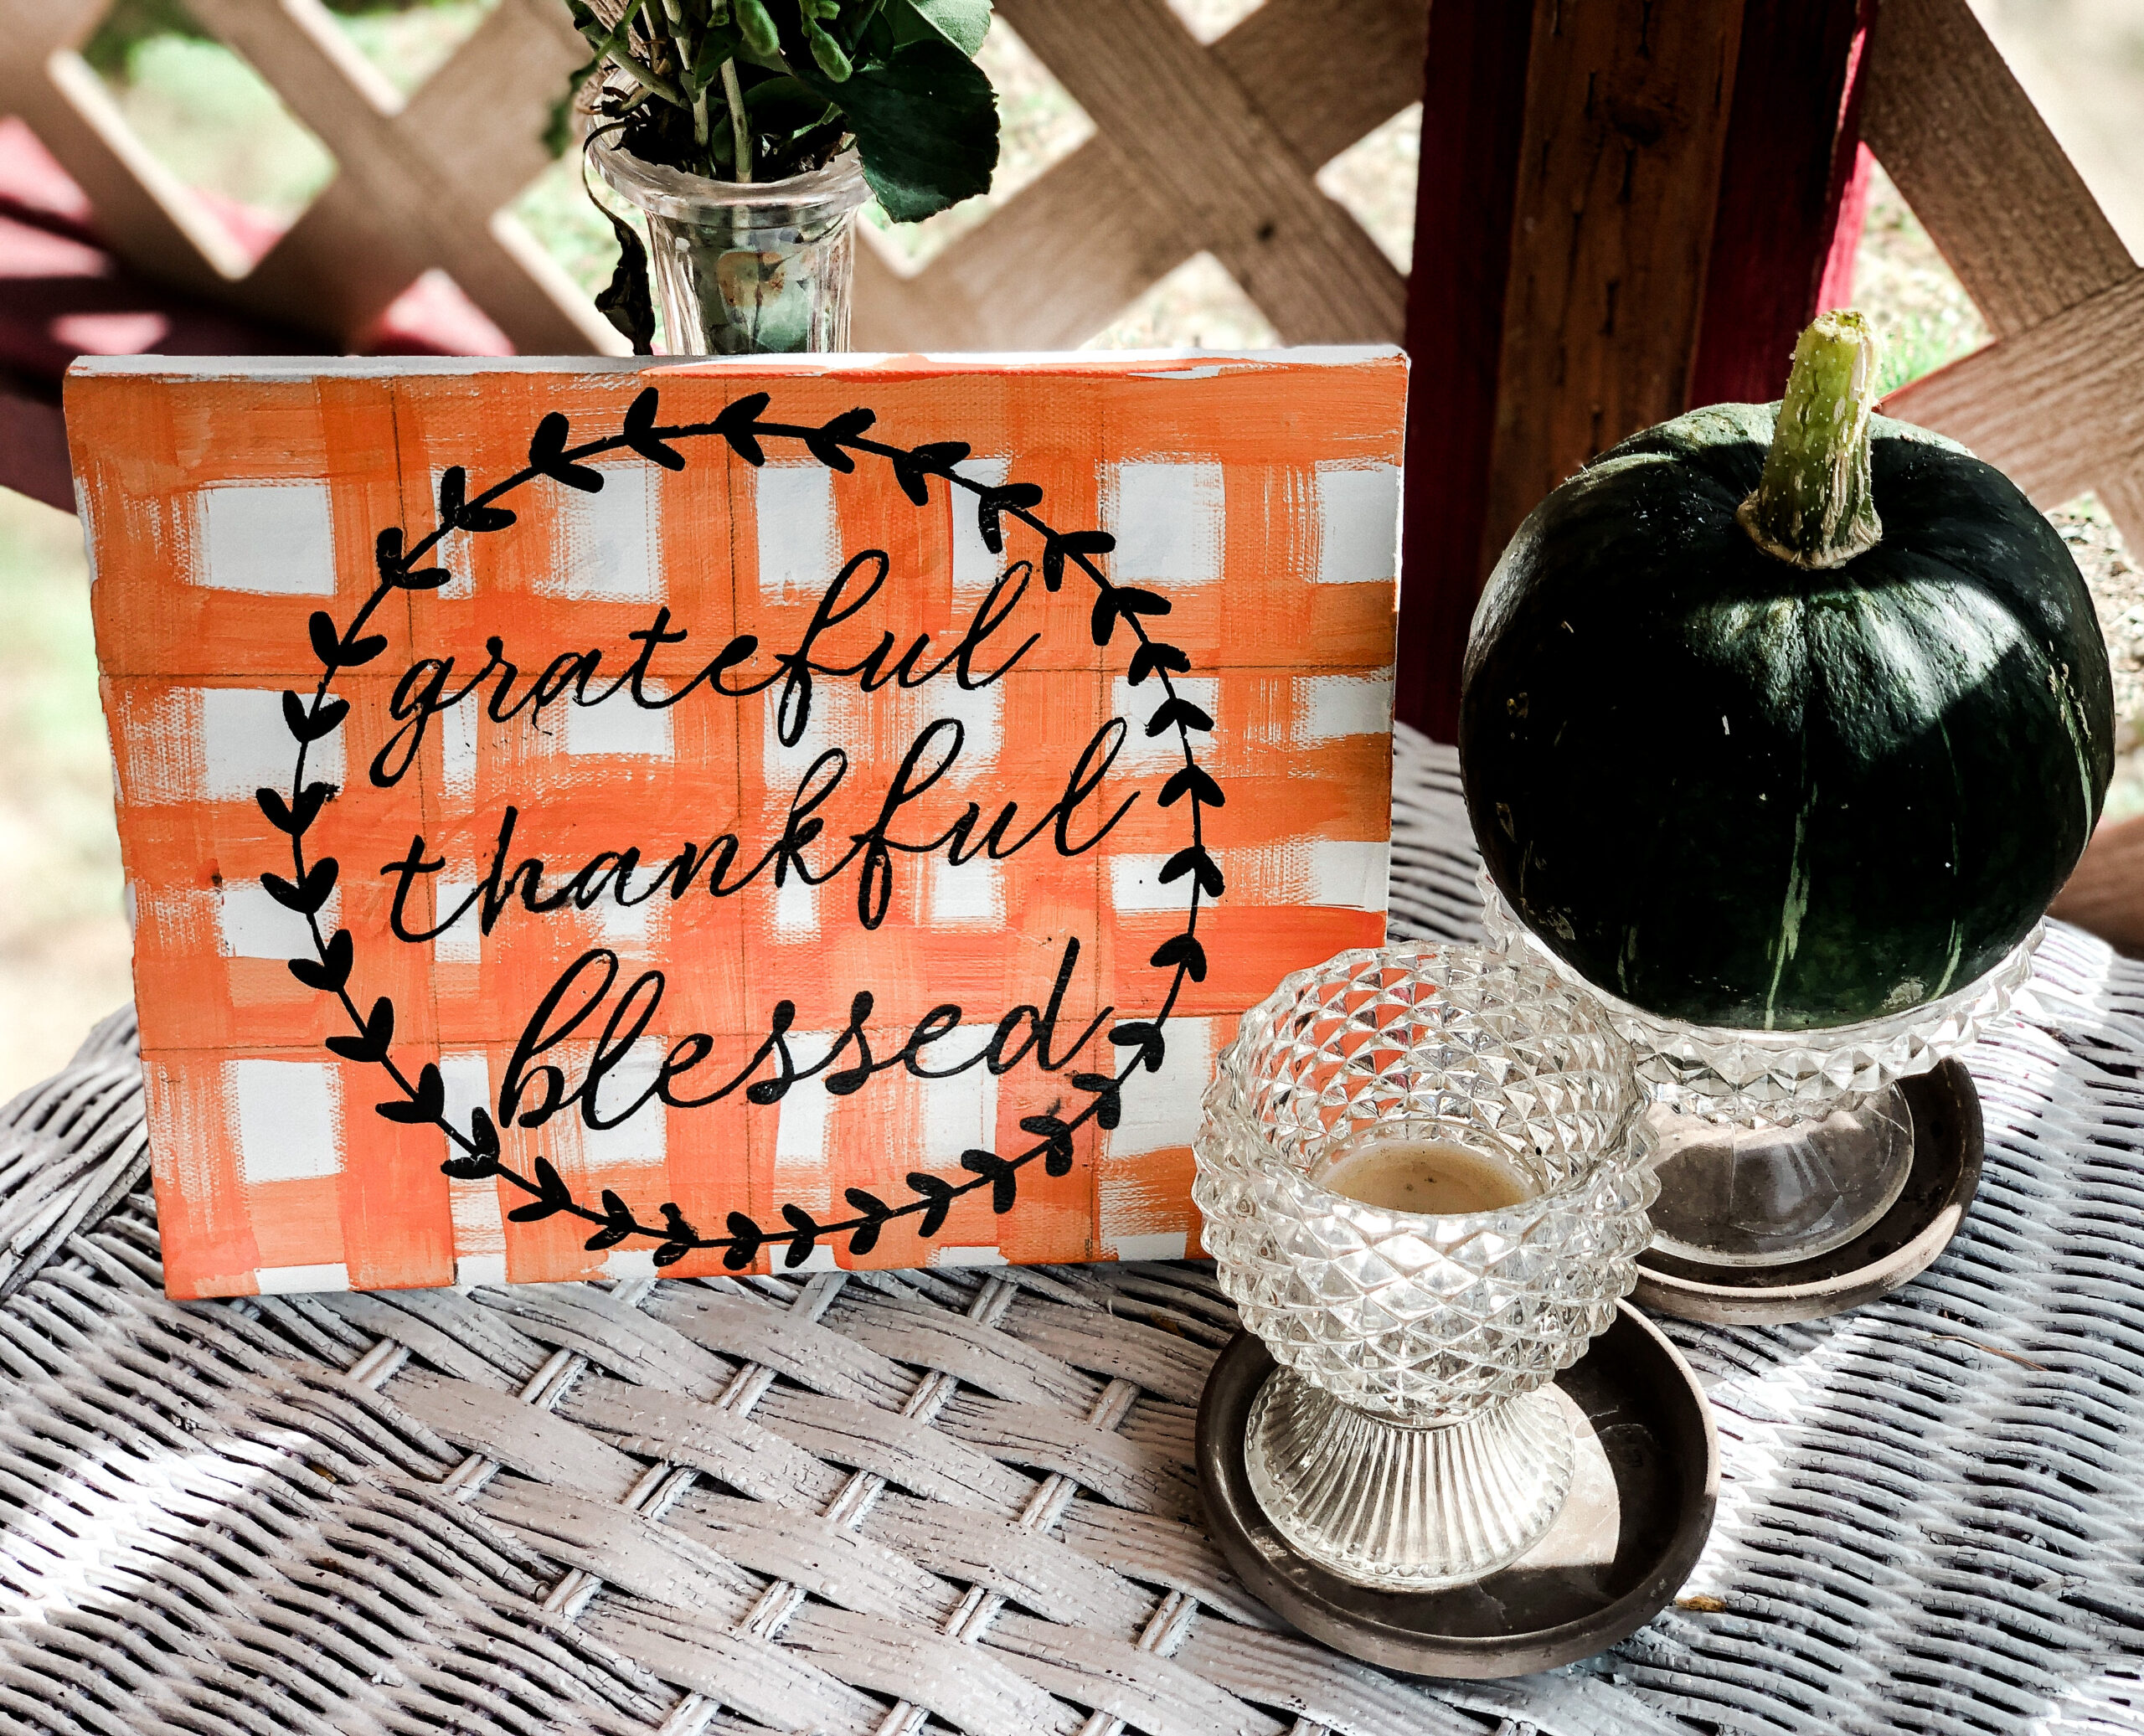
Decorating for Fall is one of my very favorite things to do to make my home feel warm and cozy. I love looking at all the beautiful wreaths, pumpkins and warm earthy colors of throw pillows and fabrics in stores BUT man they are expensive! Fortunately with a few basic craft supplies, it is not difficult to create INEXPENSIVE Fall Decor. Let me show you how to make these cute stenciled signs. Having a cutting machine like a Silhouette or Cricut is helpful but certainly not necessary.
I love, love, love FALL! In Montana we experience four distinct seasons and after the unstructured hustle, bustle of Summer I am grateful to “Fall” back into routines.

The morning air clears of wildfire smoke & turns crisp.
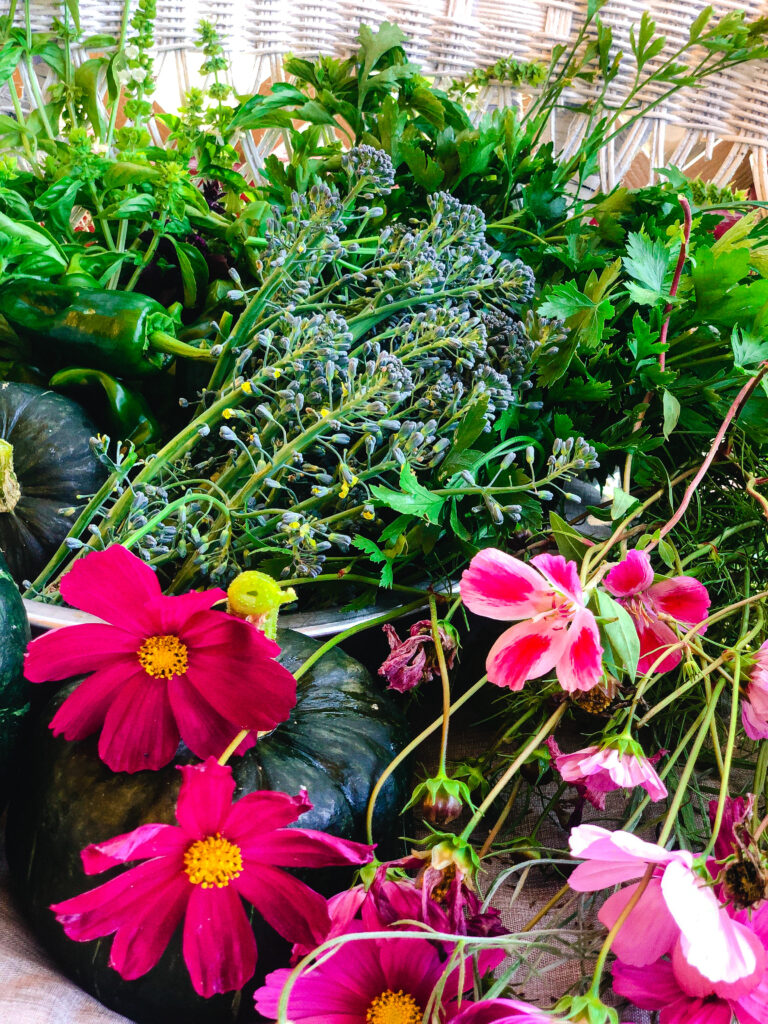
We often begin to get little rain showers, garden harvest is abundant, leaves turn beautiful colors, sweaters get pulled out of storage and wood stoves & fireplaces and warm kitchens become the heart of the home.
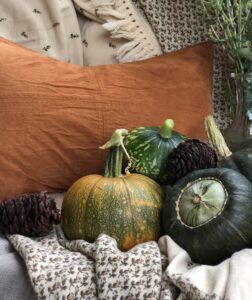
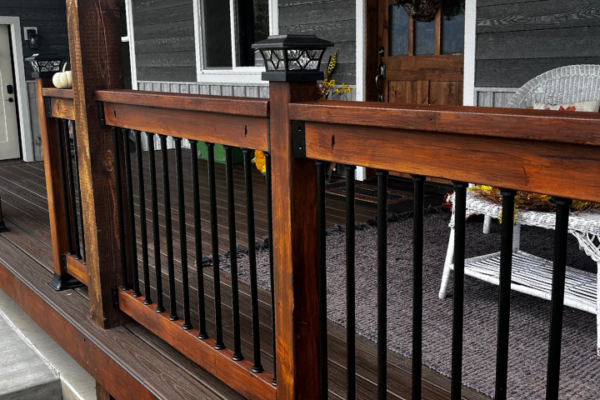
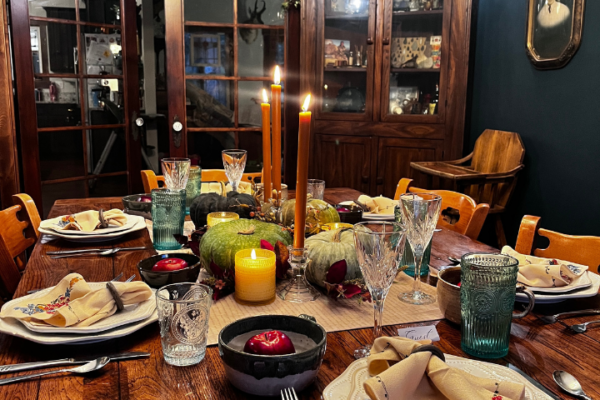
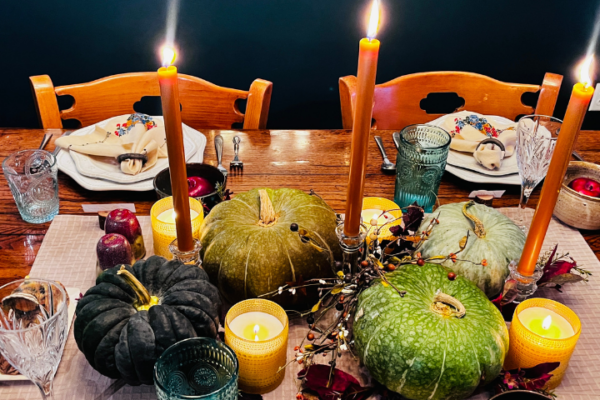
Bringing Fall beauty & bounty into our home spaces is just as comforting. A fall front porch makeover is happening right now in our home. But while I want it to be cozy and beautiful it is important to me that I don’t spend a lot of money on the process.
Thrifting my decor, crafting, repurposing items around my home and using lots of natural and gathered elements is KEY to keeping a project on budget.
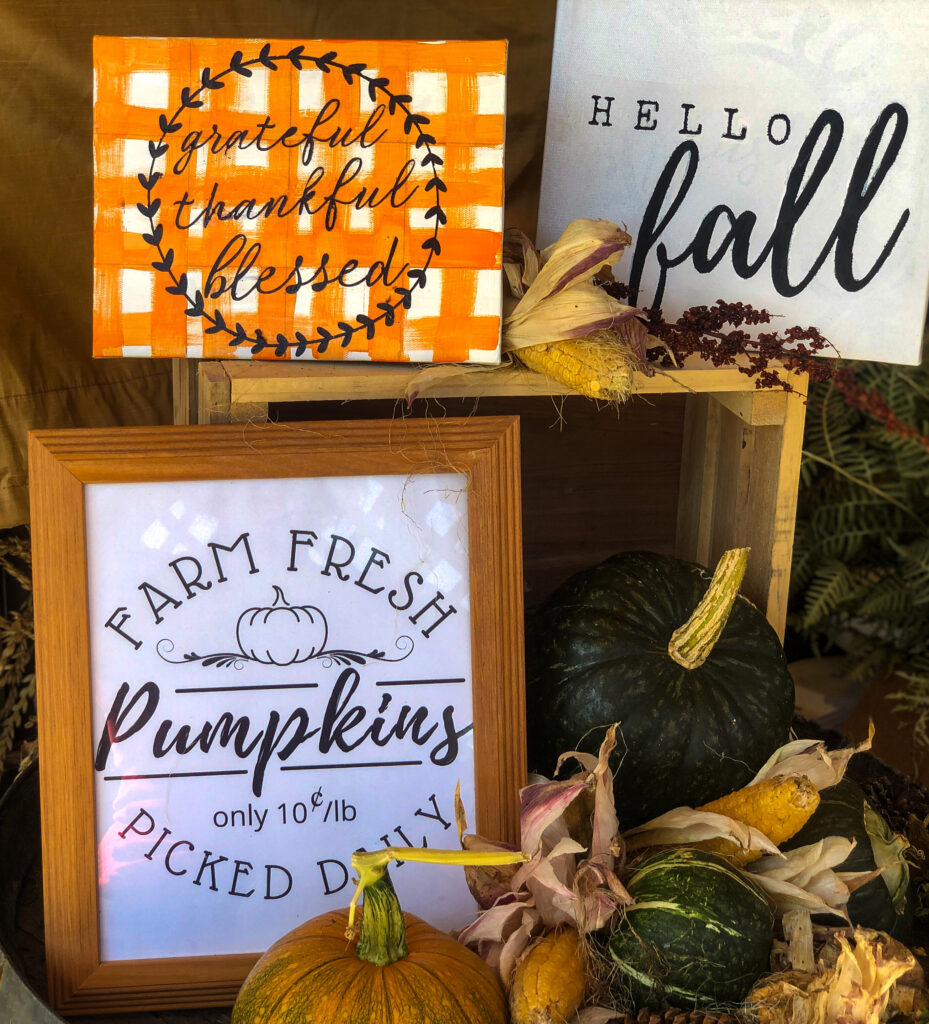
I will share with you my Thrifty Fall Front Porch soon but first want to show you how to make these cute inexpensive Fall Signs for your decor.
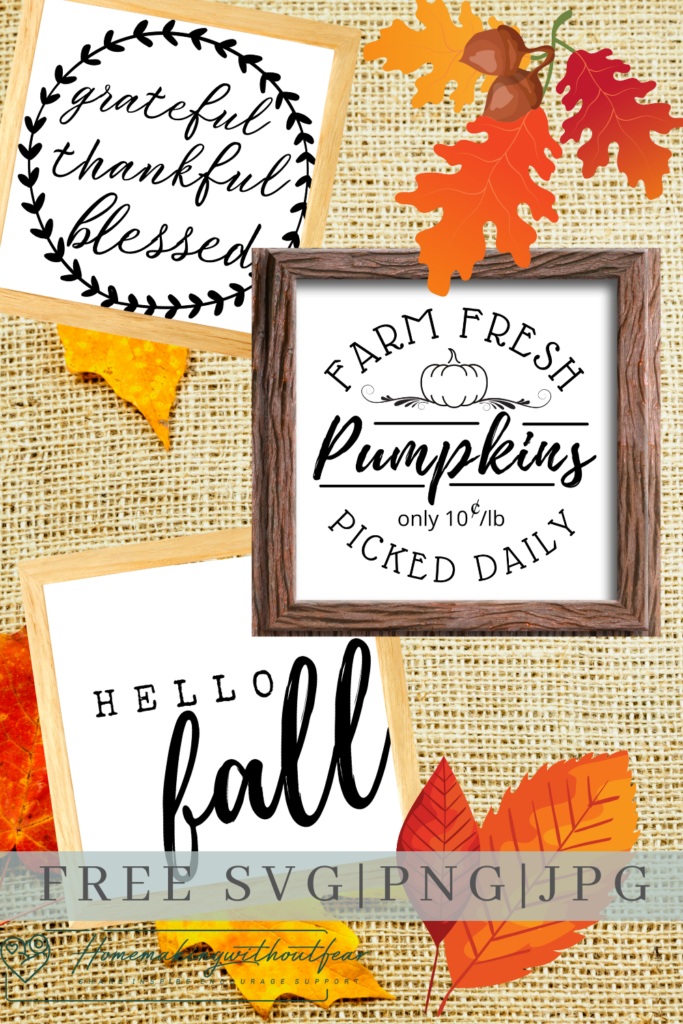
I am HAPPY to share my Fall Sign Print & Cut Files with you for FREE!
If you have a cutting machine to make vinyl stencils or even if you would like to PRINT these signs and just frame them for your decor – they are YOURS to enjoy. Please follow Homemaking_without_Fear on Instagram FIRST then sign up below – I’ll send you the instant downloads in your email.
Inexpensive Fall Decor| Stencil options for Cute Fall Signs
I use my Cricut to create my own vinyl stencils.
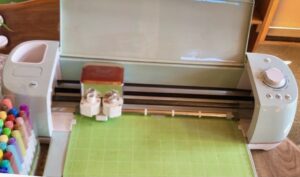
I have a Cricut Explore Air 2 . Any cutting machine is an investment but you are a DIY-er or crafter like me they are totally worth it! I have made so many cool things – stickers, custom t-shirts, decals, wooden signs and stencils.
With my FREE SVG cute file (see sign-up above) you can easily make your own stencil by uploading, sizing to suite your project, welding it and making/cutting it out of vinyl. You could also cut it out of card stock if you prefer stenciling that way.

I absolutely love using my Cricut Explore Air 2 to create custom stencils and signs!

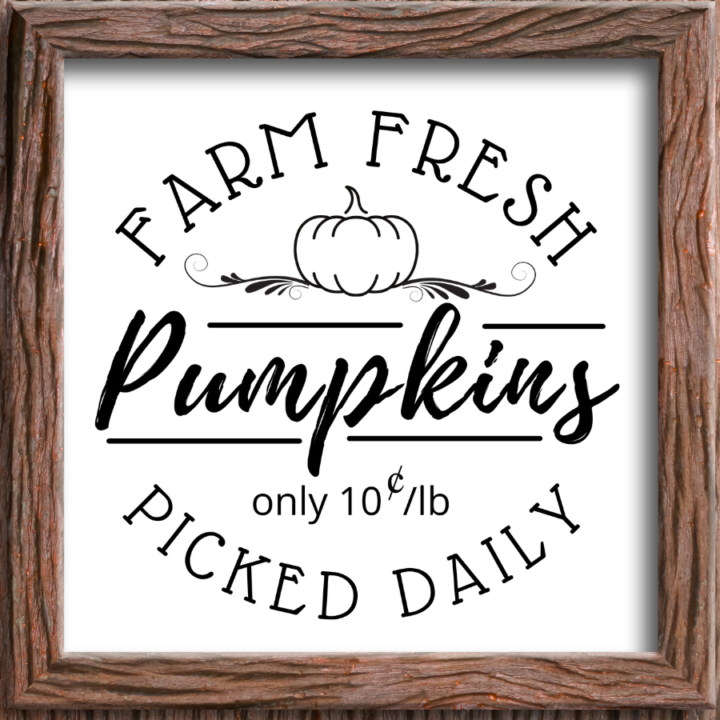
If you do not have a cutting machine, you could certainly choose to PRINT the jpeg or png file that I share with you. Simply frame the print or leave as is for simple inexpensive fall decor! I think they are SUPER cute in black and white.
Here are some other great options for stencils:
Cricut Design Space
- Design Space for those of you with a Cricut has lots of options for Fall stencils and templates for purchase.
- You could also design your own stencil from scratch within Cricut Design Space or other design program made for cutting machines.
Amazon
Walmart, Target & other craft stores
If you have access to a local craft store or big box store, I have seen cute inexpensive stencil options there too!

For Example:
Here is a Fall Stencil Option from Hobby Lobby
Inexpensive Fall Decor: How I create my own stencils!
Canva is an amazing design program and as a blogger I use it daily and would not be without it. Make beautiful, rich Pinterest pins, Instagram posts, posters, flyers t-shirts and so much more! If you are a diy lover, crafter or other such designer. I highly recommend it. By using my link to sign up, we BOTH earn Canva Credit for premium elements. So cool – Click Here for my Canva Link.
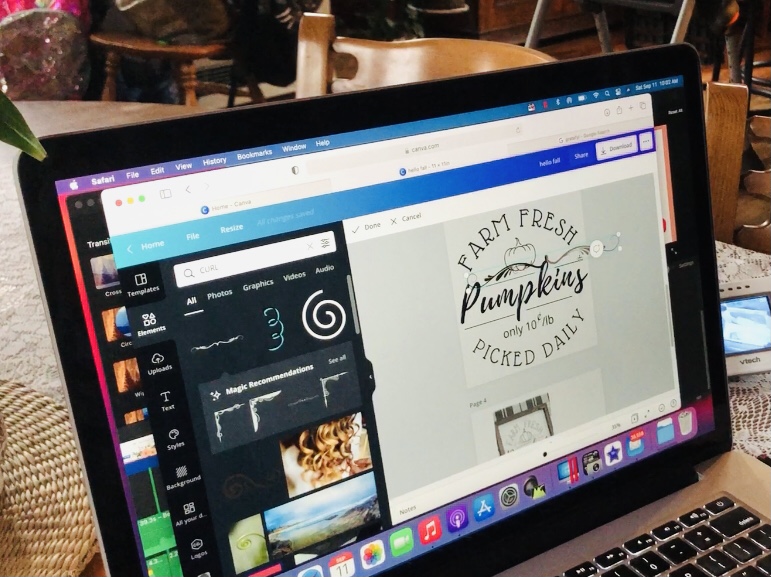
I FIRST use Canva.com to create my designs and stencils.
I then download my designs from Canva as an SVG file with a transparent background. Then, I upload them to Cricut Design Space, resize it, weld it and cut it! – so easy.
Canva has a FREE version with TONS of options. I personally pay for CanvaPro and as a blogger – it is worth every penny. If you love graphic design give their Free version try.
Let’s Make Inexpensive Fall Decor together! – Watch how to make these cute fall signs on YouTube:
What You will Need to Make this Inexpensive Fall Decor Project
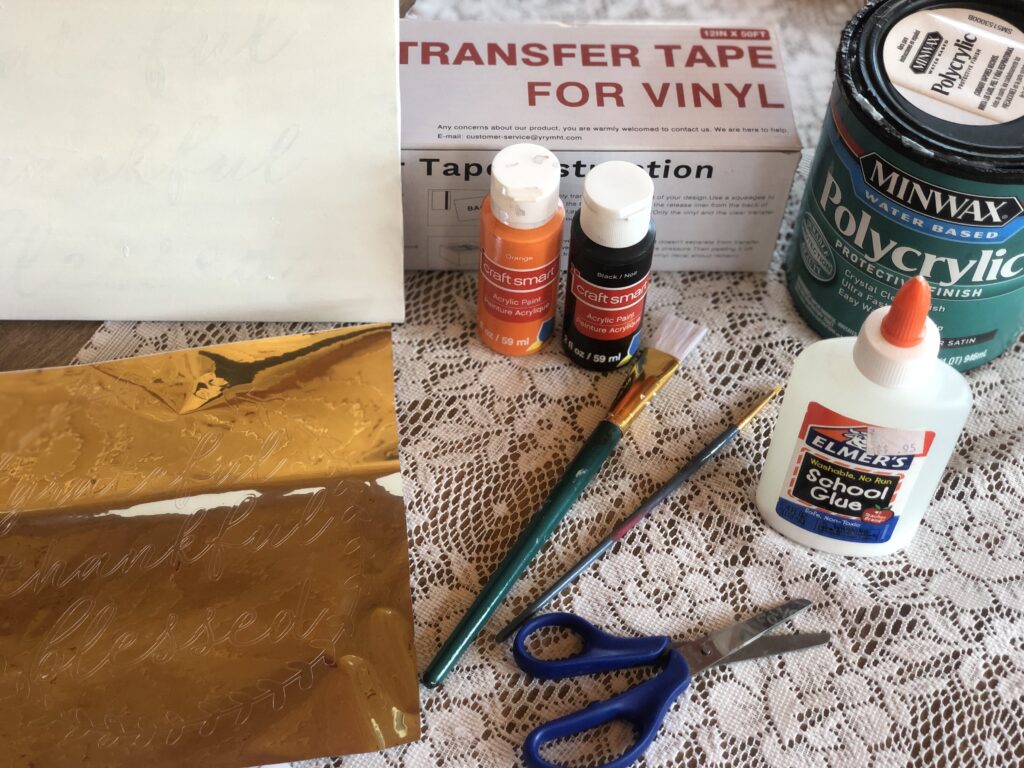
Materials:
- Vinyl Sticker Stencil of Choice
- Transfer tape if your vinyl stencil does not come with it already
- Permanet Markers OR Paint pens OR Acrylic Craft Paint (Your Preference)
- Blank sign material (wood, poster board, canvas, glass or other preferred sign material)
- Elmer’s School Glue
- Sealant/Topcoat of choice (paste wax for wood signs, clear acrylic spray or brush on protective topcoat for canvas or poster board)
- Craft Paint Brushes
To make it easier I have put together a complete list of craft supplies that I recommend for this project and MORE. Simply click the button below and add what you need to your Amazon Cart!
How to put these cute Fall signs together
Instructions:

- Prepare your blank sign material by painting the background of your sign – acrylic craft paint works just fine for this. If you are stenciling glass you should use a more permanent enamel paint, spray paint or and you may not want a background and that is fine.
- Prepare your stencil – if you made your own stencil or purchased one apply transfer tape and adhere vinyl stencil to your sign. Some purchased stencils are made to peel and stick right to your sign. For reusable stencils you may affix to your sign with masking tape.
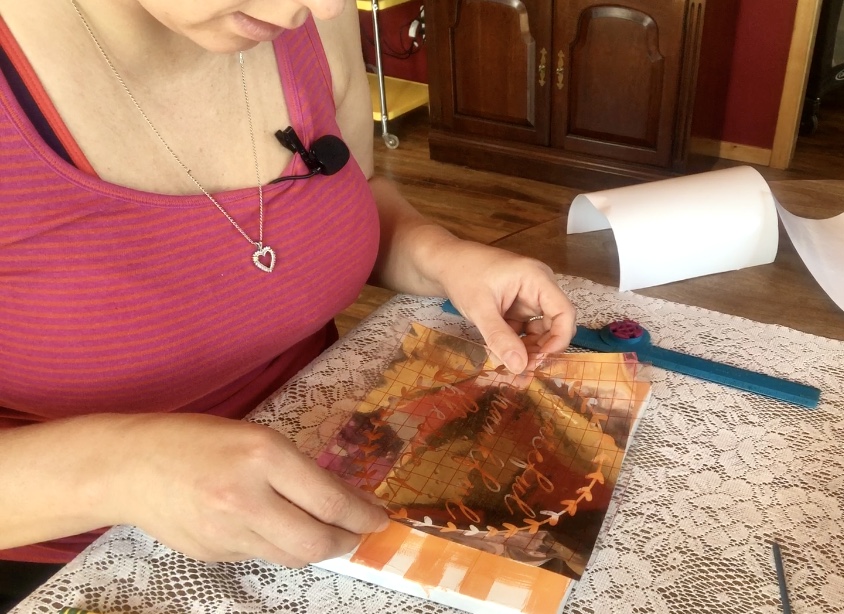
Apply stencil to your blank sign.
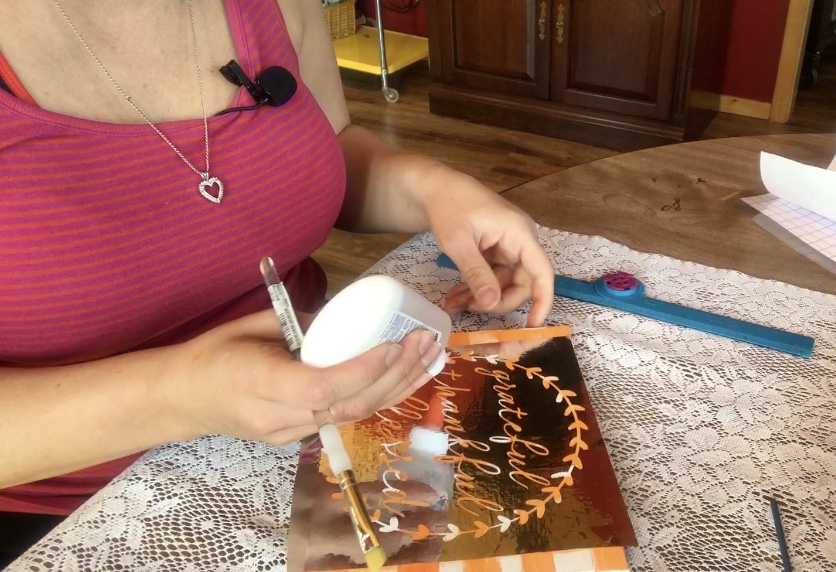
- Before adding paint to your stencil, FIRST fill it in with Elmers glue in a thin layer. This seals the edges of the stencil and prevents paint from bleeding. Let the glue dry completely before the next step.
- If you prefer to use permanent markers, you could fill in the stencil as they don’t bleed like pain does.
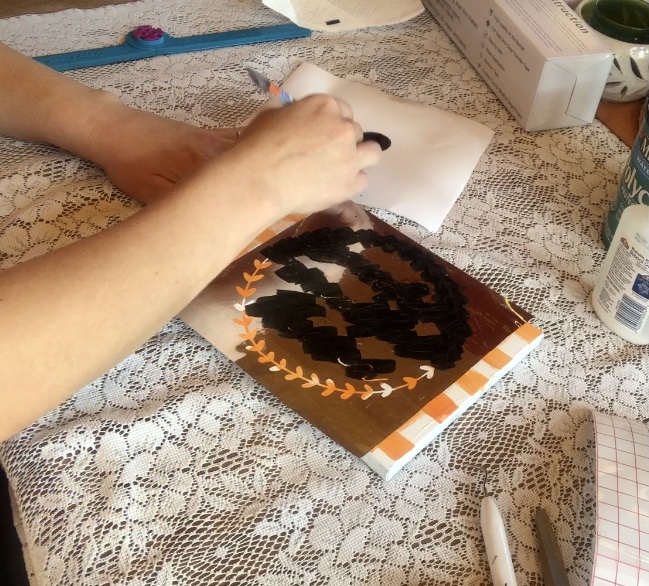
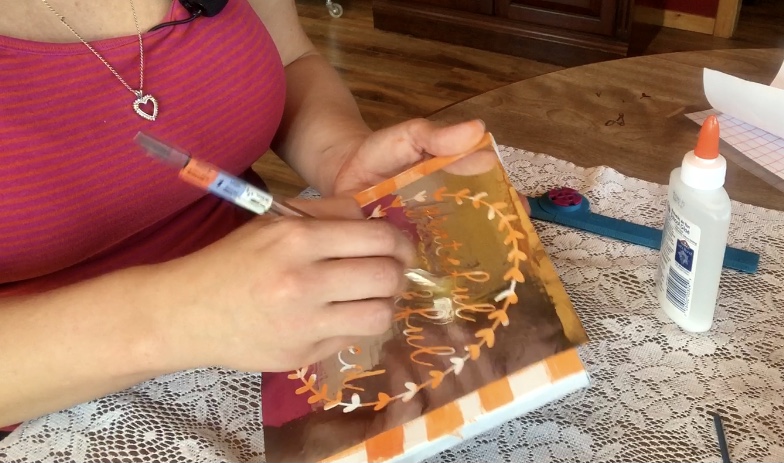
- For a more professional look use acrylic paints or paint pens. Apply a THIN coat of paint to your stencil. Use any colors or combination of colors you choose.
- Let dry and reapply a second coat until desired color is achieved.
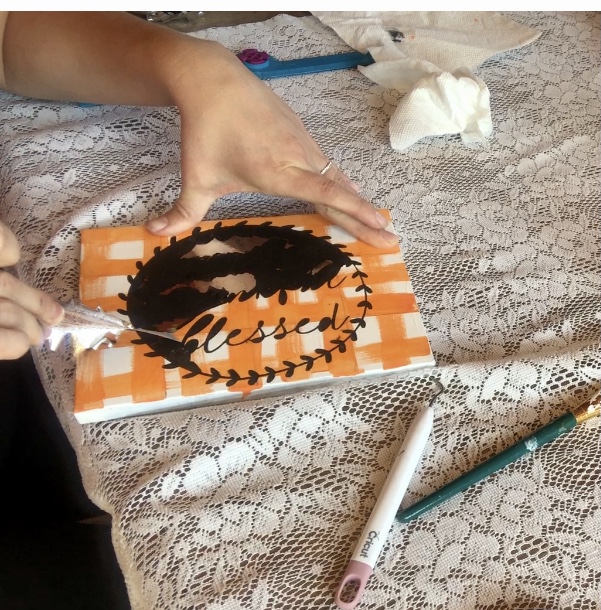
- Let all layers of paint dry completely then remove stencil carefully. If the design begins to peel away with the stencil be sure to STOP and let it dry more. (you could use a hairdryer to speed up the drying process)
- FINISH your sign by applying a protective topcoat. Paste wax rubbed over wooden signs and polished off works great. Polyacrylic painted or a clear, matte or satin spray paint works best for canvas or posterboard.

Hey Friend,
Home DIY and craft projects just make me so happy. I am excited to do lots more this Fall and find it so enjoyable to bring you along. I hope you enjoy this fun & easy Fall project. Make sure to watch us on YouTube and FOLLOW & tag me on Instagram when you make your signs.
Pin it for Later

How to Use Vinyl Stencils to Create Cute Signs
This How-To will walk you through the process of creating signs using sticker or vinyl stencils. Use any stencil, use anything for your sign - canvas, paper, wood, glass! Be creative and have FUN.
Materials
- Vinyl Sticker Stencil of Choice
- Transfer tape if your vinyl stencil does not come with it already
- Permanet Markers OR Paint pens OR Acrylic Craft Paint (Your Preference)
- Blank sign material (wood, poster board, canvas, glass or other preferred sign material)
- Elemer's School Glue
- Sealant/Topcoat of choice (paste wax for wood signs, clear acrylic spray or brush on topcoat for canvas or poster board)
- Craft Paint Brushes
Instructions
- Prepare your blank sign material by painting the background of your sign - acrylic craft paint works just fine for this. If you are stenciling glass you may not want a background and that is fine. Make sure to choose a paint that is appropraite for glass such as an enamel or spray paint.
- Prrepare your stencil - if you made your own stencil or purchased one apply transfer tape and adhere vinyl stencil to your sign. Some purchased stencils are made to peel and stick right to sign. For reusable stencils you may affix to your sign material with masking tape.
- Apply stencil to your blank sign.
- If you perfer to use permanent markers, you could now fill in the stencil with marker. For a more professional look use acrylic paints or paint pens.
- Before adding paint to your stencil, FIRST fill it in with Elmers glue in a thin layer. This seals the edges of the stencil and prevents paint from bleeding. Let the glue dry completely before the next step.
- Using acrylic paint or paint pen to apply a thin coat of paint to your stencil. Use any colors or combination of colors you like.
- Let dry and reapply a second coat until desired color is achieved.
- Let dry completely then remove stencil carefully. If the design begins to peel away with the stencil be sure to STOP and let it dry more. Consider using a hair dryer to speed the drying process.
- FINISH your sign by applying a protective topcoat. Paste wax rubbed over wooden signs and polished off works great. Polyacrylic painted on or clear spray paint works for canvas or posterboard.