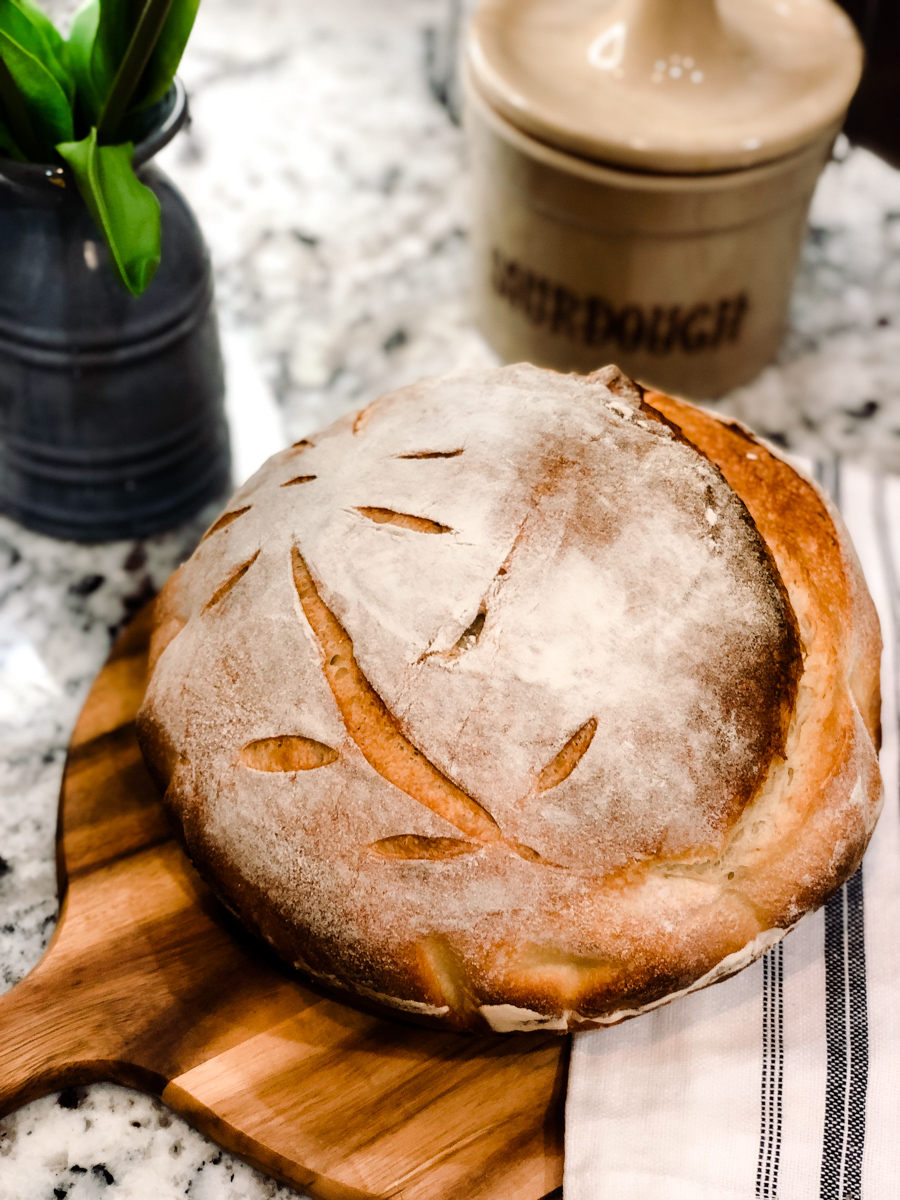
This Rustic Sourdough Boule Recipe is baked in a dutch oven. It is super simple to put together and the result is a beautiful non-fussy artisan looking loaf. Score your bread to make it as fancy or as basic as you like. This sourdough bread is sweetly nutty from a little honey and whole wheat flour & surprisingly easy.

Why Sourdough?
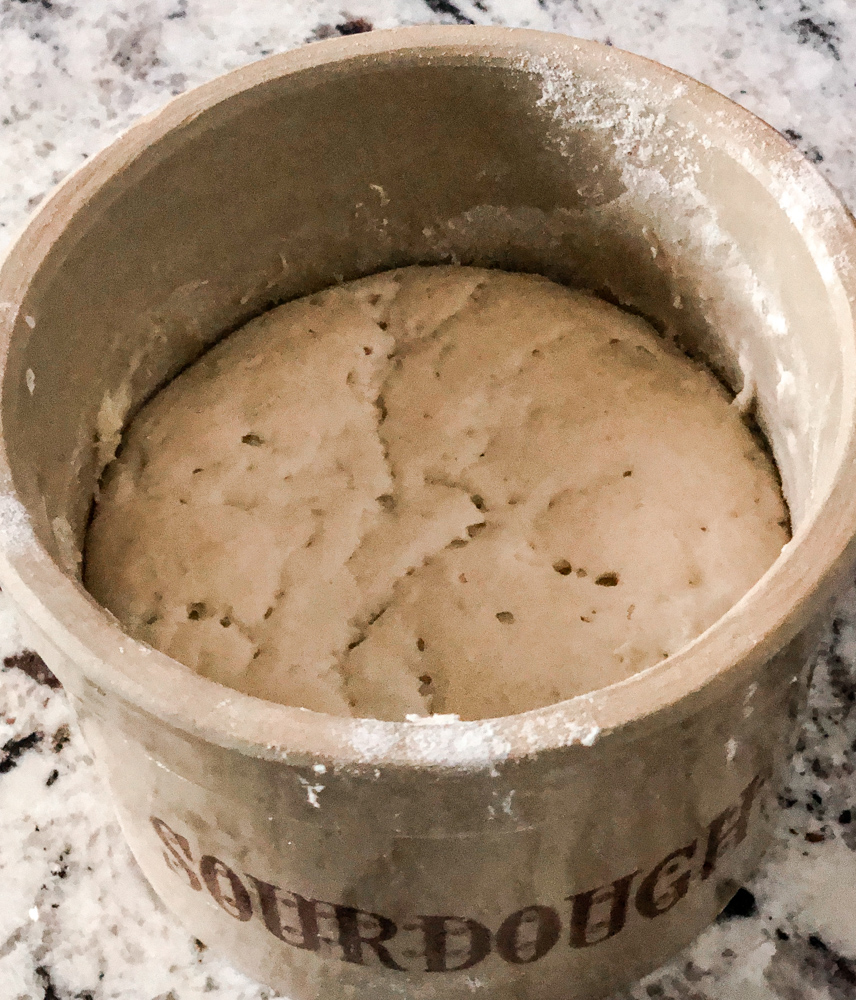
Sourdough products are made without commercial yeast as the leavening agent in the bread. This means that the lovely, airy rise is a result of NATURAL yeasts undergoing a fermentation process.

Within a sourdough starter are NATURAL yeasts. These natural yeasts have been caught or “cultured” from our natural environment. As the wild yeasts ferment, carbon dioxide gas is released. This causes a sourdough starter to appear bubbly or “active” and when added to a bread recipe, results in a lovely rise with nooks and crannies perfect for butter or jam.
A traditional sourdough starter is “fed” water and flour everyday in order to keep the natural wild yeasts continue to growing and thriving.– Learn more about the easier DRY Sourdough Starter Method HERE!
Sourdough is something you can keep literally FOREVER if you follow a few basic tips to keep it fed and active.
Commercial yeasts aka “baker’s yeasts” or “cultured yeast” is actually a member of the mushroom family. I never actually knew this!
Sourdough starter on the other hand, contains natural or wild yeasts which occur everywhere in our environment. They are inherently healthier and easier for our bodies to digest. After eating sourdough bread, blood sugar doesn’t tend to spike as high AND we feel more satiated (fuller) and eat less.
Perhaps commercial yeasts are making us sick? Some suspect that many ailments including: acid reflex, gluten intolerance and wheat allergy have something to do with the commercial yeasts.
Who knows for sure? But what we DO know is . . .
Sourdough is Gut Healthy!
Like other fermented products, sourdough is gut healthy and helps us breakdown and digest gluten in bread products. Because of this people who are gluten sensitive (NOT ALLERGIC or intolerant) tend to better tolerate long fermented sourdough products.
While I am not completely against commercial yeast at all and love to make the traditional white, soft, fluffy breads . . . commercial yeast can be harder on our digestive systems AND isn’t sustainable. This means if the stores run out we can’t make bread.
Our ancestors have been making sourdough loaves long before commercial yeasts and grocery stores. In fact many families have sourdough starter that has been fed, nurtured and passed down through the years.
I could make sourdough for the HISTORY ALONE let alone the tasty result. Doing things the old-fashioned way really appeals to me and my tendency to be nostalgic and just a little bit crunchy.
How do you make a Sourdough Starter?

I am so glad you asked. You CAN create a delicious, beautiful, light and lovely loaf of risen bread from. . .
Simply. . .
- Flour
- Water
- Naturally occurring yeast (you capture wild yeasts from your own environment) – Cool Right!?
If you don’t have a sourdough starter that has been passed down for years, maybe you can get a start from a friend, fellow sourdough lover or . . . why not make your own starter??
That is what I did and have kept it alive and well for over a year .
If I can do it. . . so can you!!
Jovial Foods shares my very favorite tutorial for making a sourdough starter from scratch!
Basic Sourdough Starter Tips
When first making a starter try using rye flour. Rye is a grain related to wheat but has more nutrients and tends to make a quicker, more active starter. Whole wheat flour is another option and is generally better than white flour for getting a starter going.
I don’t use rye exclusively but every other feeding when creating my starter or when bulking it up and waking it up a bit!

To really get your starter going, try adding a small amount (1 tablespoon) of RAW honey in the beginning. Yeast loves sugar and this can help the natural yeasts grow and thrive. (Don’t use honey with EVERY feeding though!)
When you feed your stater, aim for a consistency like thick pancake batter. The starter will become looser as the flour absorbs the water.
I used to weigh and measure my flour and water but honestly once your starter is mature, you can eyeball approximately 1:1:1 ratio. For example if you have 1 cup of starter, feed it 1 cup of water and 1 cup of flour. Don’t let getting all the kitchen gadgets out keep you from simply feeding your starter . . . it truly doesn’t have to be perfect but it does have to be fed.
THAT BEING SAID, MAKE SURE TO WEIGH YOUR INGREDIENTS WHEN BAKING BREAD! THIS IS MORE ACCURATE AND WILL GIVE YOU MORE CONSISTENT RESULTS.
I have missed multiple days of feedings with my starter at room temperature. While I DO NOT RECOMMEND doing this, starters are a lot more sturdy than one would think. Just go for it and don’t be scared you will mess it up.
The Hooch!
If you check on your starter and notice separation of the mixture with a grey colored liquid on top, feed it right away. This liquid is called “hooch” mix it in and proceed with your feeding.
Can I keep a starter if I’m not home all the time?
YES you can.
If you find yourself in a extra busy time of life or go on vacation, sourdough starter stays good for a long time in the refrigerator without feedings. Simply feed it, going heavy on the flour (making it a very dry starter) and pop it in the fridge. While going months without feeding isn’t recommended, most of the time you can pull it out, feed it getting it to the right consistency again then let it become warm and active.
If it’s not “perfect” – all is not lost!
Did your sourdough dough fail to rise well after it was mixed and went through the bulk fermentation process? Maybe it is too dense? . . . DON’T THROW IT OUT.
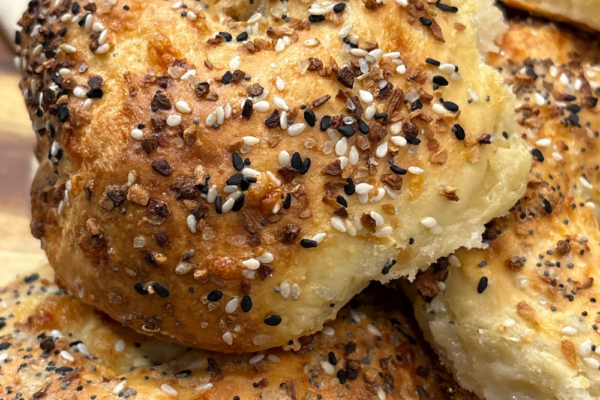
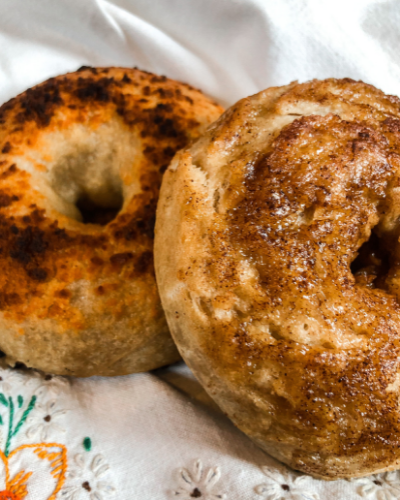
Make bagels OR pretzels out of it. They are dense anyway and the boiling process prior to baking helps the dough rise and lighten a bit.
Learn all about MY DRY starter Method HERE & keep your starter the NO FUSS way. No discards and NO daily feedings.
Why add honey to this Rustic Sourdough Bread?
I absolutely love adding a bit of sweetness to my breads. I like to do this for two reasons
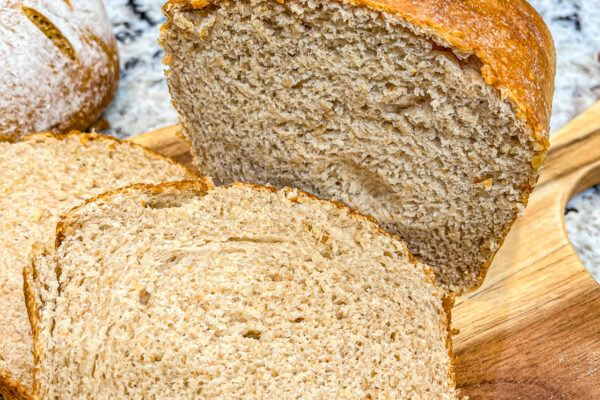
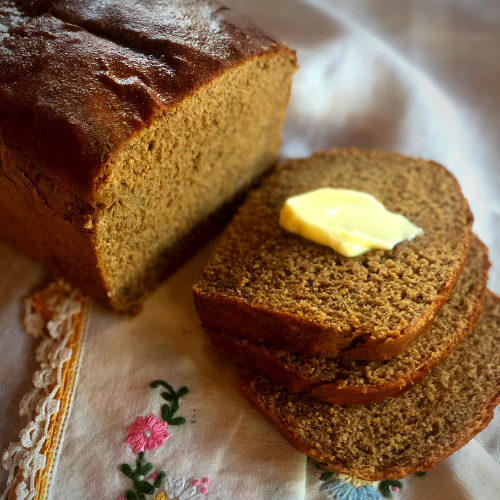
#1. I really like the flavor of a slightly sweet bread. Now this recipe doesn’t go as far as being a “sweet bread” but the hint of sweetness from a bit of honey balances nicely with the buttery, nutty fours and salt.
#2. A little bit of sweet helps to feed the yeasts in the sourdough starter and really makes it rise nicely. In fact if my sourdough starter is a little on the sluggish side, a fresh feeding with just a touch of honey (or sugar if you prefer) really makes it bubble up.
Are you loving this Simple, Rustic Sourdough Boule Recipe? Then try my Old Fashioned Sourdough Loaf perfect for Sandwiches?
What You will Need to make a BEAUTIFUL loaf of Simple, Rustic Sourdough Bread
(See amounts in printable recipe attached to this post!)
NOTE: I highly recommend weighing all ingredients in grams when mixing up this recipe. Measuring instead of weighing is less accurate. For example a sifted flour would weigh much less than say an unsifted whole wheat therefore you would need more of it. Weighing ingredients is key!
- ACTIVE sourdough starter – fed and bubbly
- Honey – to add just bit of sweetness
- Warm water – 80-85 Degree F. Yeasts are activated by warmth
- Fine Salt – brings out the flavor of the bread
- White, unbleached all-purpose bread flour – higher gluten in this flour provides structure and lovely air pockets
- Whole wheat bread flour – adds flavor and fiber
Let’s make a simple rustic sourdough boule together!

- Measure or weigh sourdough starter into large mixing bowl.
- Add warm (80-85 Degree F) water and mix with fork or whisk until milky.

- Next, add honey and mix well.
- Now you will add your white flour by measuring with a kitchen scale, stir until incorporated.

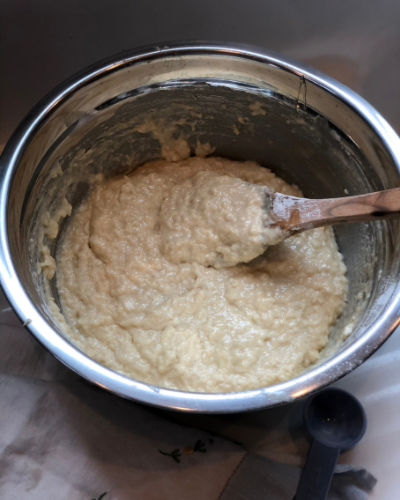
- Lastly you will add the remaining flour (whole wheat flour) and stir to combine. Dough will be sticky and shaggy in appearance. (Hold on adding salt until dough has rested for 30 minutes.)
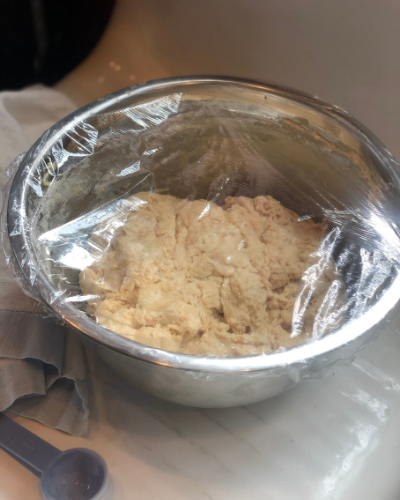
- Cover with plastic wrap or damp towel and let rest for 30 minutes in a warm location.
- Moisture will be absorbed as the dough rests and begins to ferment.
After this first 30 minute rest THEN ADD SALT by sprinkling over surface and using your hands to stretch and fold the dough on all sides – stretch up and to the middle of the ball.
Salt improves flavor and structure but can slow down fermentation so that is why it’s add last.
- Cover bowl with plastic wrap or damp towel and let sit in warm location for another 30 minutes.
- Perform another series of stretch and folds – pulling dough up from the sides and folding over toward the middle – do this until dough has no more stretch to give.
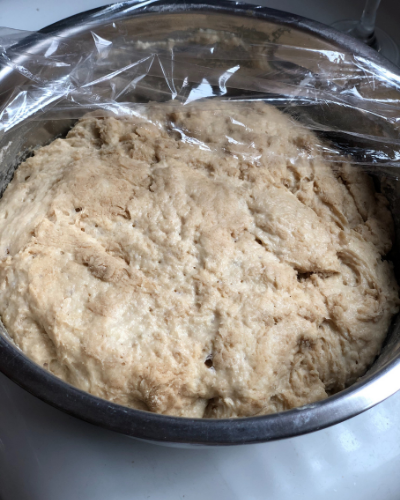
- Cover with damp towel or plastic wrap and let “bulk ferment” or “long rise” your in a warm (80-95 degree F) location overnight or at least 8-10 hours.
- Dough should be nearly doubled and bubbly before you are ready to shape and let proof.
Simple Rustic Dutch Oven Boule Baking Method:
- Remove bulk fermented dough from the bowl using a scraper and place on very lightly floured counter.
- Form dough into a nice tight ball by wrapping hands around ball at the top and rolling them under as you gently pull the whole dough ball toward you on the counter. Tuck sides under as you go.
- Repeat this process as you turn dough ball slightly and grab, pull and tuck sides under. Do this until the dough ball is nicely formed and surface of the ball is taught.
- Now place your dough ball TOP down into a floured banneton proofing bowl or a tea-towel lined bowl that has been dusted with flour. Cover with plastic wrap or tea towel to rest and final rise (aka “proof”) in a warm place 2-4 hours. Alternatively you could cold proof your dough by placing it in the refrigerator for up to 36 hours. When you cold proof your dough it will rise only slightly during the proofing stage. Some say cold proofing deepens the characteristic “sour” flavor and helps to create the crisp bubbly surface.
Ok, now to bake this beautiful simple sourdough boule!
After proofing –
- When ready to bake, preheat oven to 450 Degrees F. Place the dutch oven with the lid on inside your regular oven during the preheat process.
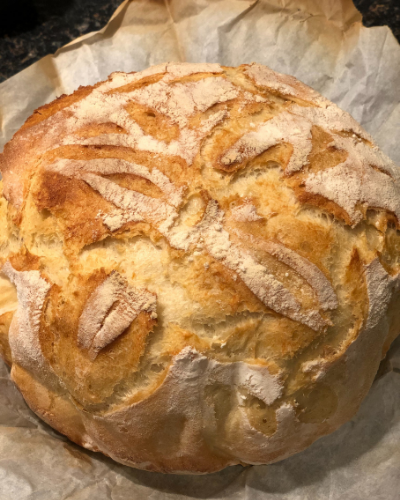
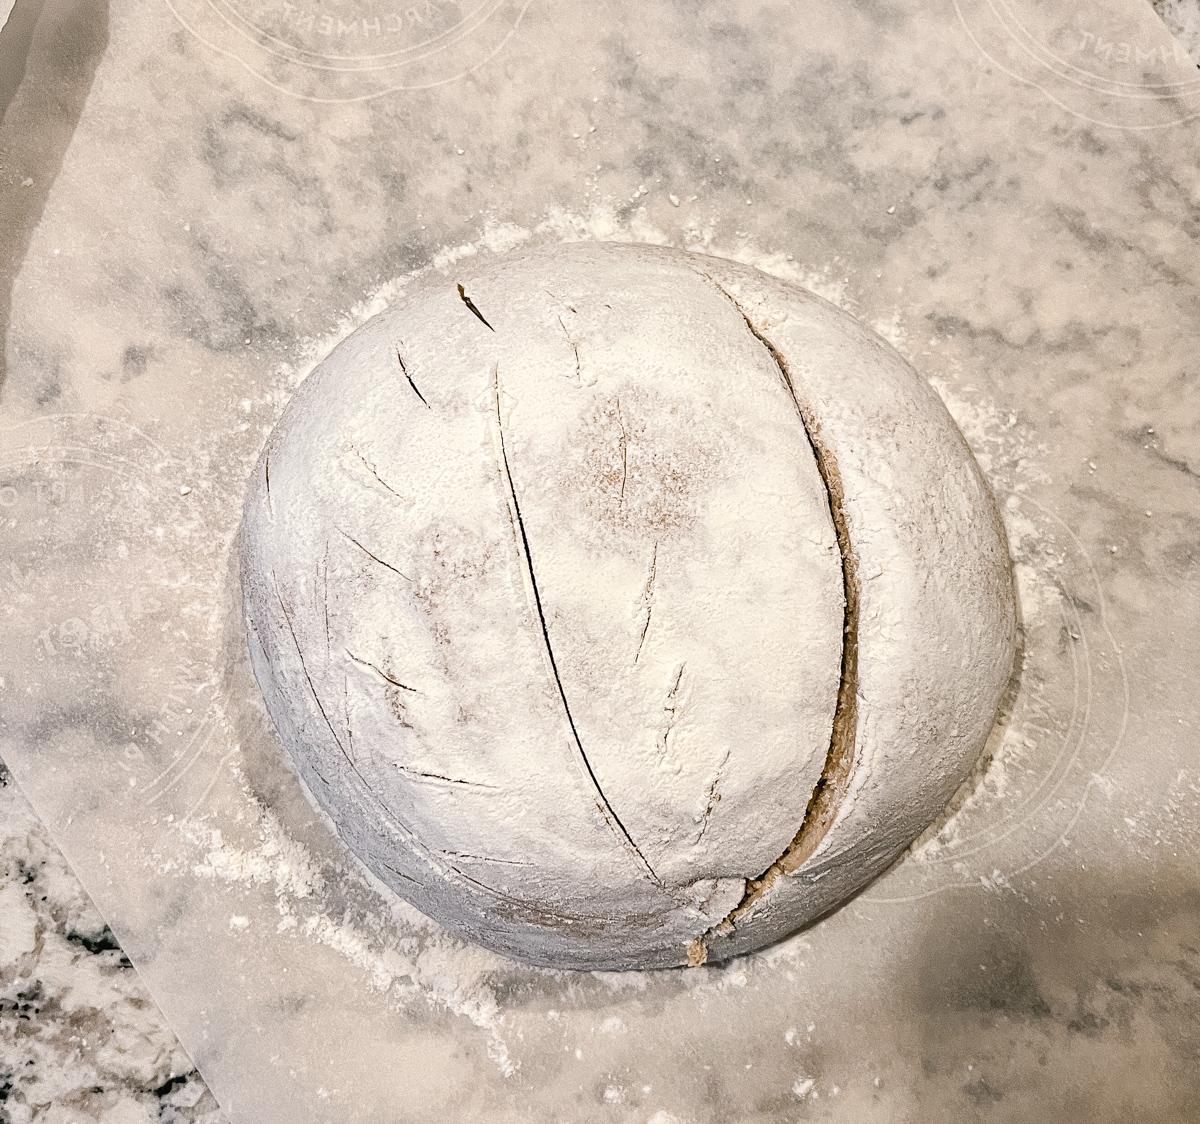
- Invert dough from your bowl or proofing basket onto a large piece of parchment paper. Dust the top of the loaf with flour (just a little bit – I used too much in the photo below!) and score it to control expansion. NOTE: you can bake cold proofed dough right out of the refrigerator.
- Make at least 1 of your large scores 1-2 inches deep to let steam escape. The other decorative scores should be no deeper than 1/2 to 1 inch.


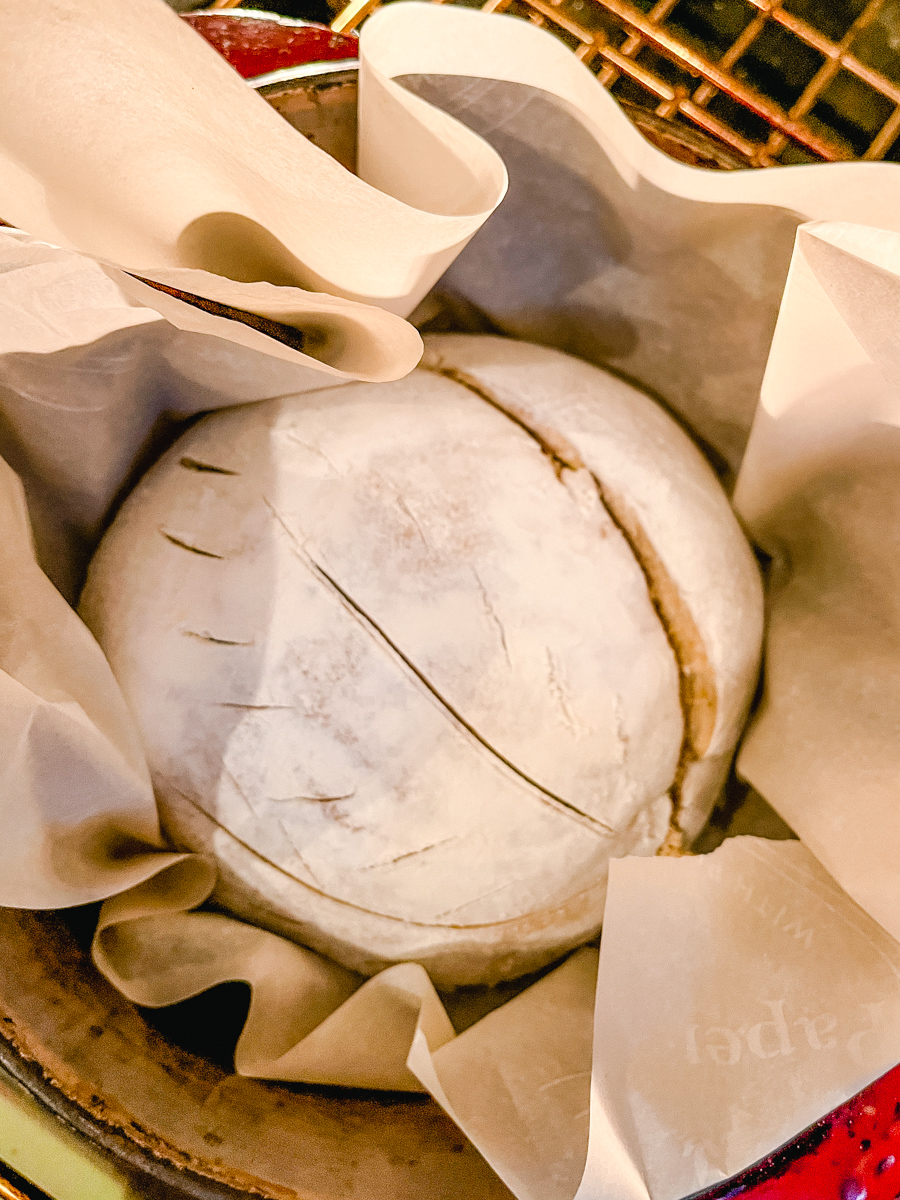
- Using the parchment to pick up the loaf, set it inside the dutch oven and put LID ON.
- Place in oven and bake with LID ON for 20 minutes.
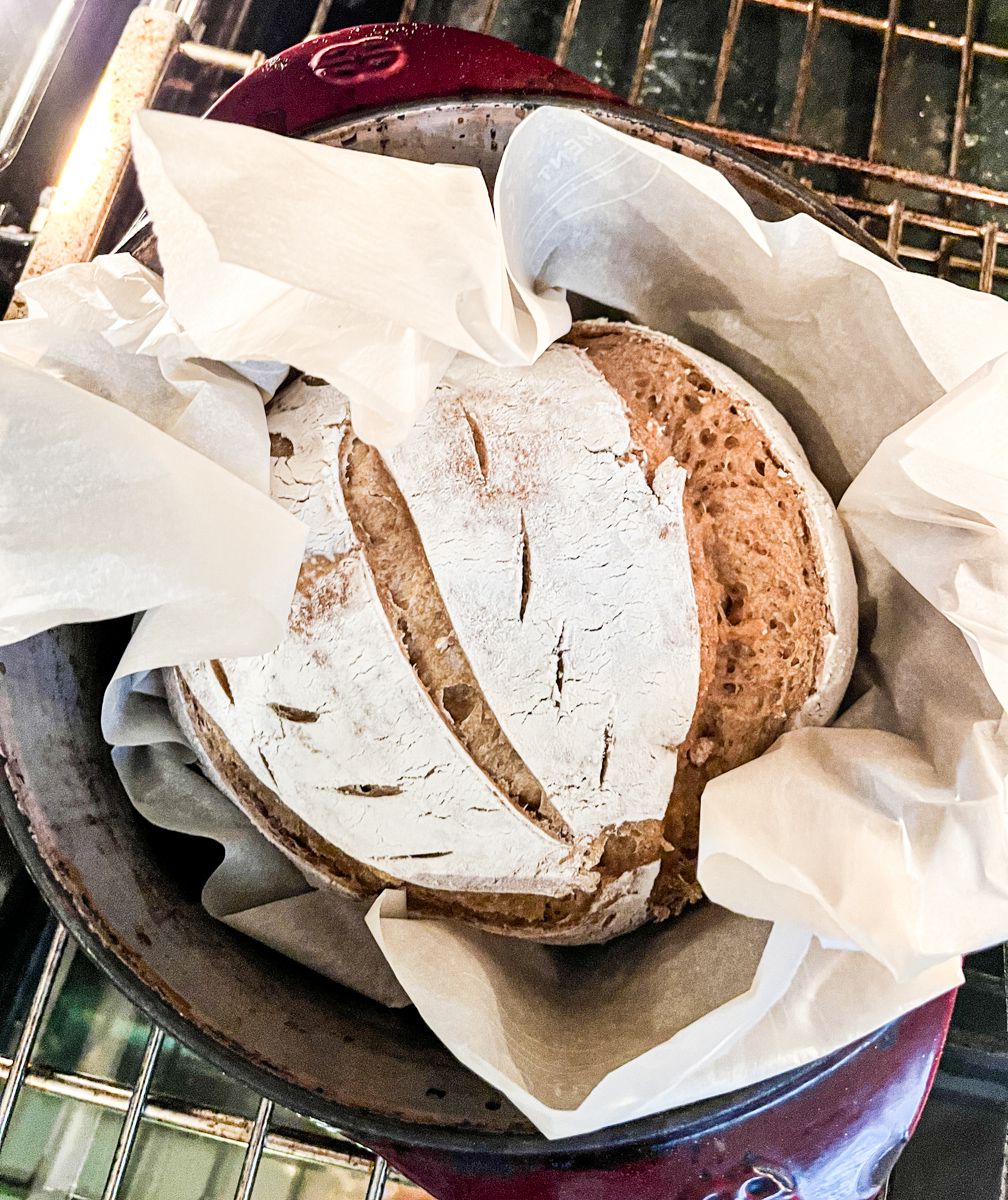
After the Boule has baked for 20 minutes at 450 Degrees F
- Decrease oven temperature to 400 degrees F and REMOVE LID, continuing to bake another 20 minutes or until the crust is beautifully crisp and golden brown.
- The loaf should be crisp and browned on the outside, sound hollow when tapped AND also feel light when you pick it up with the edges of the parchment.

- Remove from oven, allow to cool slightly then use the parchment to transfer loaf to cooling board.
- Wait until cooled to slice.
There is just something about warm, fresh baked bread. This recipe is a family favorite and our family sure hopes you enjoy it too. Let us know what you think about this recipe in the comments below.
Pin Simple Rustic Sourdough Boule For Later


Simple Rustic Sourdough Boule
Ingredients
- 1/2 cup (140 grams) of active sourdough starter (aka Levain)
- 1/2cups (50 grams) honey
- 1 1/3 cups (315 grams) warm water
- 2 1/2 cups (400 grams) white, unbleached all-purpose bread flout
- 1 1/2 cups (200 grams) of whole wheat bread flour
- 1 1/2 teaspoons (10 grams) fine salt
Instructions
- Measure or weigh sourdough starter into large mixing bowl.
- Add warm water and mix with fork or whisk until milky.
- Add honey. Mix well with fork or whisk
- Add white flour and stir until incorporated.
- Add the remaining flour (whole wheat flour) and stir to combine. (HOLD on adding salt for now)
- Dough will be sticky and shaggy in appearance.
- Cover with plastic wrap or damp towel and let rest for 30 minutes. Moisture will be absorbed as the dough rests and begins to ferment.
- After this first 30 minute rest add salt by sprinkling over surface and using your hands to stretch and fold the dough on all sides - stretch up and to the middle of the ball. (Salt improves flavor and structure but can slow down fermentation so that is why it's add last.)
- Cover bowl with plastic wrap or damp towel and let sit in warm location for another 30 minutes.
- Perform another series of stretch and folds - pulling dough up from the sides and folding over toward the middle - do this until dough has no more stretch to give.
- Cover with damp towel or plastic wrap and let "bulk ferment" or "long rise" your in a warm location overnight or at least 8-10 hours.
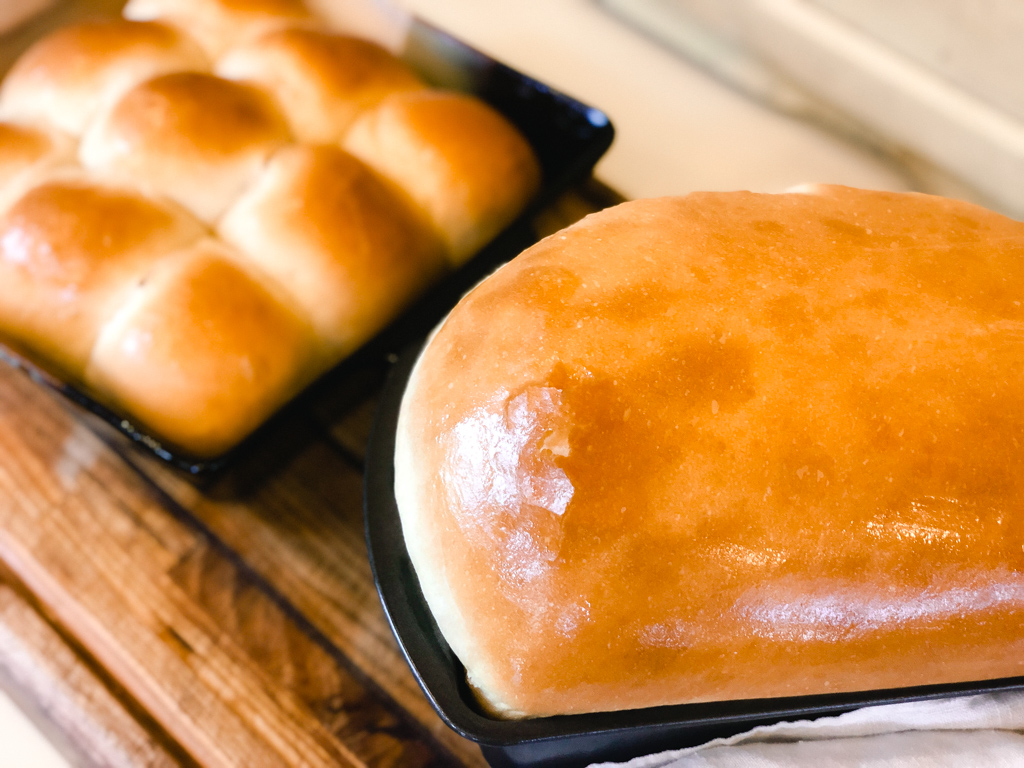
- Dough should be nearly doubled and bubbly before you are ready to shape and let proof. See below for regular loaf pan and Rustic dutch oven boule methods of forming, proofing and baking.
- After the bulk fermentation phase - scrap dough out of bowl onto a lightly floured counter. Stretch and fold dough from edges to center and using your hands wrap them around the top of the dough ball and roll them down as you pull the dough toward you on the counter. This will form a nice tight ball with firm taught surface as you tuck all sides under.
- Place dough ball top down in floured banton proofing basket - Or -use a floured, tea towel lined bowl.
- Cover proofing basket/bowl with plastic wrap or damp tea towel to rest and rise in a warm area 2-4 hours. - OR - Cold Proof your dough by placing in refrigerator for up to 36 horus. Dough should be slightly risen but won't double.
- Preheat oven to 450 Degrees F. Using a dutch oven with lid place it the bread oven to preheat as well
- When ready to bake, remove loaf from proofing basket by inverting onto large piece of parchment paper. (You can do this right out of the fridge if you used cold proofing method. Dust the top of the loaf lightly with flour and score it to control expansion. At least 1 large score/slash should be 1.5-2 inches deep and is your primary score to allow steam to escape. The rest of your decorative scores should be 1/2 to no more than 1 inch deep.
- Using the parchment to pick up the loaf, set it inside the dutch oven and put LID ON.
- Place dutch oven inside the bread oven and bake with LID ON for 20 minutes.
- Decrease oven temperature to 400 degrees F and REMOVE LID, continuing to bake another 20 minutes or until the crust is beautifully crisp and golden brown.
- Remove from oven, allow to cool slightly and using the parchment to transfer to cooling board.
- Wait until cooled to slice.
Notes
If you would rather make this recipe with NO whole wheat flour simply substitute with ALL white flour but make sure to WEIGH all ingredients instead of measuring as this is more accurate..
I would NOT recommend making this with ALL whole wheat flour as the gluten development and the rise will be lacking. Use AT LEAST one cup of white flour.
You can substitute sugar for the honey if you prefer.