This old fashioned creamed corn recipe is near and dear to our hearts. Whenever we go back to my husband’s hometown, his family makes us this delicious creamed corn and it just tastes like warm, sweet summer days gone bye. This recipe is for BIG batches that can be preserved by simply freezing portions in zip top bags. Also there is no dairy (no cream) in this recipe. It is made with simple ingredients and is simply delicious. I am not kidding when I tell you this is the BEST creamed corn I’ve ever had. If fact we grew up eating the commercially canned stuff. My dad loved it and let’s just say . . . I did not!
What You will need to make Old Fashioned Creamed Corn
4 quarts fresh corn kernels cut from cob
1/2 to 2/3 cups sugar (How much you end up using will depend on natural sweetness of your corn)
4 teaspoons salt
1 quart of water
How to make it and save it for later!
First shuck your fresh corn, removing all the leaves and silks.
Then, rinse your corn cob in cool water removing any remaining debris.
This part is made MUCH easier if you have a cutie patootie like this one in the picture to help you out.
(She was saving all the “corn hairs” to play with. . . they eventually ended up as chicken food!)
Using a sharp knife or corn cutter tool, remove kernels from the cob.
Using the edge of your knife run it along the cob removing the sweet, milky corn liquid into your bowl with the kernels.
Next, take a large stock pot, and bring 1 quart of water, 1/2 cup sugar and the 4 teaspoons of salt to a boil.
Now add corn kernels to the pot and boil for 5 mins, stirring occasionally.
Remove up to 1/2 of the corn from the pot and place into blender. Careful here ! This is hot, hot, hot and may expand, creating a lot of hot steam when blended.
If you are UNLIKE me. . . meaning a long more patient, then you can allow the mixture to cool slightly before blending.
Blend then corn to a creamy consistency and return to the rest of kernels in the stock pot. (You can blend more if you like less chunky creamed corn. )
Stir well and taste it. You can add rest of sugar if you think it needs a bit more sweetness.
Stir and cook 1-2 minutes longer if you do choose to add more sugar.
Now, remove your pot of creamed corn from heat and let cool.
You can OF COURSE enjoy this creamed corn right away OR if you are like us – save it for a “rainy day” also known as the dead of winter when you just need a taste of SOMETHING fresh!
To preserve this old fashioned creamed corn:
Scoop the cooled corn into zip top freezer bags (quart size) and lay flat in freezer until nicely frozen. Make sure to date and label your bags!
Tips for making this the BEST Old Fashioned Creamed Corn you ever tasted!
Be sure to taste your cream corn after blending and only add the extra sugar if the corn itself isn’t naturally sweet enough. You may not need it!
Blending part of this corn is not necessary but it is the CREAMED in creamed corn. I you prefer a really smooth creamed corn, you can blend even more than half of the corn after it is boiled initially. Make this as chunky or smooth as you prefer.
To prepare from frozen, simply remove a bag of creamed corn from freezer and let thaw on counter at room temp or in refrigerator. Pour into a saucepan. Heat through on medium heat, stirring often. Add butter to serve if desired.
Hey there my friends!
This recipe is such a family favorite. I loved writing it down and sharing it with you. Every time I taste it, I smile big and dream of summer. Thank you Ted & Janice for sharing this one with us. We love you all. Follow along for more recipes and tag me on Instagram!
This old fashioned creamed corn recipe is near and dear to our hearts. Whenever we go back to my husbands hometown, his family makes us this delicious creamed corn and it just tastes like the warm, sweet summer days gone bye. I am not kidding when I tell you this is the BEST creamed corn I've ever had.
No Ratings
Ingredients
4 quarts fresh corn kernels cut from cob
1/2 to 2/3 cups sugar (taste for sweetness)
4 teaspoons salt
1 quart water
Instructions
Shuck fresh corn cob, removing all leaves and silks.
Rinse corn in cool water.
Using a sharp knife or corn cutter tool, remove kernels from the cob.
Using a knife run it along the cob to remove the sweet, milky corn liquid.
In a large stock pot, bring water, 1/2 cup sugar and salt to a boil.
Now add corn kernels and boil for 5 mins, stirring occasionally.
Remove up to 1/2 of the corn from the pot and place into blender.
Blend corn to desired consistency and return to the other kernels in the stock pot. (You can blend more if you like less chunky creamed corn. )
Taste and add rest of sugar if desired.
Stir and cook 1-2 minutes longer.
Remove from heat and let cool.
Scoop cooled corn into zip top freezer bags (quart size) and lay flat in freezer. Make sure to date and label your bags!
Notes
Be sure to taste your cream corn after blending and only add the extra sugar if the corn itself isn't naturally sweet enough. You may not need it!
Blending part of this corn is not necessary but it is the CREAMED in creamed corn. Make this as chunky or smooth as you prefer.
To prepare from froze, simply remove bag of creamed corn from freezer and let thaw on counter at room temp or in refrigerator. Pour into a saucepan. Heat through on medium heat, stirring often. Add butter to serve if desired.
Did you make this recipe?
Please leave a comment on the blog or share a photo on Instagram
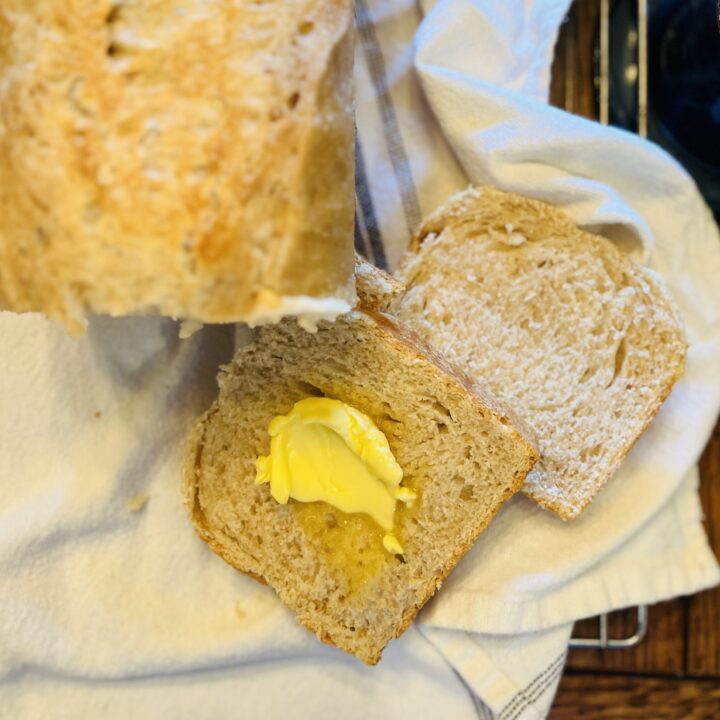
This sourdough loaf made in a pullman pan results in the best sandwhich bread. It is soft and thin - no tough chewy crust here. The crumb is very delicate but sturdy enough to hold all the good stuff. The flavor is wonderful and will become more "sour" the longer you allow it to bulk ferment. Do we even need to mention all the wonderful health benefits of sourdough! Enjoy this one, we sure do.
Measure or weigh sourdough starter into large mixing bowl. Add warm water and mix with fork or whisk until milky.
Add melted and cooled oil (OR butter) AND honey (or sugar).
Mix well with fork or whisk
Add white flour and stir until incorporated.
Add the remaining flour (whole wheat flour) and stir to combine. Dough will be sticky and shaggy in appearance. Cover with plastic wrap or damp towel and let rest for 30 minutes. Moisture will be absorbed as the dough rests and begins to ferment.
After this first 30 minute rest add salt by sprinkling over surface and using your hands to stretch and fold the dough on all sides - stretch up and to the middle of the ball. (Salt improves flavor and structure but can slow down fermentation so that is why it's add last.)
Cover bowl with plastic wrap or damp towel and let sit in warm location for another 30 minutes.
Perform another series of stretch and folds - pulling dough up from the sides and folding over toward the middle - do this until dough has no more stretch to give.
Cover with damp towel or plastic wrap and let "bulk ferment" or "long rise" in a warm location overnight or at least 8-10 hours.
Dough should be nearly doubled and bubbly before you are ready to shape and let final proof.
How to bake using the Pullman Loaf Pan:
After initial bulk ferment, this dough can either be shaped by stretching gently into a 12 x 12 inch square and rolling up (cinnamon roll style) and placing in the Pullman Pan (lid on) for a final proof. - OR - dough can be placed in the refrigerator for an even longer bulk ferment. I have left bulk batches of dough for up to 10 days before shaping, proofing and baking. They will get a bit more "sour" in flavor.
After shaping, either cold proof or warm proof your dough. If wanting to bake within a few hours, proof dough in the Pullman Pan, in a warm (110 degree-ish) location for 2-3 hours or until slightly poofed. (Loaf may not double at this point and that is ok.)
If you have cold proofed your dough in the Pullman pan, pull it out of the refrigerator, score it an bake in as directed. If you cold proofed your dough in a bowl or in bulk container then remove from refrigerator, shape, place in pullman pan and allow to warm FIRST by placing location for 4-5 hours or until slightly poofed. (Again, loaf may not double at this point and that is ok.)
To bake your loaf:
Preheat oven to 375 degrees F
Using a bread lame or sharp knife, score about a 3/4 inch slice down the length of the loaf, right in the center.
Make sure your lid is on the Pullman pan and that your loaf has been properly proofed. (cold proofed IN the Pullman pan or shaped, placed in pan and warm proofed for 4ish hours)
Bake for 40 mins.
Remove pan and slide lid open to allow to vent/cool for an hour or so before removing from pan and slicing.
Store in bread bag at room temp or in refrigerator and slice as needed for lasting freshness. This loaf also freezes great!
NOTE: This recipe has been formulated to be the perfect size for the 13x4 inch Pullman pan (adjust accordingly for smaller or larger pans)
Notes
TIPS for the BEST loaf:
BIG BATCH BAKING: This recipe can easily be doubled or even tripled. Use the gram measurements for best accuracy and result. Store the dough in the refrigerator after bulk fermentation. When ready to bake a loaf, weigh out approximately 1250 grams of cold dough, stretch, shape, place in pan and let rise for 2-3 hours until slightly puffed before baking.
Score the top of the loaf with a bread lame or sharp knife, right down the center (approx 3/4 inch deep) right before closing the lid and popping it in the oven. This helps the loaf expand (and not blow out)
Expect the loaf to "oven spring" and expand nicely and fill the full loaf pan.
Don't overbake. The crust should be light brown and sturdy yet soft.
Wait until cooled to slice.
Store in the refrigerator and slice as needed to maintain freshness.
Baked loaves can also be wrapped in plastic wrap and frozen. They thaw nicely and taste great!
Did you make this recipe?
Please leave a comment on the blog or share a photo on Instagram
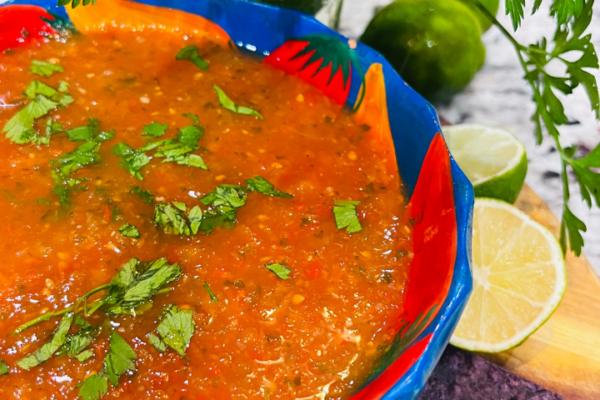
A Tangy, Flavorful Staple for Your Pantry When it comes to enjoying homemade salsa, there’s something incredibly satisfying about making your own. Not only do you get the perfect balance of heat...
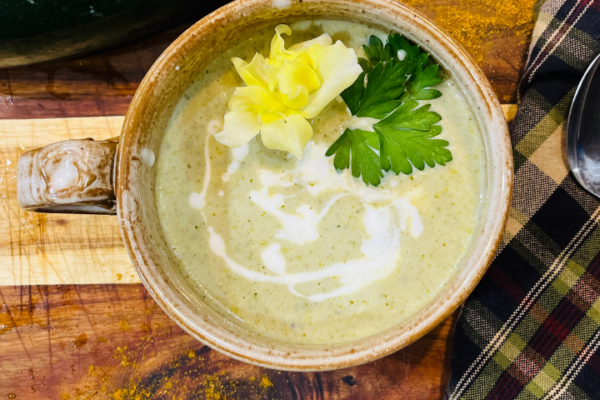
Taste of Comfort: Curried Zucchini Soup As the seasons change and zucchini becomes abundant in gardens and markets, there’s no better way to embrace this versatile vegetable than with a warm bowl...
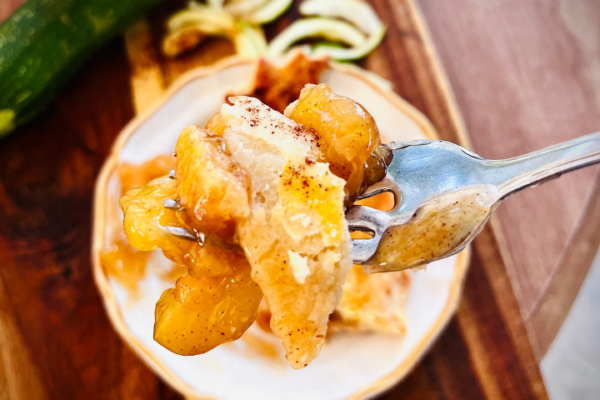
When it comes to baking, few desserts evoke nostalgia quite like apple pie. The comforting aroma of cinnamon and baked apples brings back memories of family gatherings and holiday celebrations. But...
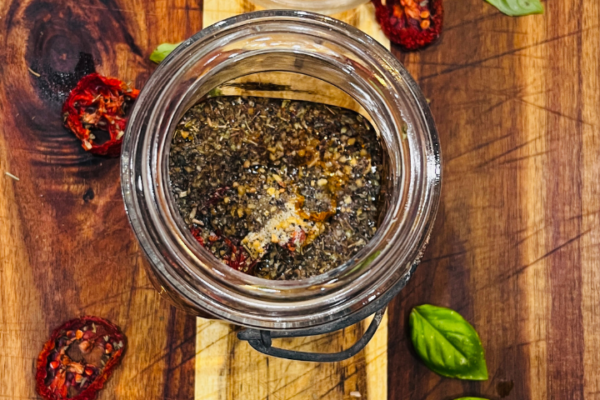
Sun-dried tomatoes are a culinary treasure that can elevate a variety of dishes with their intense flavor and chewy texture. These little gems, often found in Mediterranean cuisine, are more than...
The 2024 Garden Season was a big one for us. LOTS of infrastructure including fencing, new market-style beds and a brand new @FarmersFriend high tunnel and so much more. A lot went very...
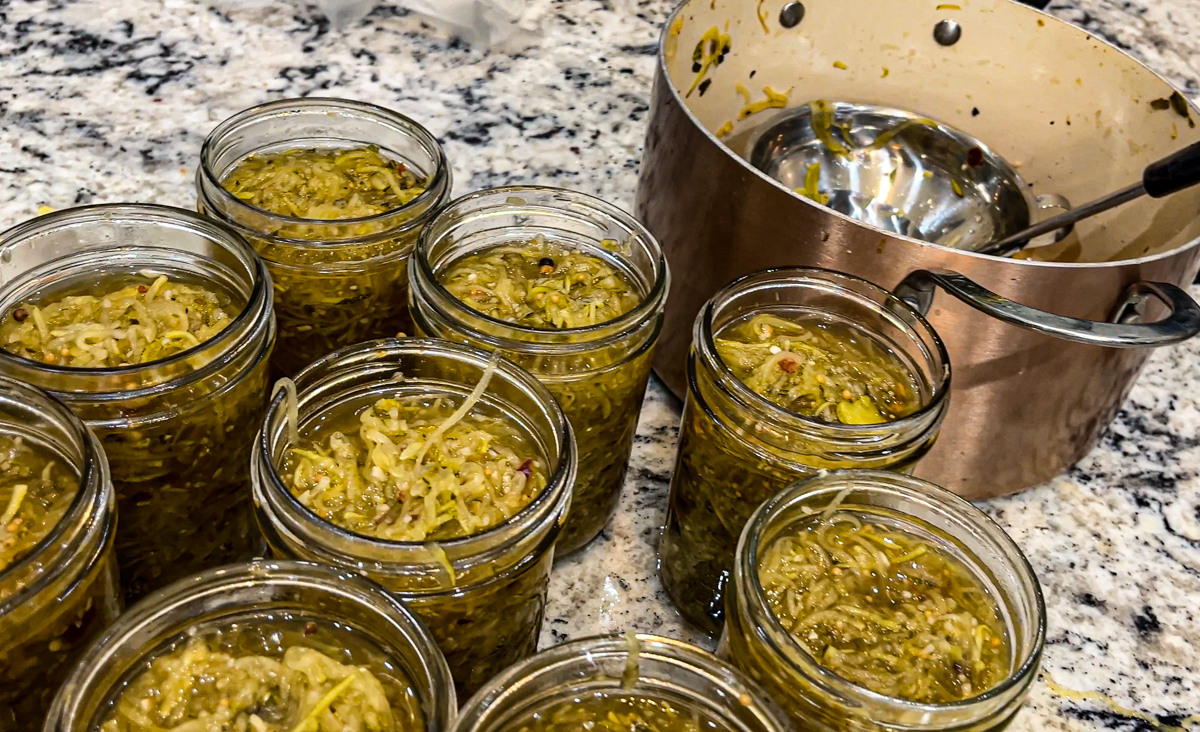
Are you looking for the perfect recipe to use up your zucchini abundance? This zucchini relish recipe is perfect because it is slightly sweet, a little sour, simple to put together and delicious as...
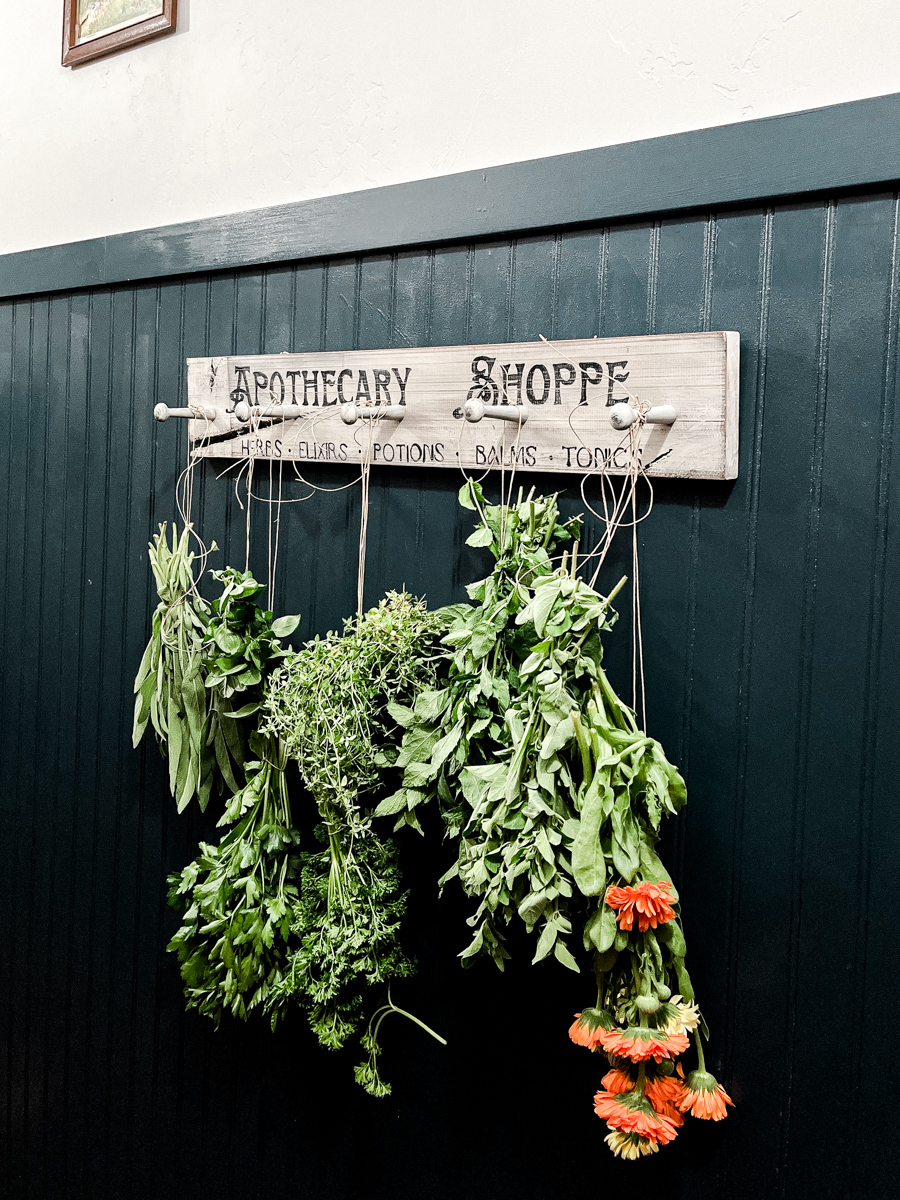
Summer harvest season is upon us. Vegetables, fruits, flowers, herbs. Praise God for this abundance! It is time to savor, gather and preserve all this goodness. Herbs are on my mind but I needed a...
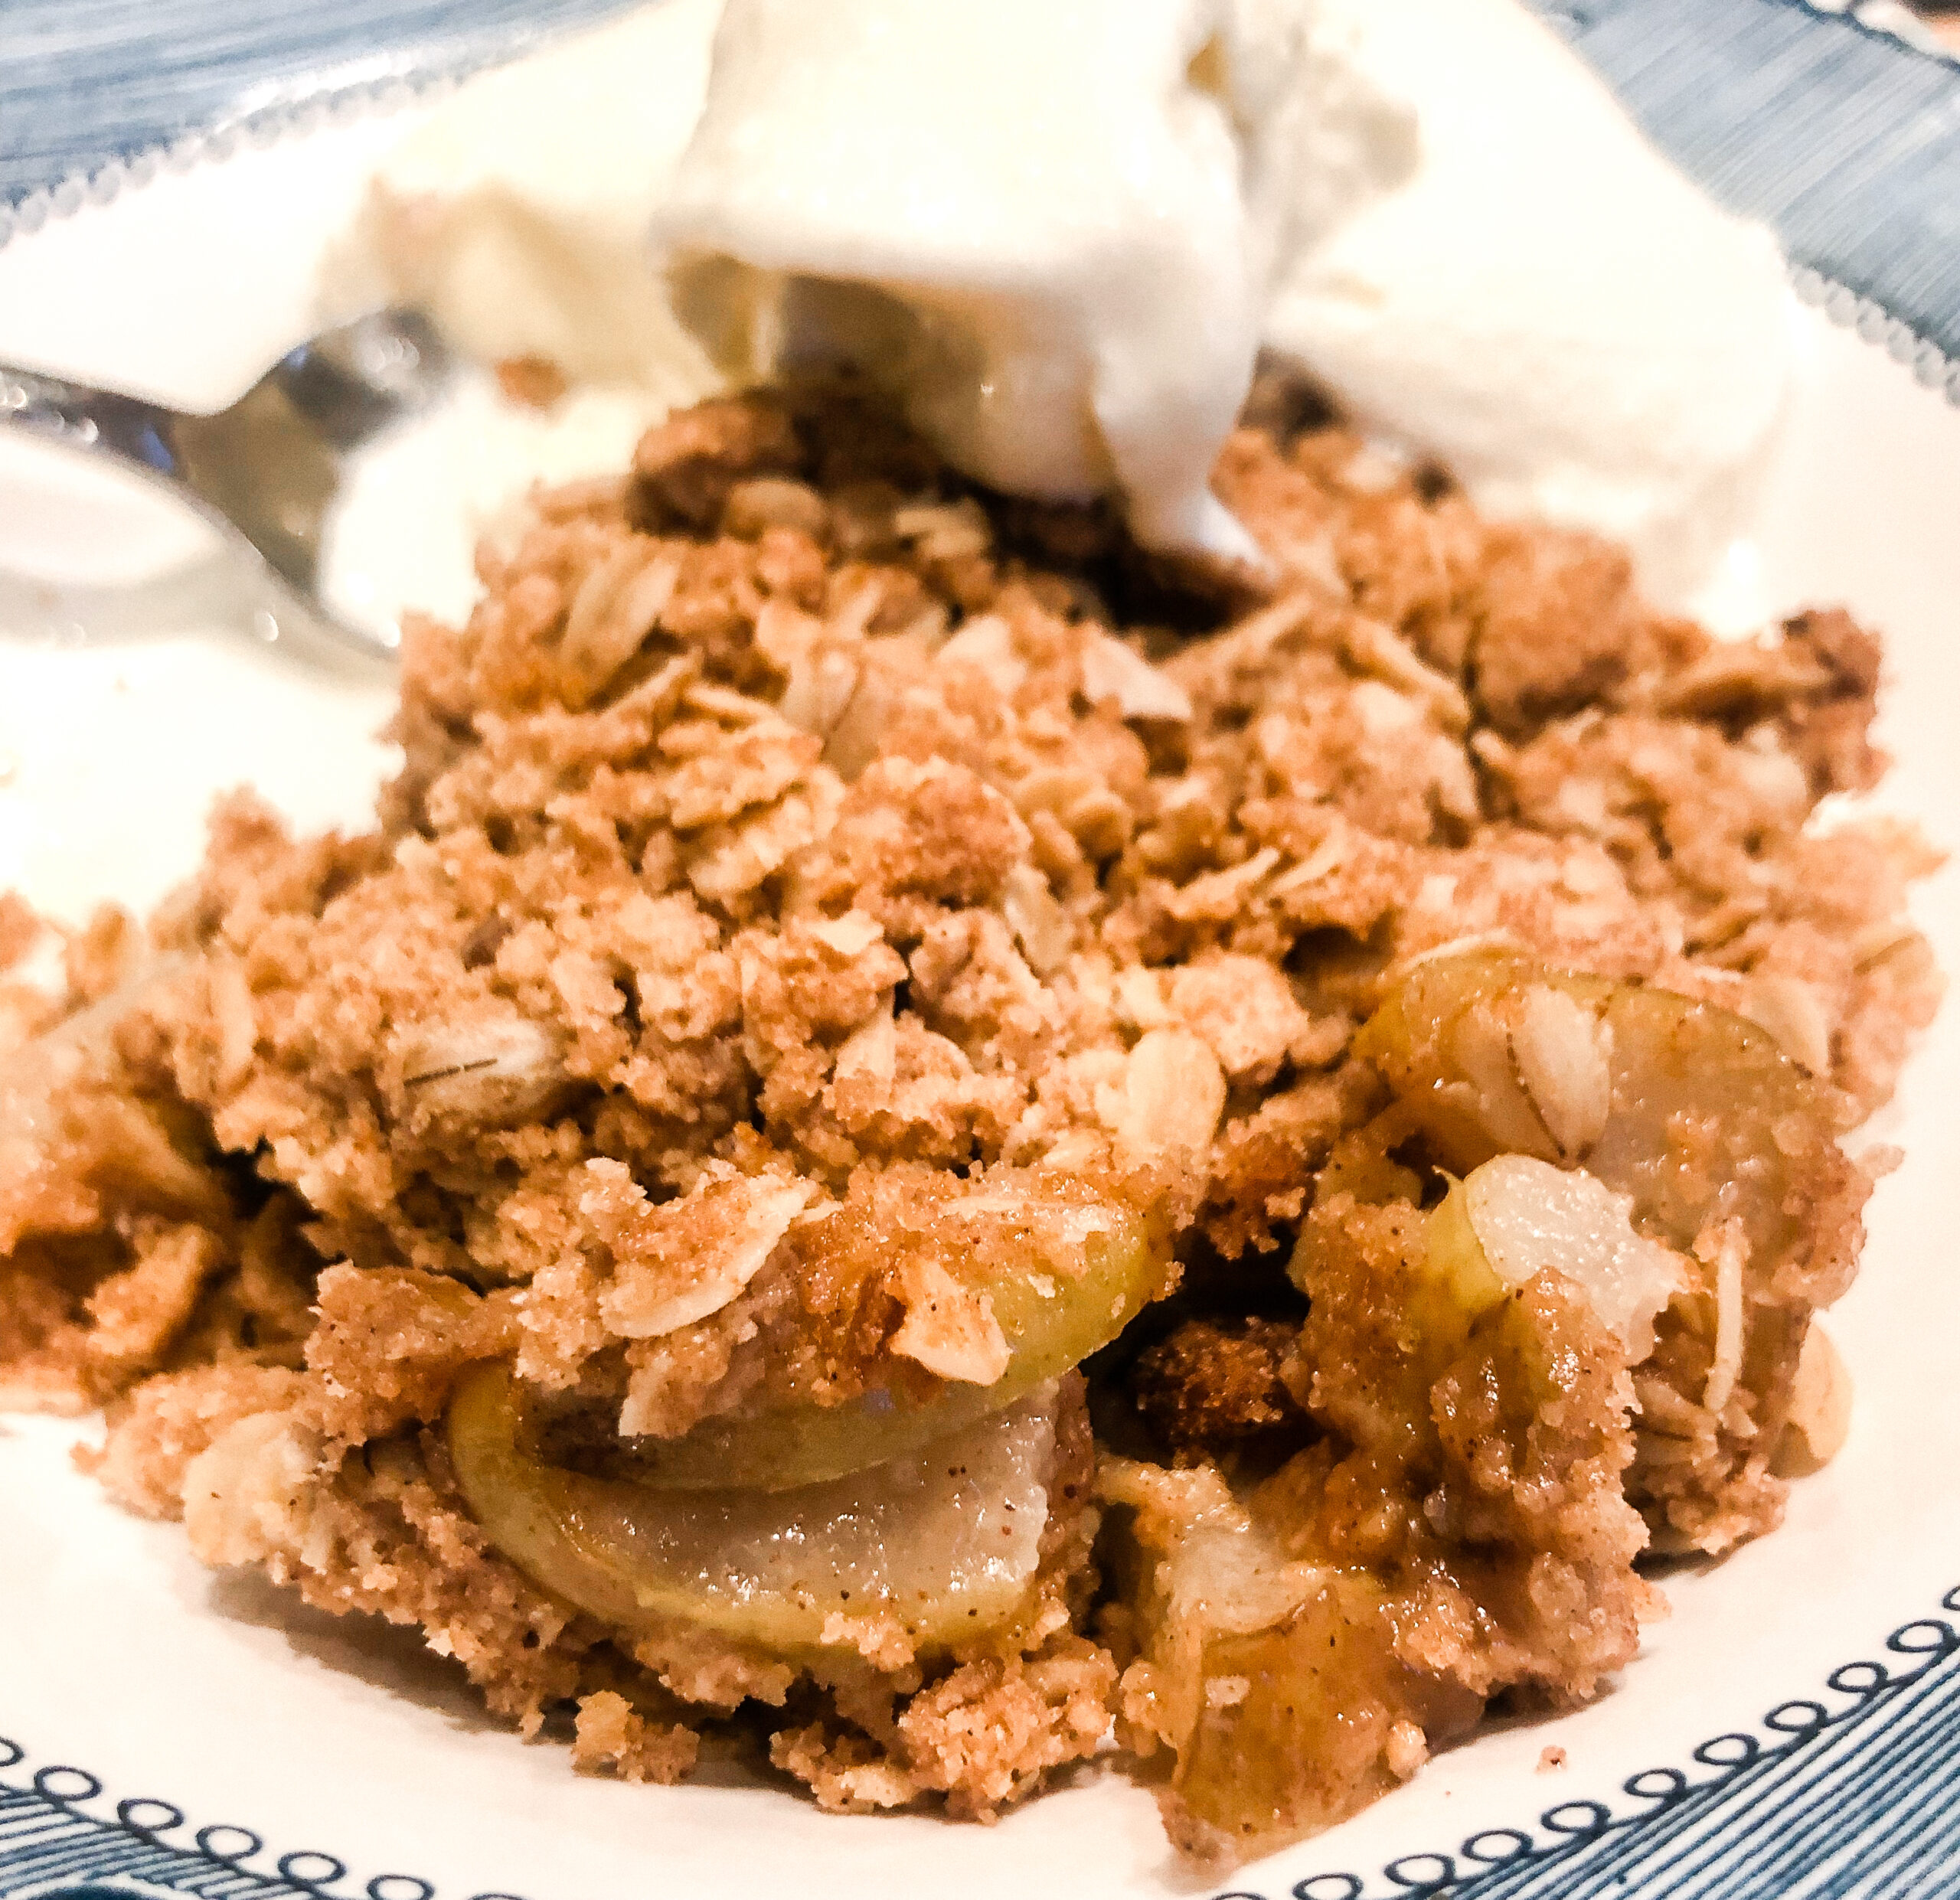
This warm, sweet fruit crisp with a crunchy, cinnamon oatmeal topping is just the BEST. As the weather begins to cool slightly apples, pears, peaches and even plums ripen and a Fall Harvest Fruit...