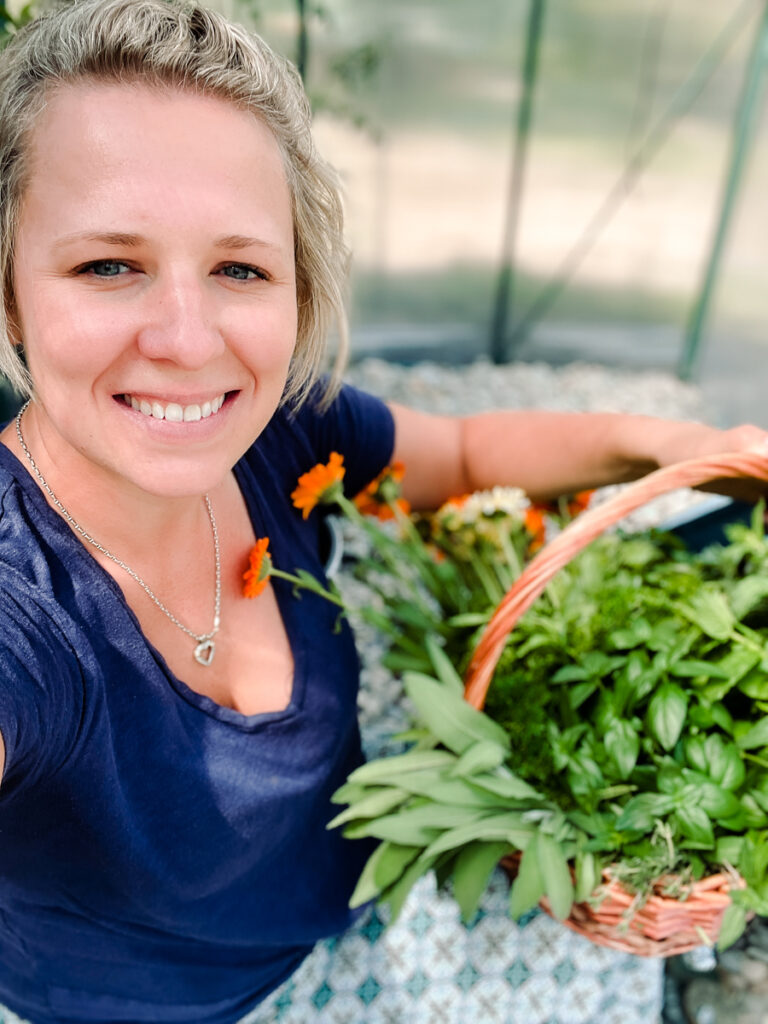
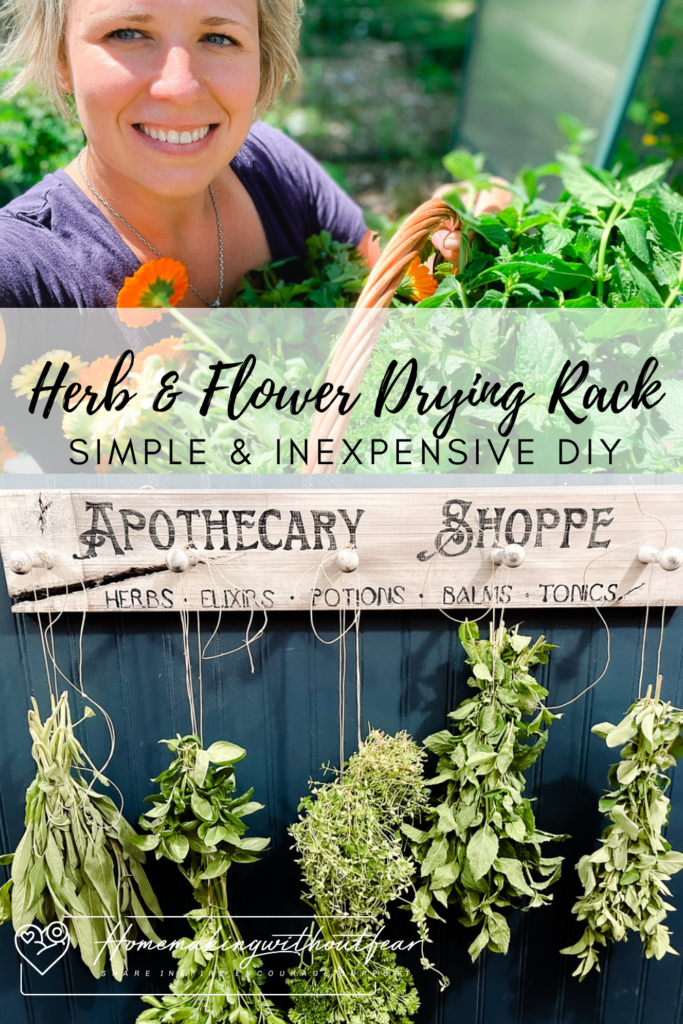
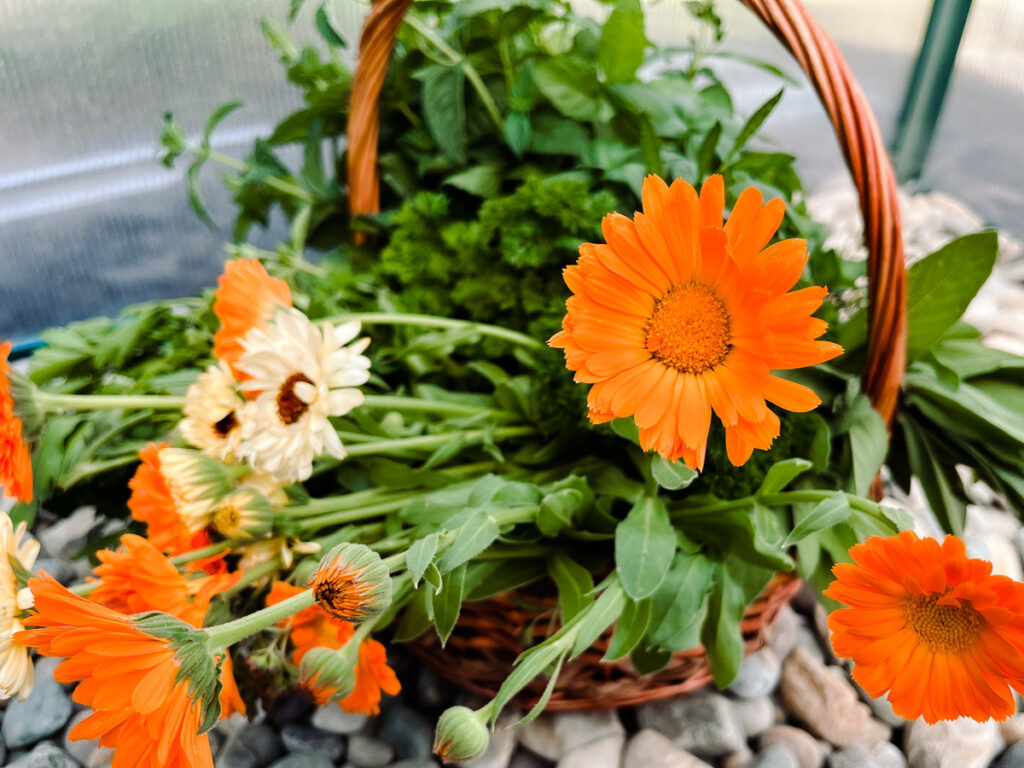
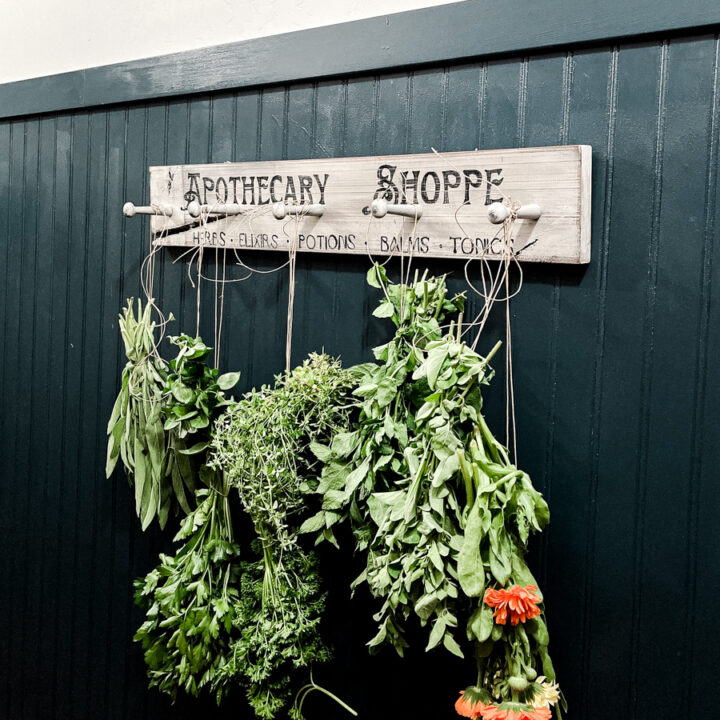
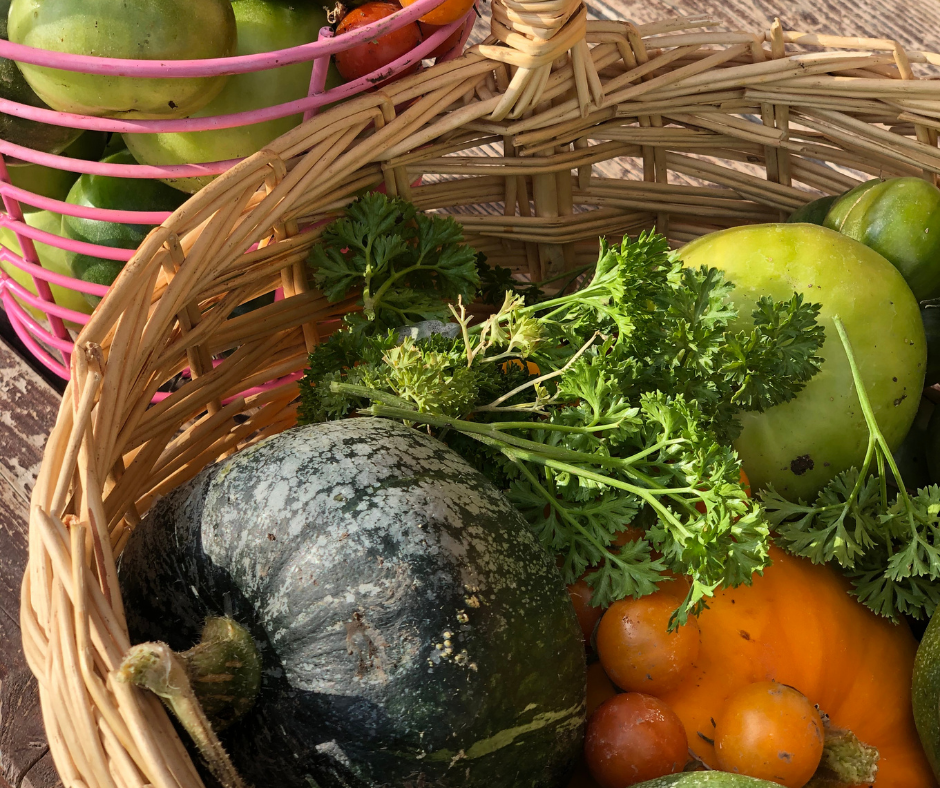
Summer harvest season is upon us. Vegetables, fruits, flowers, herbs. Praise God for this abundance! It is time to savor, gather and preserve all this goodness. Herbs are on my mind but I needed a drying rack so I made one, for next to nothing. Let me show you how you too can make this super inexpensive, FAST DIY Herb & Flower Rack.
Ways to Preserve Herbs
There are lots of ways to preserve herbs. Maybe one of the best ways to maintain flavor and freshness is freeze drying but MAN are freeze dryers expensive. ( Oh how I want one. Whaaaa!)
You can also microwave dry them, freeze them on the stem, freeze in ice cubes, make a frozen blend (like a Basil Pesto), mix them in butters or in vinegars or oils.
Air drying is a less time and labor intensive method of preservation. It’s Easy! You simply gather your herbs and tie them into small loose bunches and hang them upside down in a warm, well ventilated place out of direct sunlight.
Using racks to dry herbs is a great way to dry lots of different herbs in bulk. Spread them out on racks or tie them in bundles and allow them to dry well.
You can then remove the leaves or petals and place them in airtight containers for longer term storage or use them in herbal tinctures, tonics, teas or salves.
Related Post: Natural Remedies|Essential Oil Salve
MAKE THIS DRYING RACK WITH ME ON YOUTUBE!
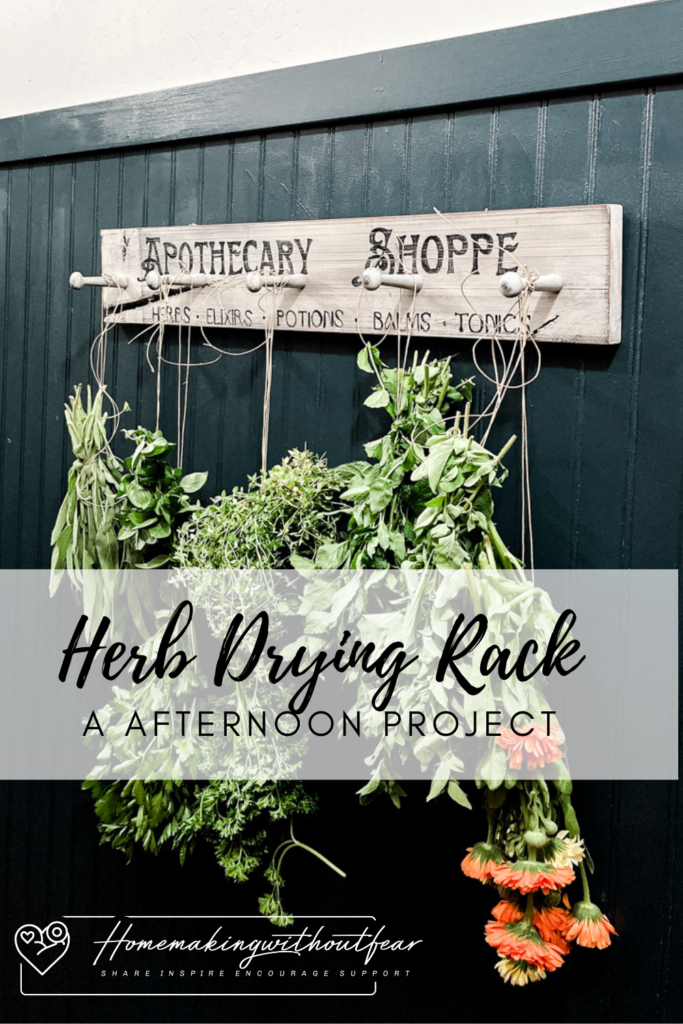
Pin this Image to save to Pinterest!
How long will Dried Herbs/Flowers stay good?
Dried herbs don’t really “go bad” but they do loose their potency over time.
In general dried herbs stored in glass airtight containers or glass jars can last 1-3 years. I don’t recommend storing herbs in plastic containers.
Make sure to never save herbs that have become moldy when drying out. Check dried herbs for any sign of “off smell” or mold. Discard those.
Be sure to place your herb rack in a well ventilated area or add a fan to help dry herbs without molding.
Why make THIS Herb & Flower Rack?
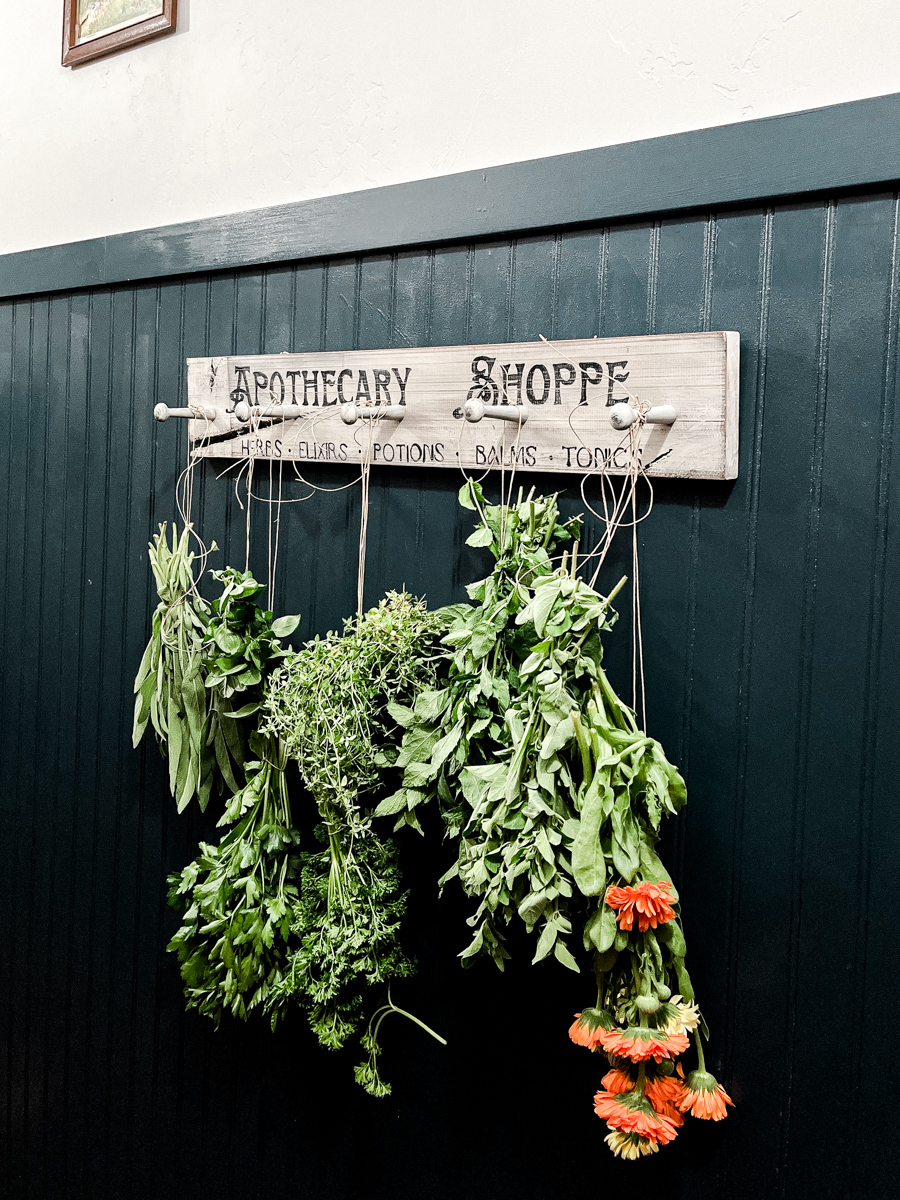
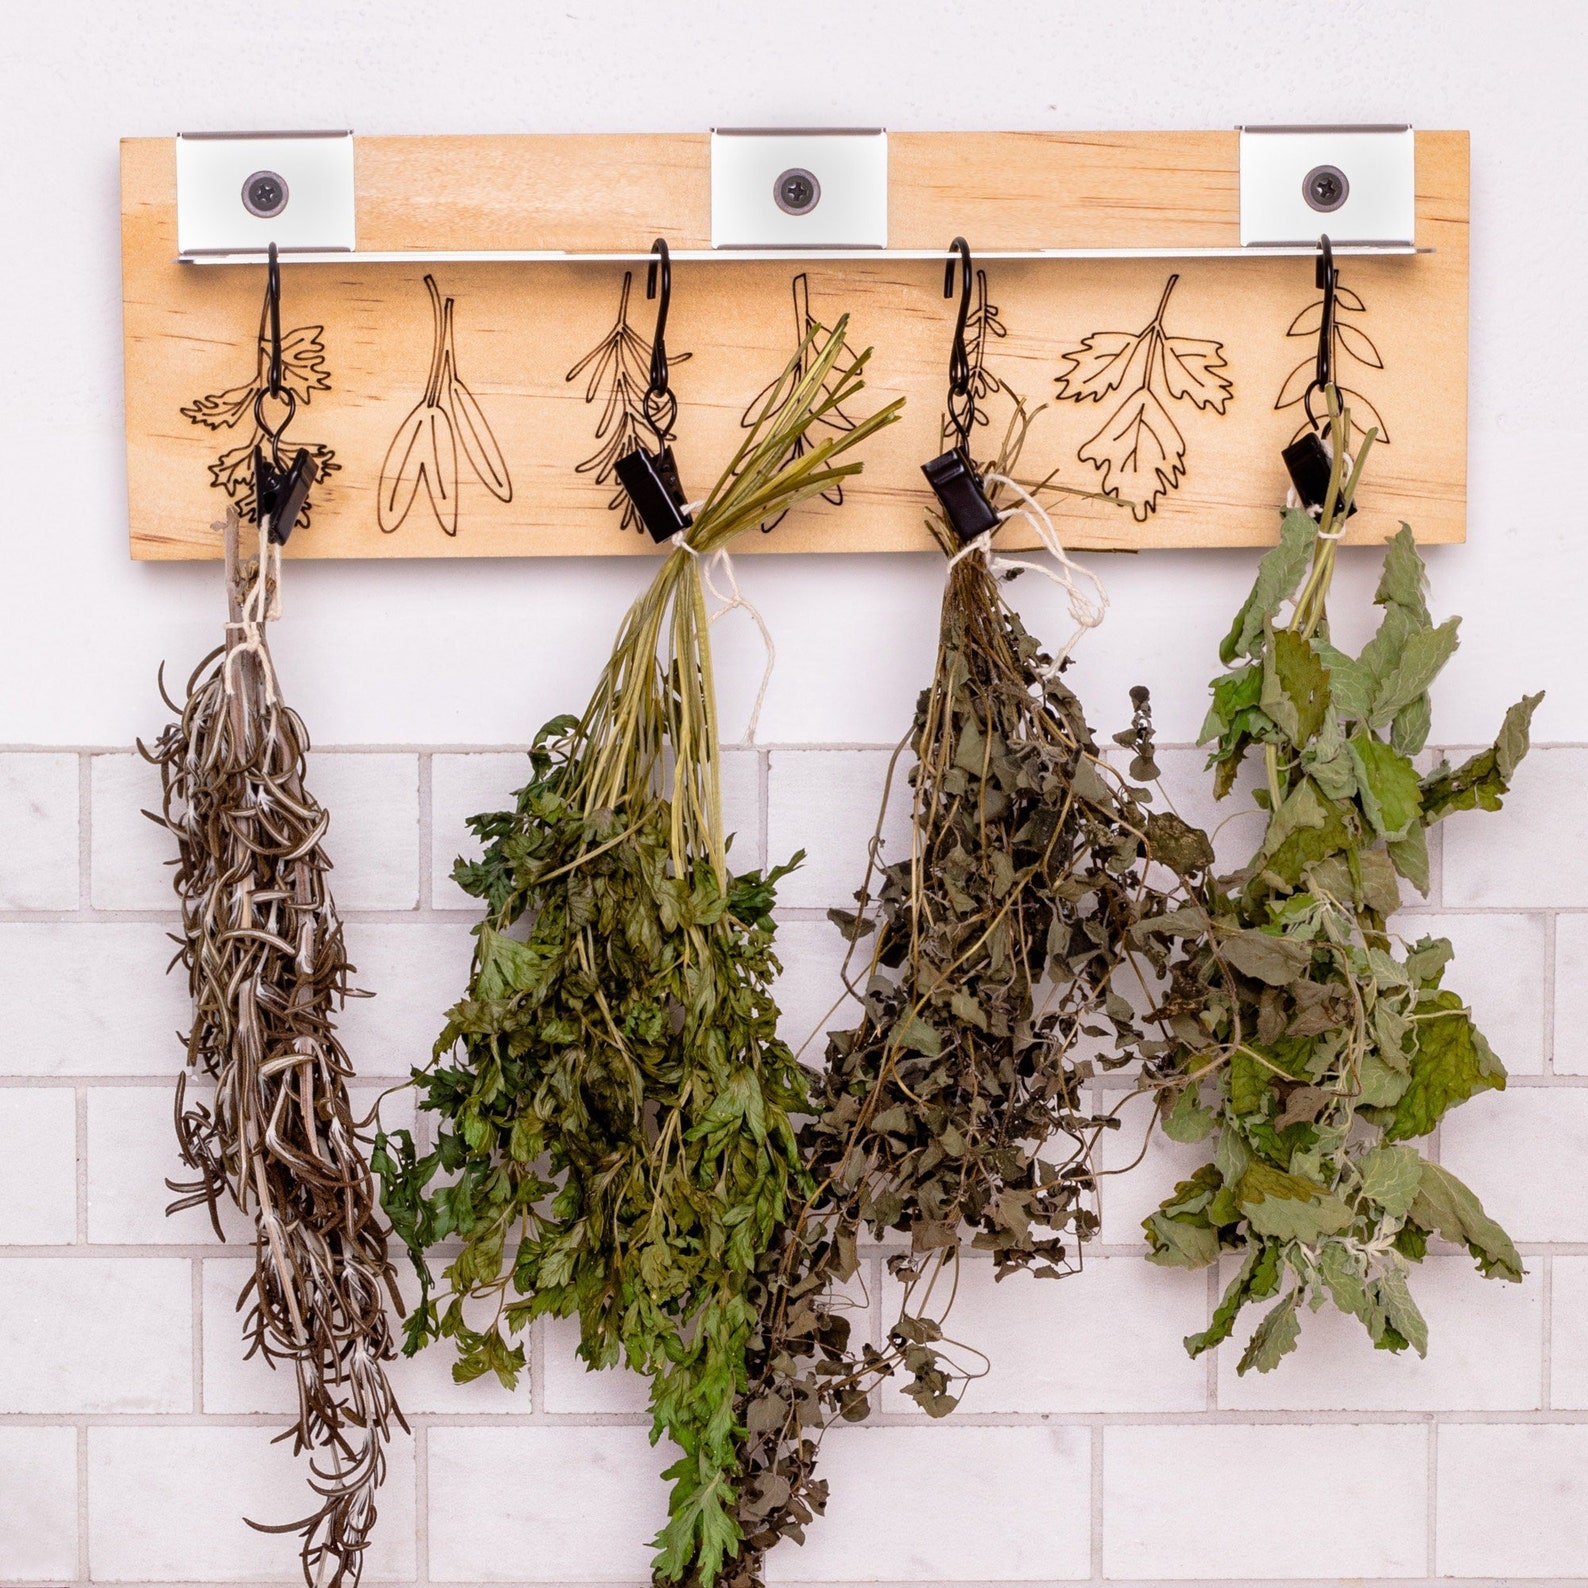
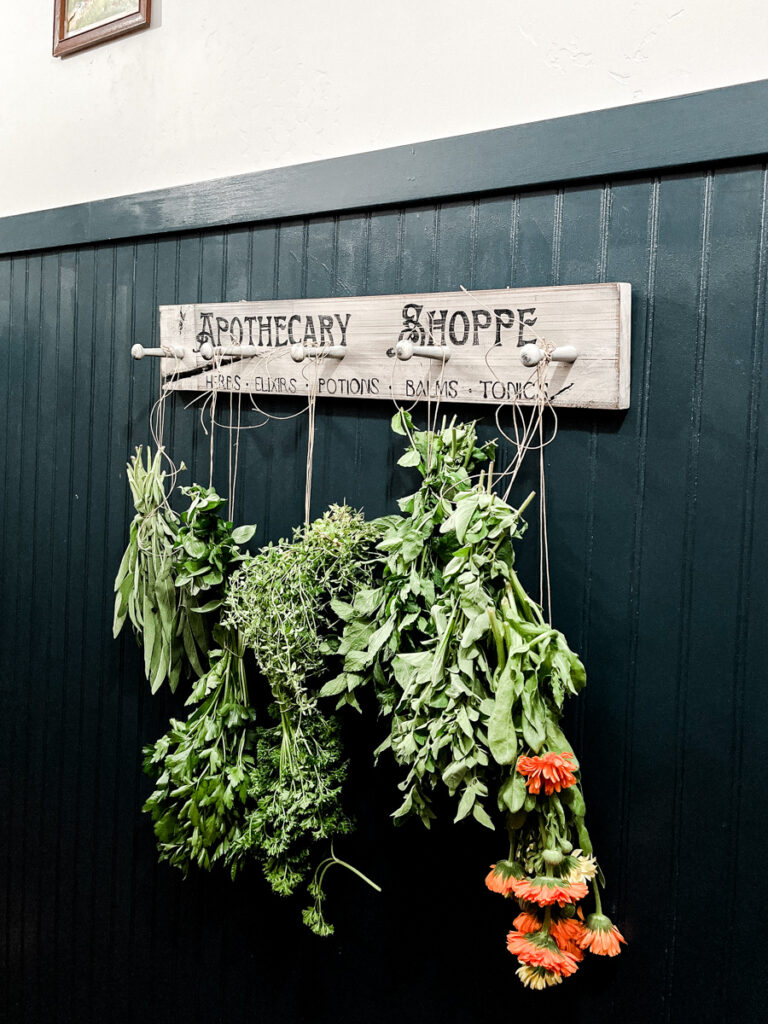
It is beautiful!
This rack doubles a decor. It is practical but also pretty. I wanted something that would take up no floor space but contributed to my aesthetic.
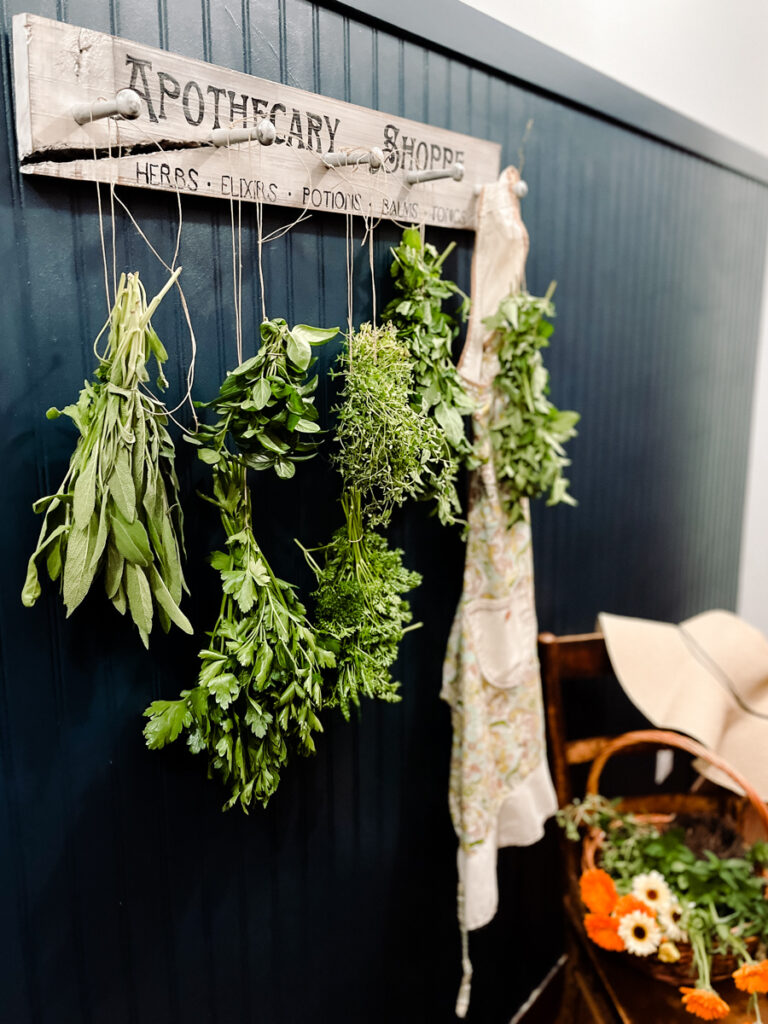
I love vintage, old world a little shabby and a whole lot chic!

YOU can also decide to put whatever you want on your sign. The words, the font style. All of it! The method I will show you using pencil rubbing transfer can be used with ANY print or lettering on a regular old sheet of 8.5 x 11 printer paper.
I do have a Cricut cutting machine and can make stencils but decided to show you this pencil rub transfer method because it makes it less expensive and attainable for everyone!
Here’s Another Post You Will Like!
It’s practical!
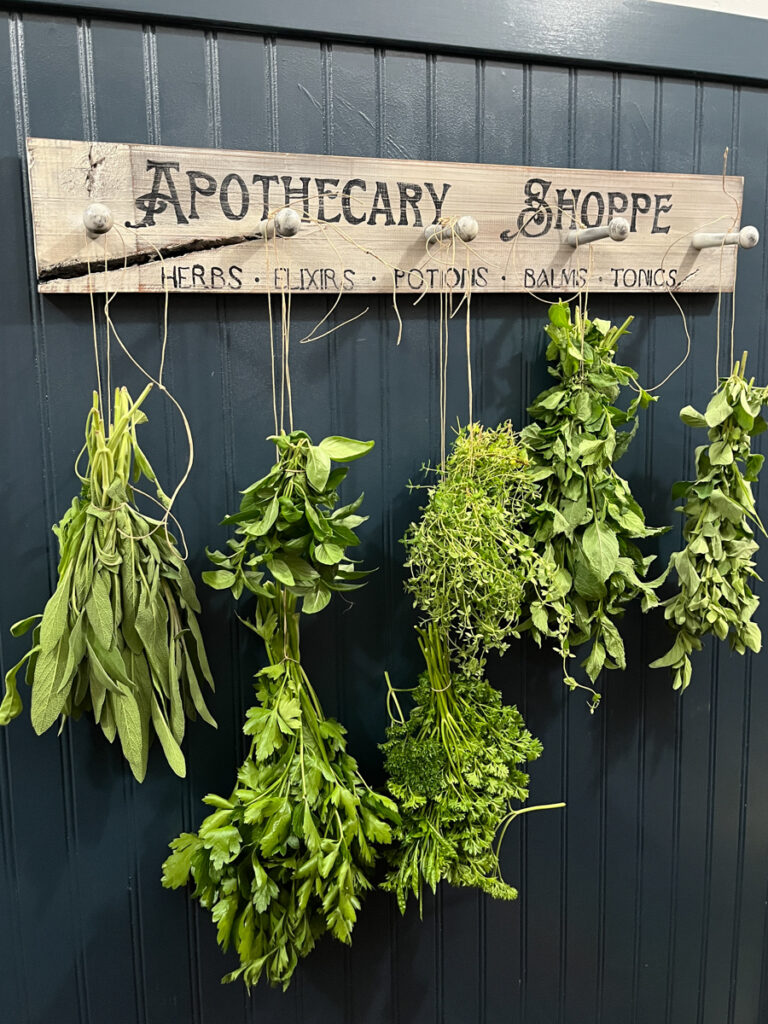
It works. . .tie herbs in bundles and allow to hang dry. Carefully remove leaves when they are completely dry and store in air tight containers.
This hang dry method may not work 100% if you live in super humid areas. Make sure if you do live in a humid are, keep bundles smaller so there is more airflow OR point a small fan in the direction of the rack to aid the drying process.
It’s Inexpensive! (Under 20$!!)
Maybe the best part is that I literally bought NOTHING for this project. I had everything on hand. You may have many of these supplies too!
Now hear me out. I know a lot of you are not craft and diy supply hoarders like I am BUT seriously a lot of the supplies and tools for this project are things you already may have.
If not there is always Amazon!
Even if you have to purchase supplies, they are very inexpensive. A scrap board, craft paint, some brushes, wooden pegs, pen, pencil, a regular printer to print lettering and picture hangers is all you really need.
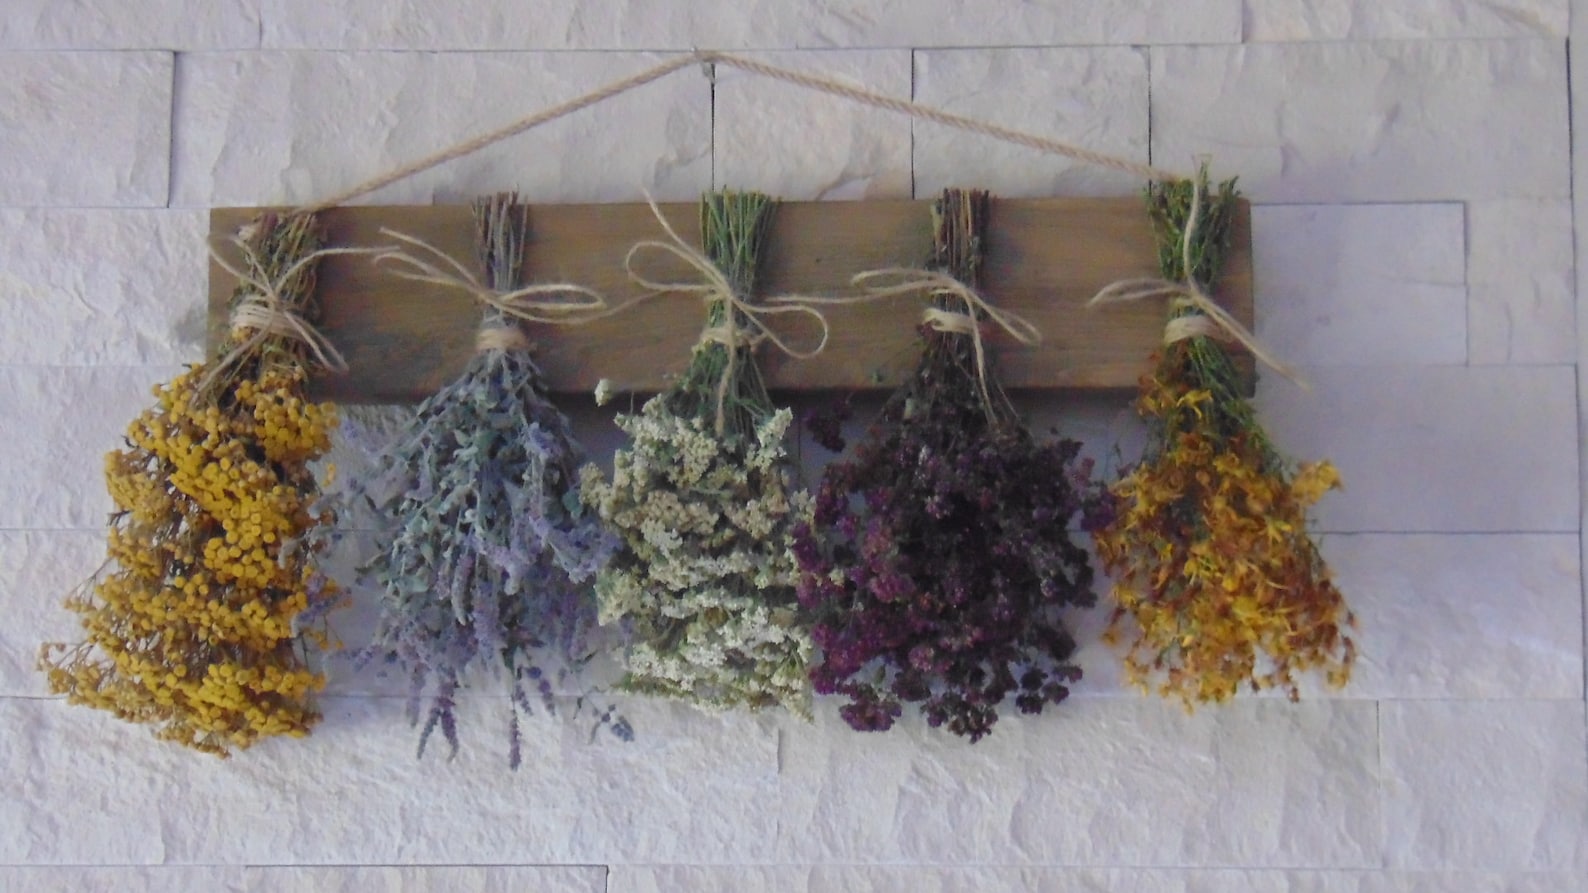
A Lil’ Inspiration for Trendy Herb & Flower Racks
I used Canva Design program to create a 8.5 x 11 standard printer paper print of the words I wanted for my sign. You can do the same thing in any WORD program or Goggle Doc. Select any words and fonts you like. Simply print, cut them out, scribble pencil lead on the back of the paper and arrange on your board.
Keep reading and I’ll walk you through how to transfer the letters to the board.

If you like the lettering of my sign you can certainly HAVE my printout!
Here are some other wording ideas. Be creative here and customize your rack to suit your style.
- Herb & Seed Cottage Co.
- Farm & Seed Co.
- Farmer’s Market
- Cottage Co.
- Cottage Shoppe
- Farm Supply
- Cottage Supply
- Herbal Apothecary Co.
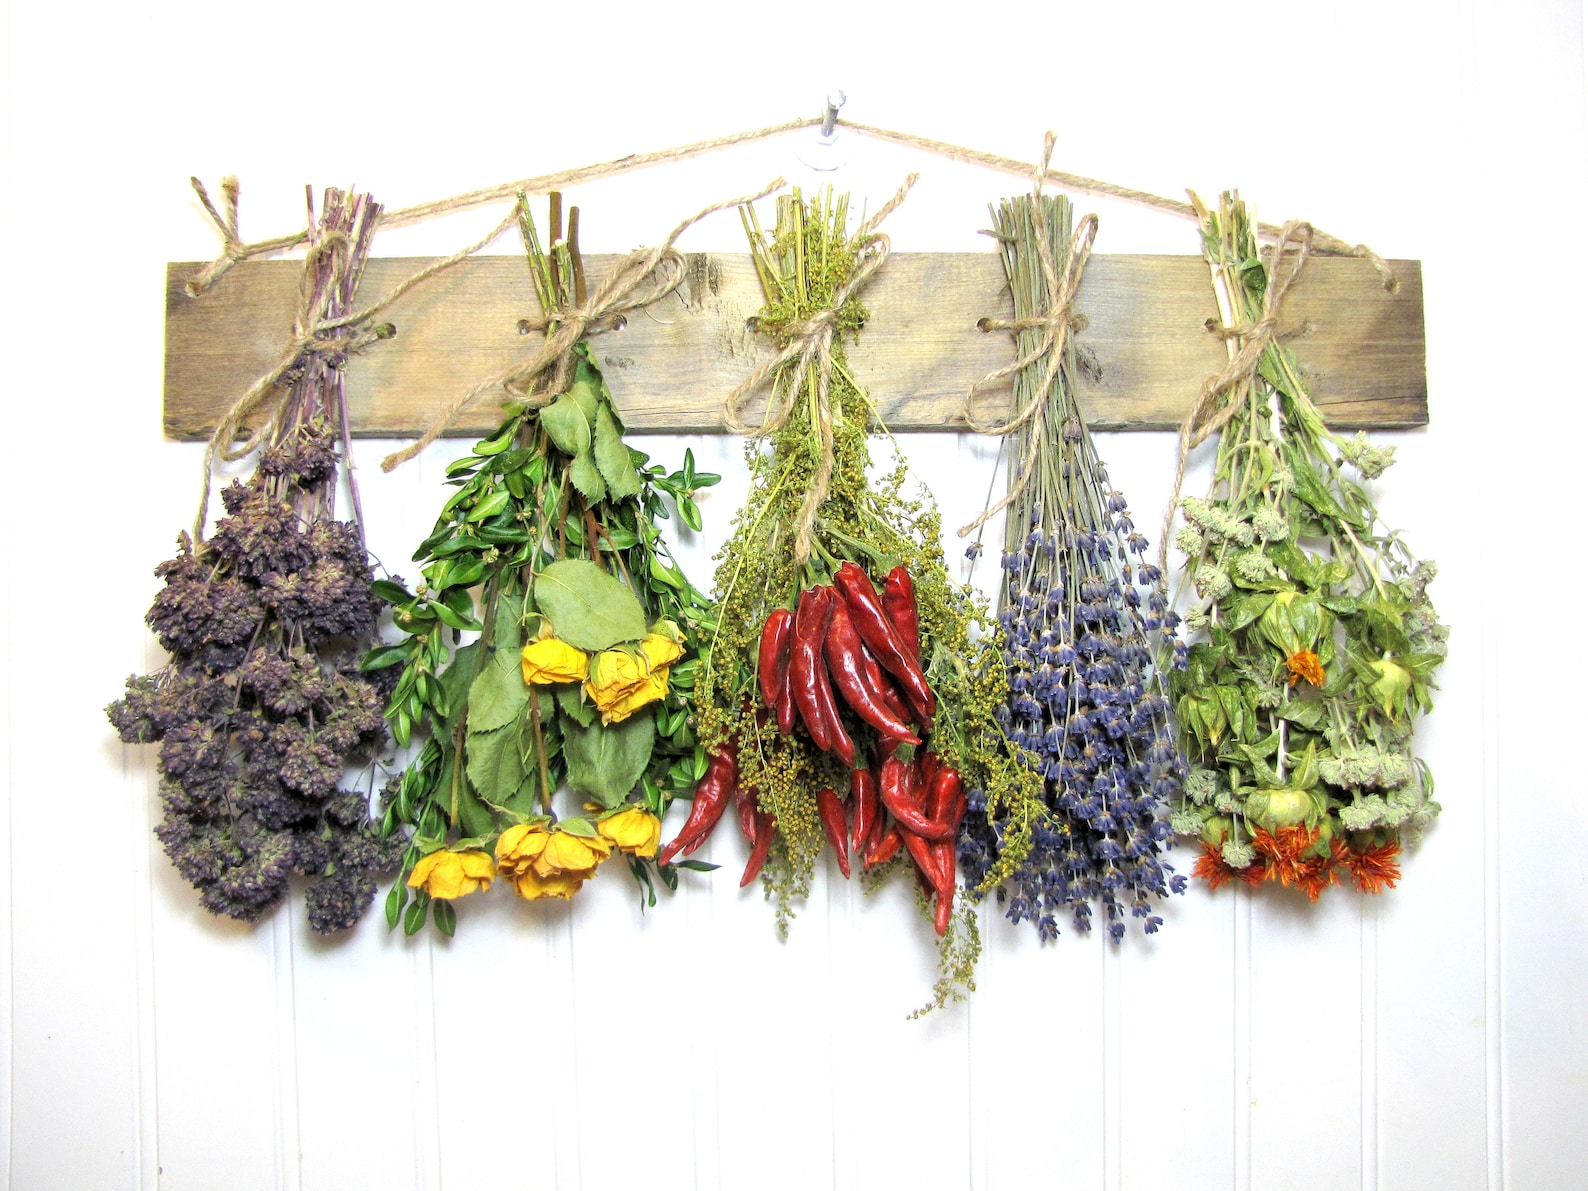
Herb & Flower Rack Inspo!
There are all kinds of super cute herb drying racks on Etsy but most of them are $40 plus. When I was searching them out, I just kept thinking “I can make that!”
There are lots of options. Here are some ideas for you. These are not sponsored or affiliates. Just pretty ideas for your Flower & Herb rack.
Herb Vibes on Etsy – $40
How to Make Your Own Herb & Flower Rack (With pictures)
Materials to gather
- 1 wooden board (a scrap piece works great AND mine for this project measured 27in. by 4.5in.) – cut to size
- Brown Craft Paint
- White Craft Paint
- Black Craft Paint
- Pencils
- Printed Lettering of choice (on regular printer paper)
- 1 Medium paint brush
- 1 fine tip paint brush
- Masking tape
- Ball point pen
- Drop cloth (or trash bag to keep working surface protected)
- Round Wooden Pegs
- 120 to 220 (fine grit) Sanding Sponge
- Damp cloth
- Clear Sealant of Choice (i.e. satin clear coat spray, past wax or polyacrylic works great!) – just use what you have.
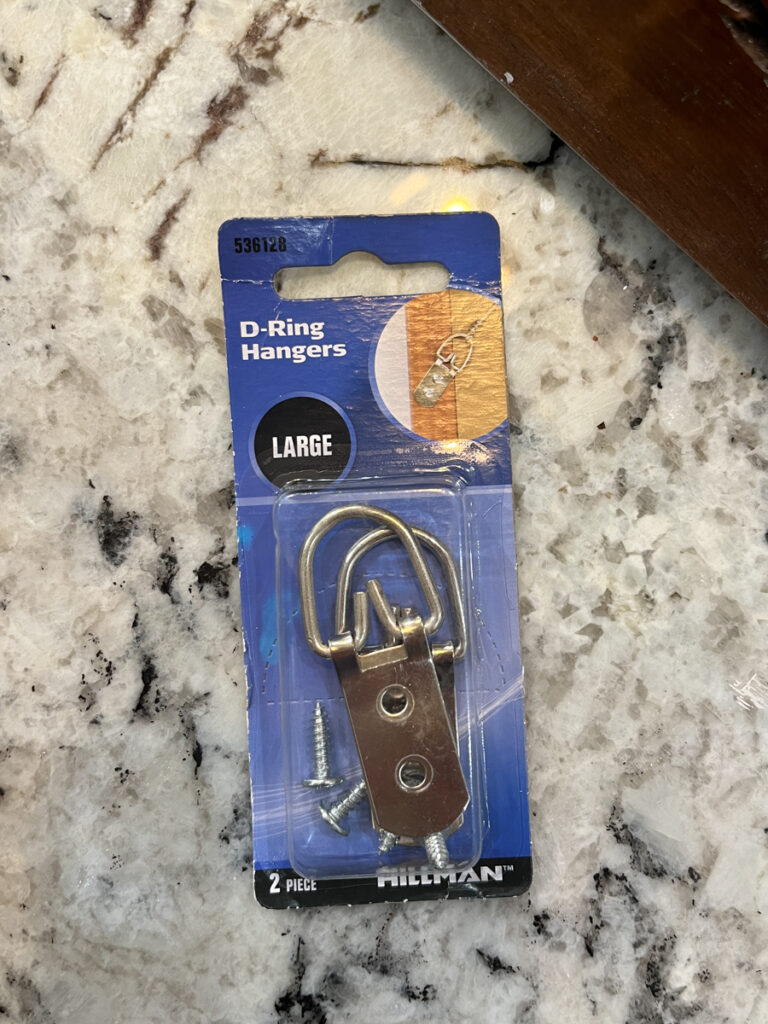
- D-ring picture Hangers
Tools you may need
- Drill with Philips bit
- Drill bit slightly smaller diameter than wooden peg screw
- Printer (to make stencil/letters for board)
- Tape Measure
Step by Step (with pictures)
Step 1: Select & Paint your rack board and pegs
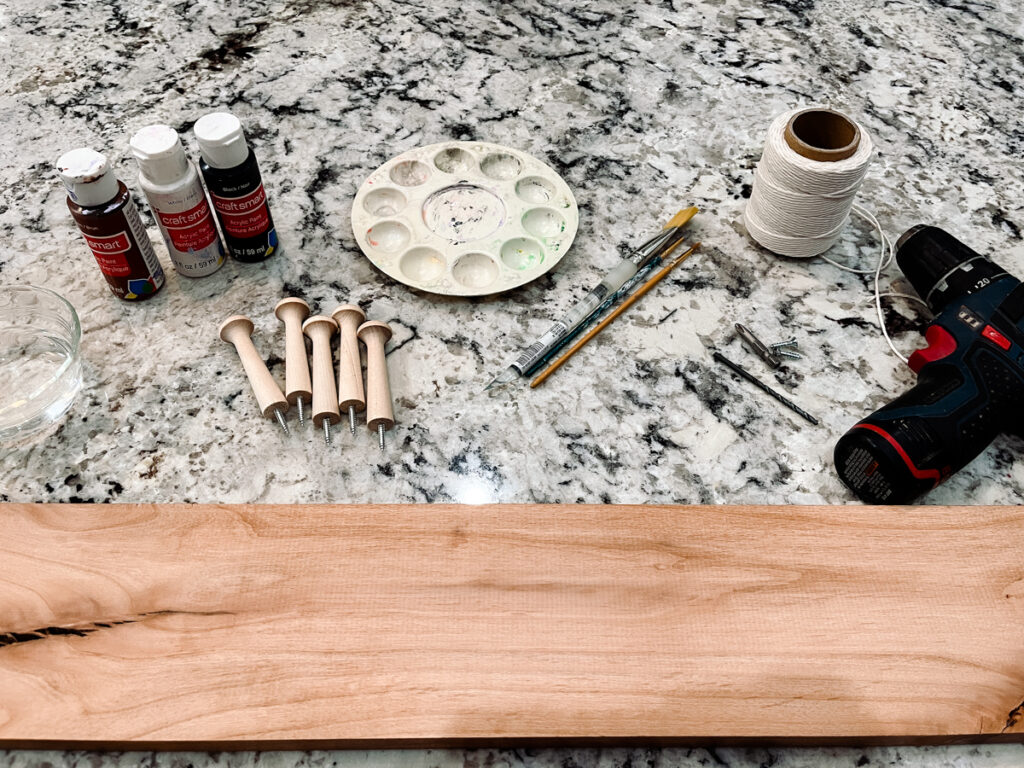
- First select your board of choice. If you need to – cut or have your board cut to size.
- Decide how many round pegs you would like to use for your drying rack. I recommend an odd number because I just think that looks better.
- Cover your work surface with drop cloth or garbage bag to protect it.
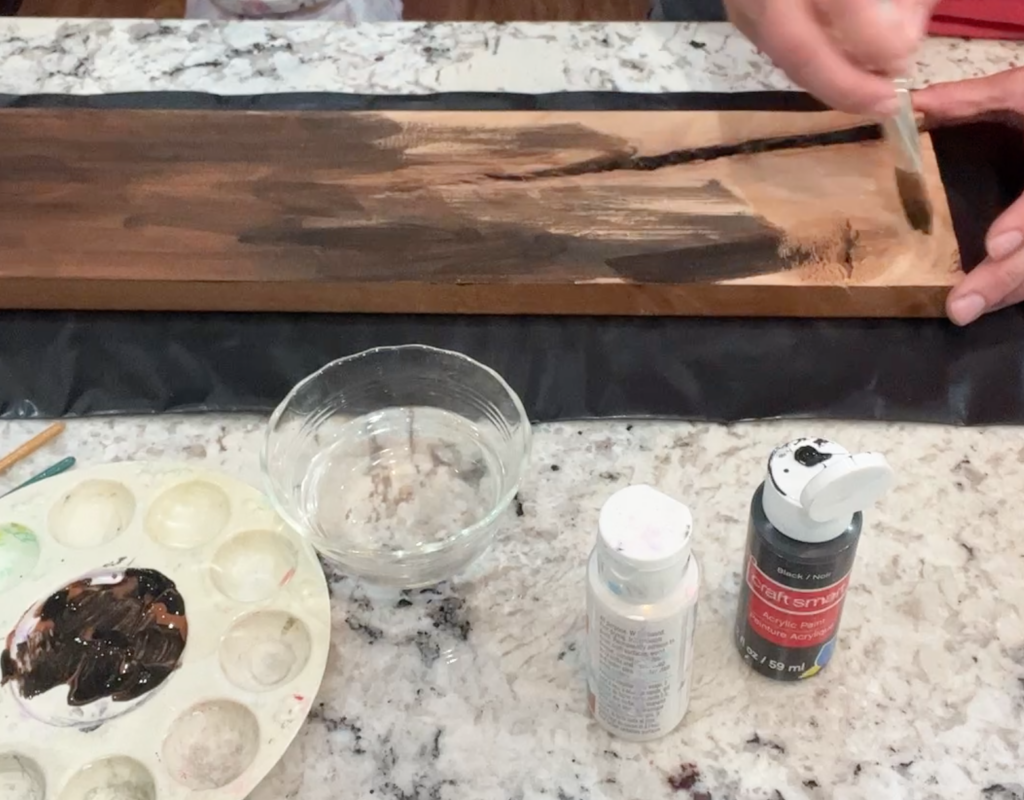
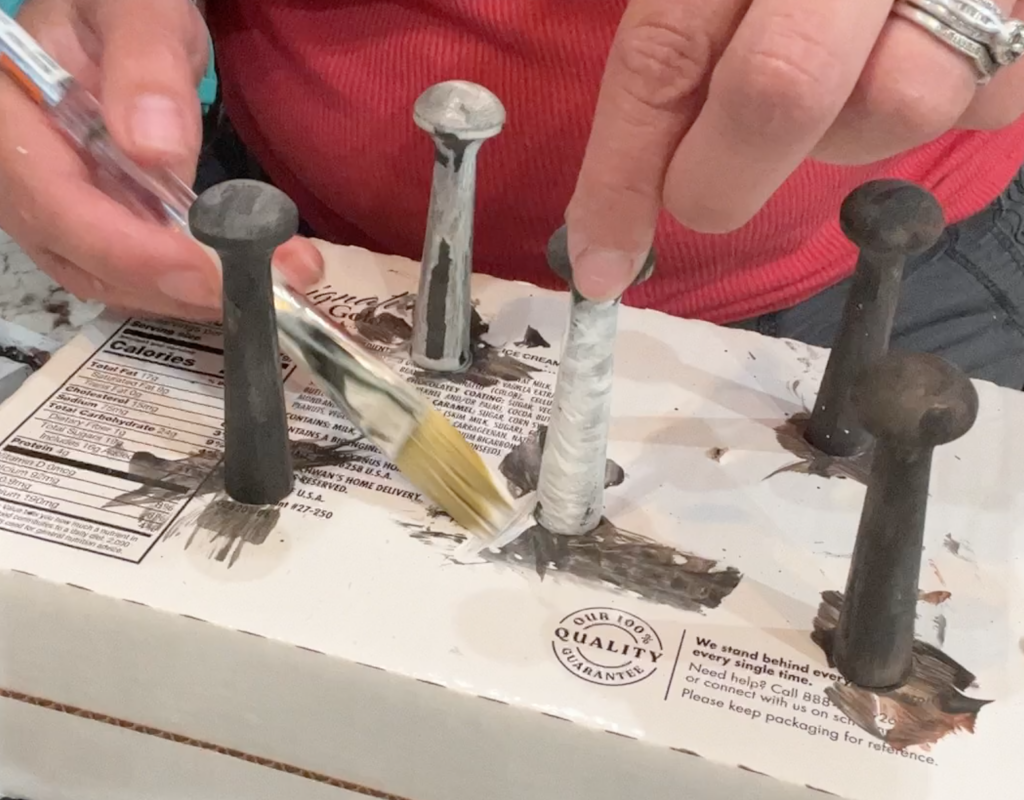
- Use brown craft paint and well moistened medium paint brush, coat all surface of you board with paint. You want this coat to more or less soak into the board. Do the same with all your wooden pegs.
- Let this coat of paint dry completely.
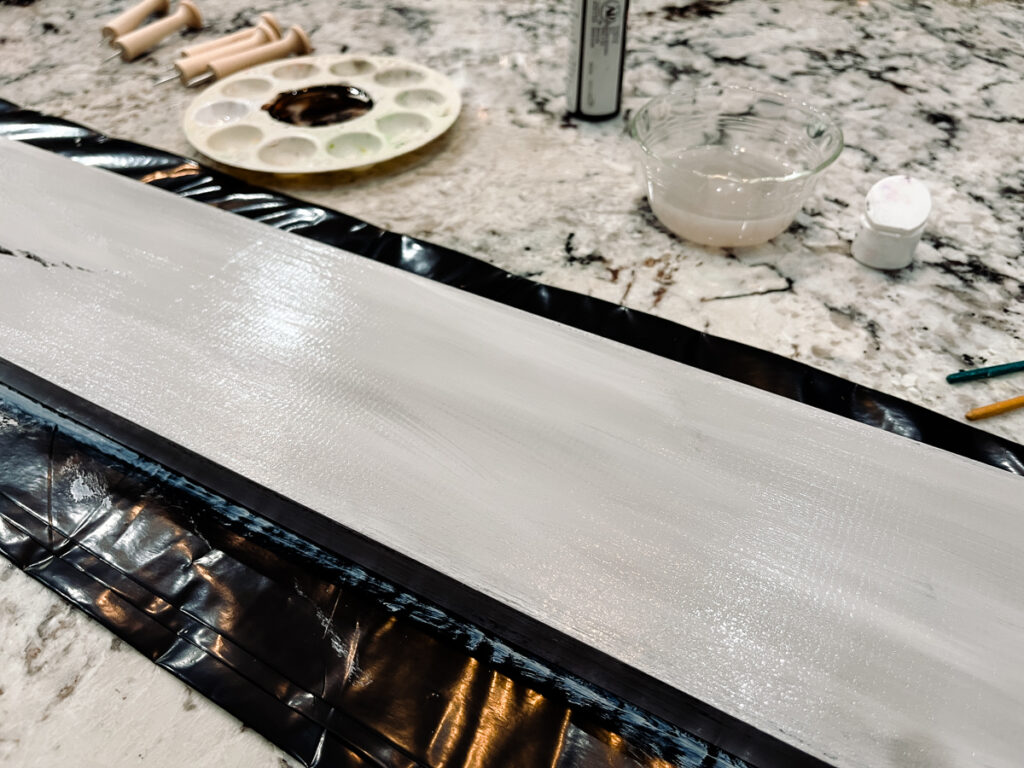
- Next grab your white craft paint and using a clean medium bursh dipped in water, coat your board on all surfaces with the white paint. This coat does not have to be perfect because you will distress it/sand it later. Make this white coat as light or dark as your prefer. Paint your wooden pegs the same way.
Step 2: Prepare your 8.5 x 11 paper stencil

- While this white coat of paint is drying, prepare your lettering you would like for your drying rack.
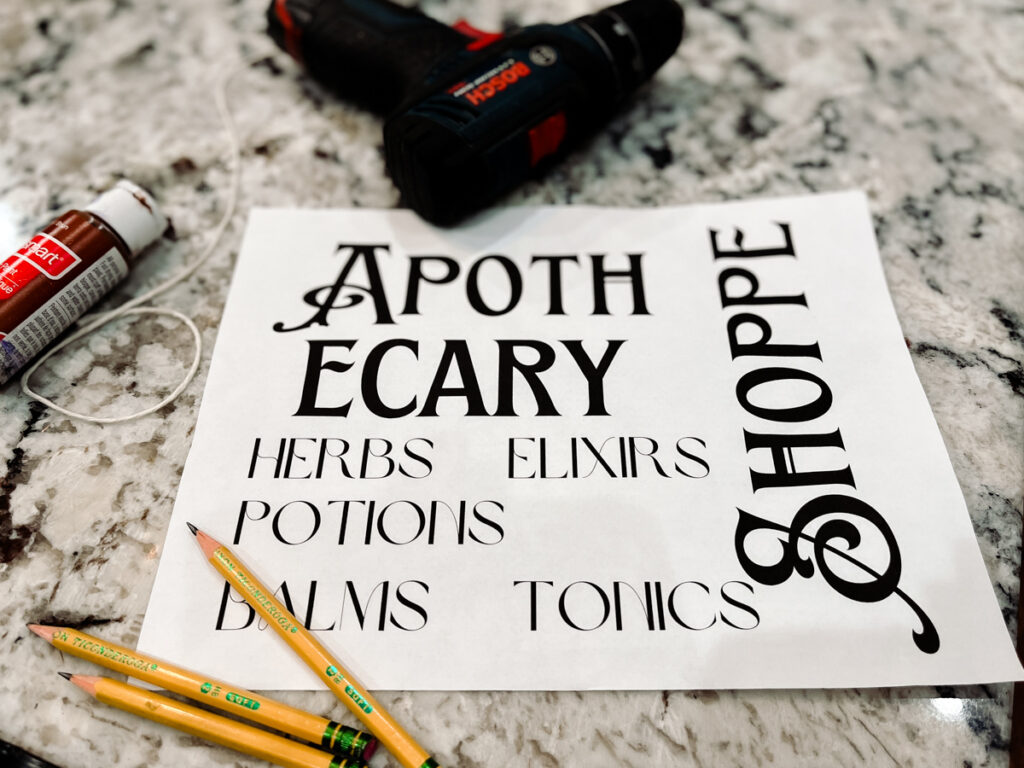
- I simply printed what I wanted my sign to say after playing with my Canva design program. You could also design and print your letters in a simple word or google document. Print your lettering on regular printer paper.
- Flip the sheet of paper over and using a pencil scribble all over the backside of the letters. (You will then flip the letters back over and trace them to create a transferred outline of your letters.)
Step 3: Create your letter stencil pencil transfer
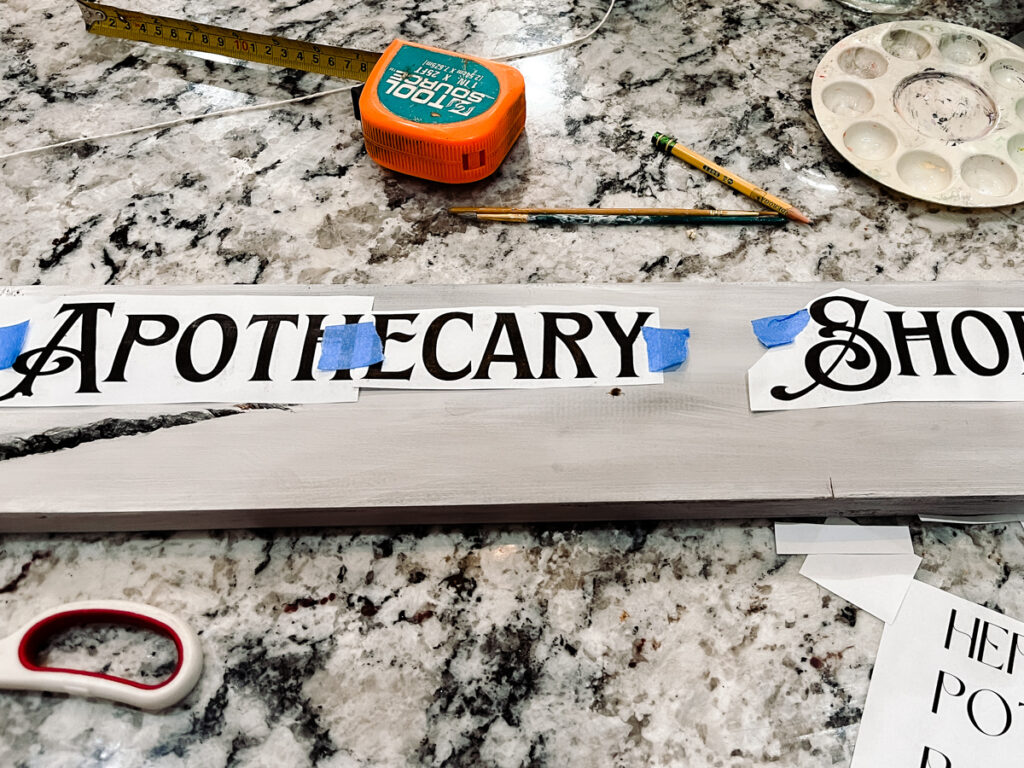

- Once your white paint has dried, cut out and place your letters/words face up on your sign where you would like them. Use masking tape to secure the paper where you’d like it to be.
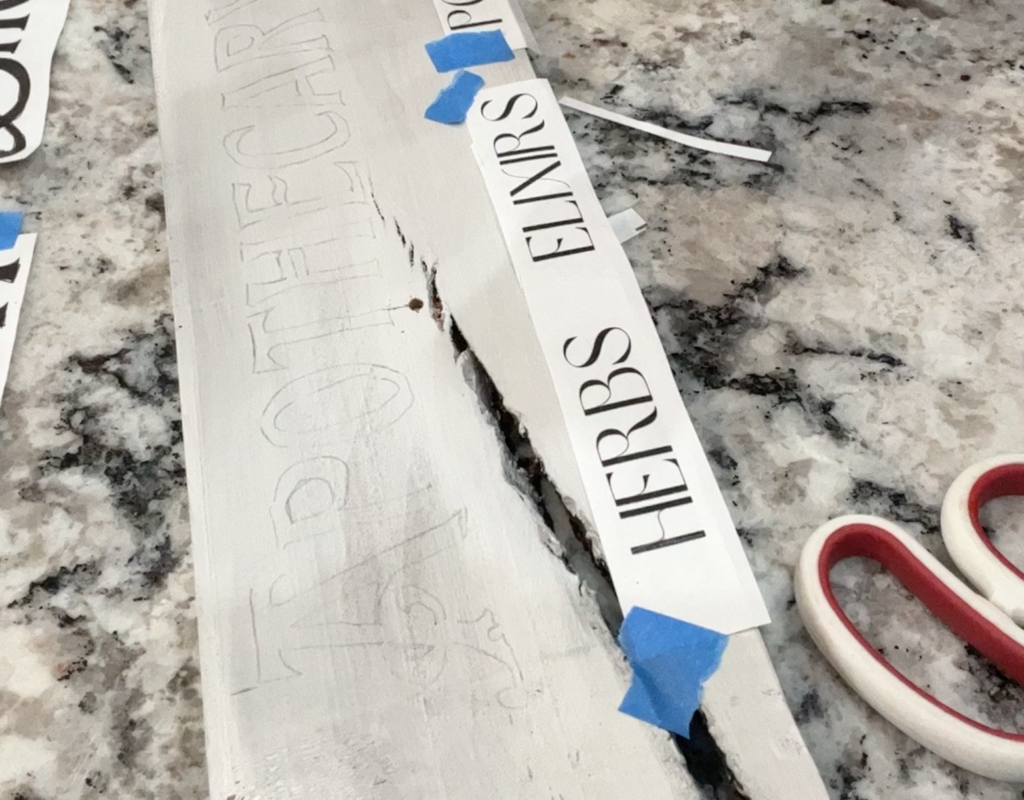
- Now, trace around your letters so that the pencil transfers an outline to your white sign. (Tracing a ball point pen creates a smoother transfer)
- Remove the paper transfer and you will see a pencil outline of your letters on your sign.
Step 4: Paint your lettering
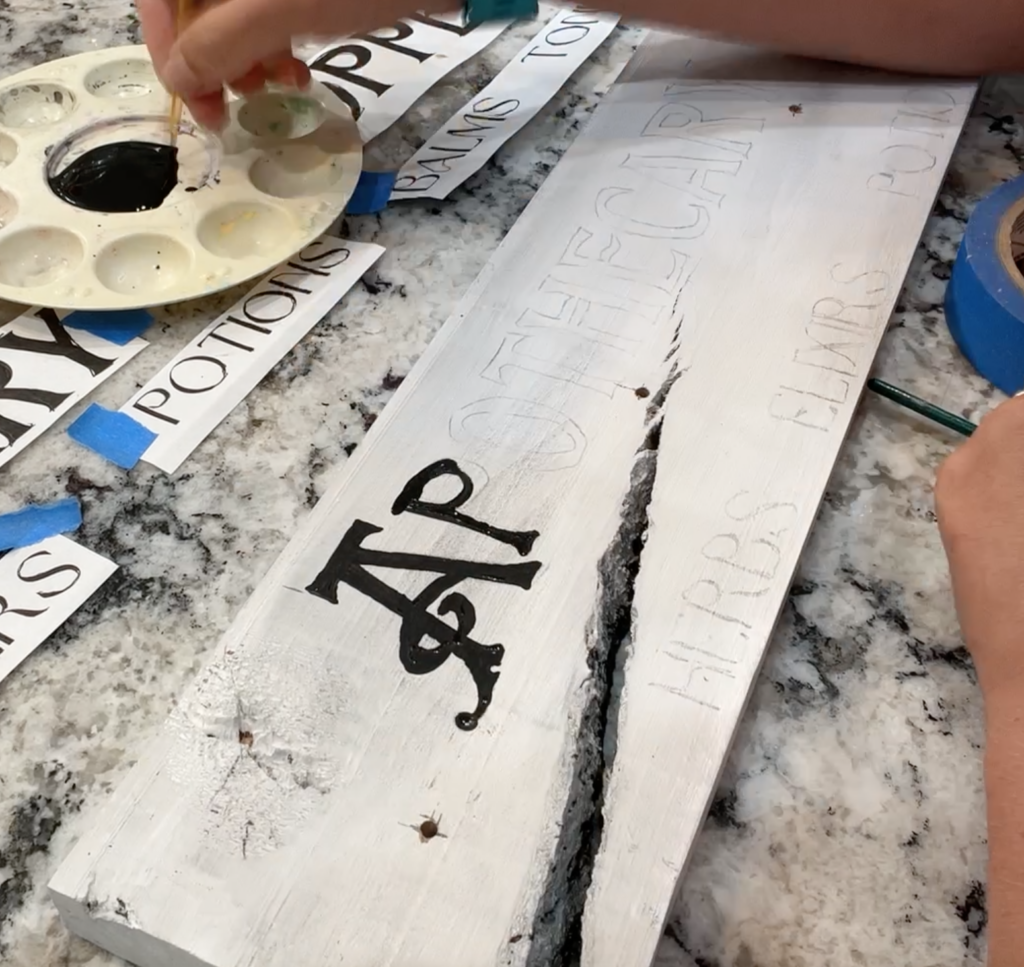
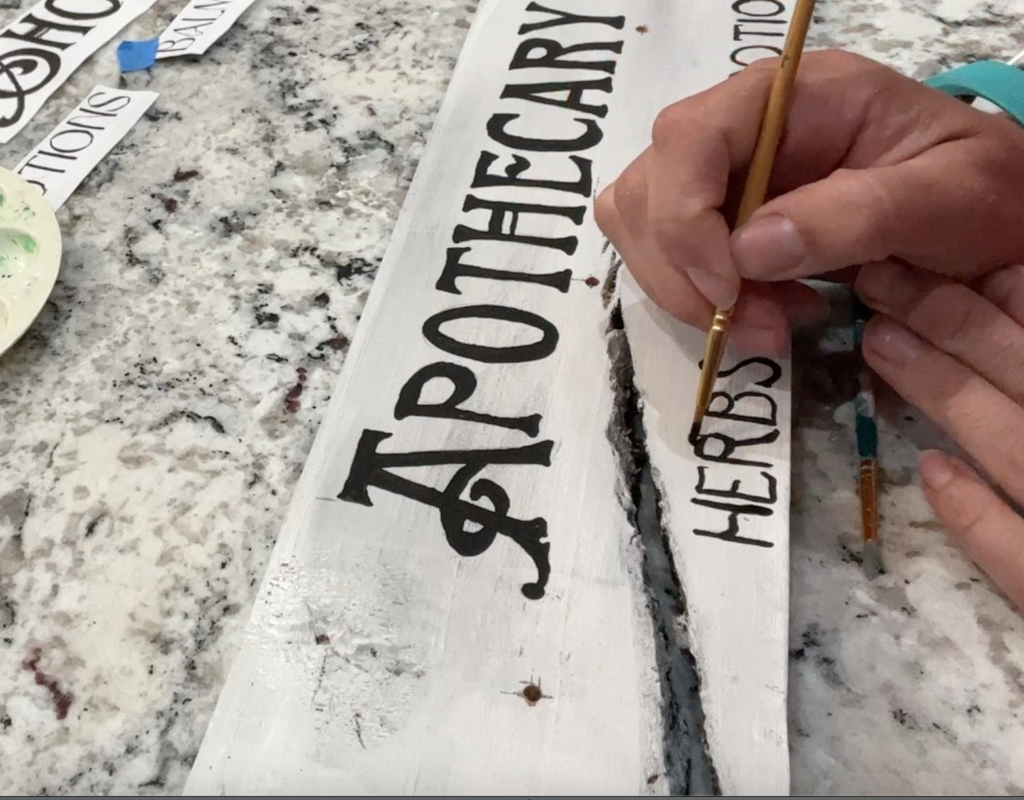
- Using a fine tip paint brush and black paint, outline and fill in your letters.
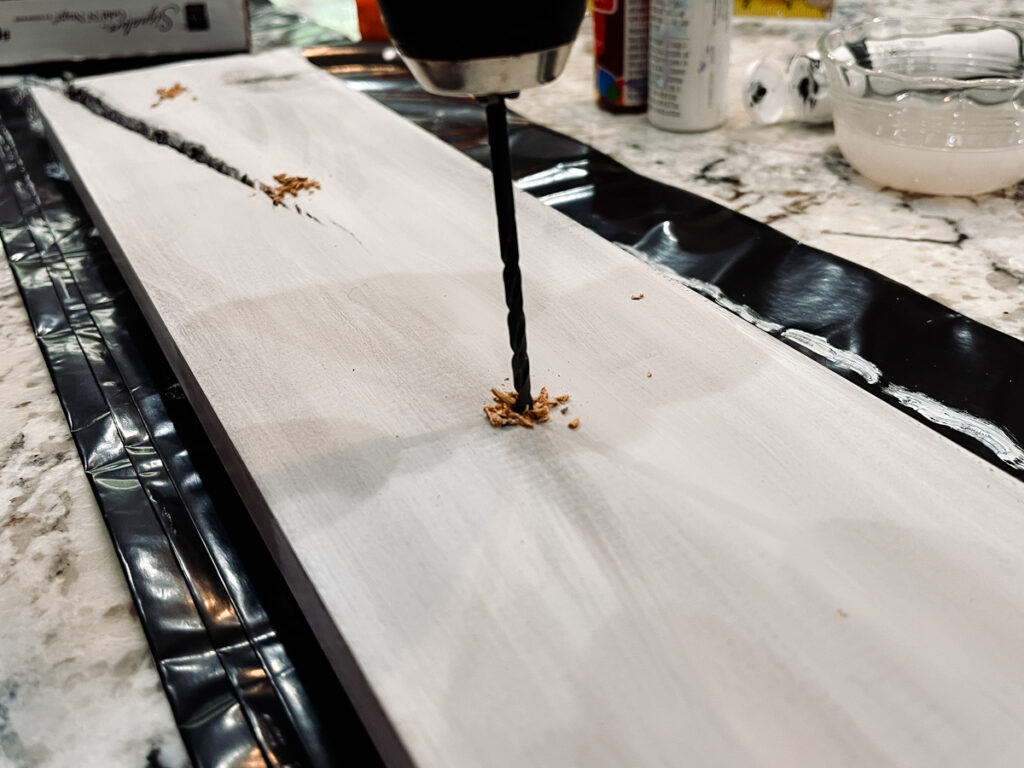
Step 5: Pilot drill & attach wooden pegs
- Allow your sign to dry completely.
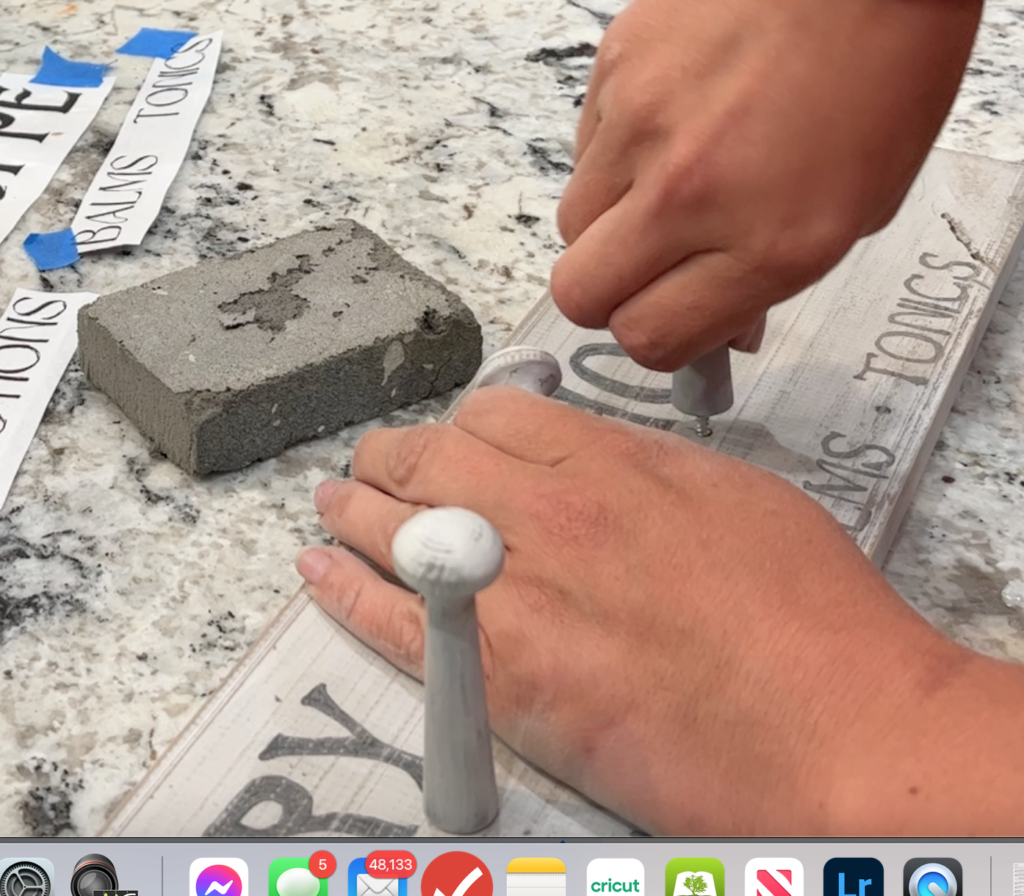
- Measure the lenght of your board and evenly space your pegs. Mark where they will go with a pencil.
- Drill a hole slightly smaller than the diameter of your wooden peg screw. (this will allow you to easily screw in pegs and prevent cracking of your board)
- Screw wooden pegs into pilot holes.
Step 6: Distress & clean
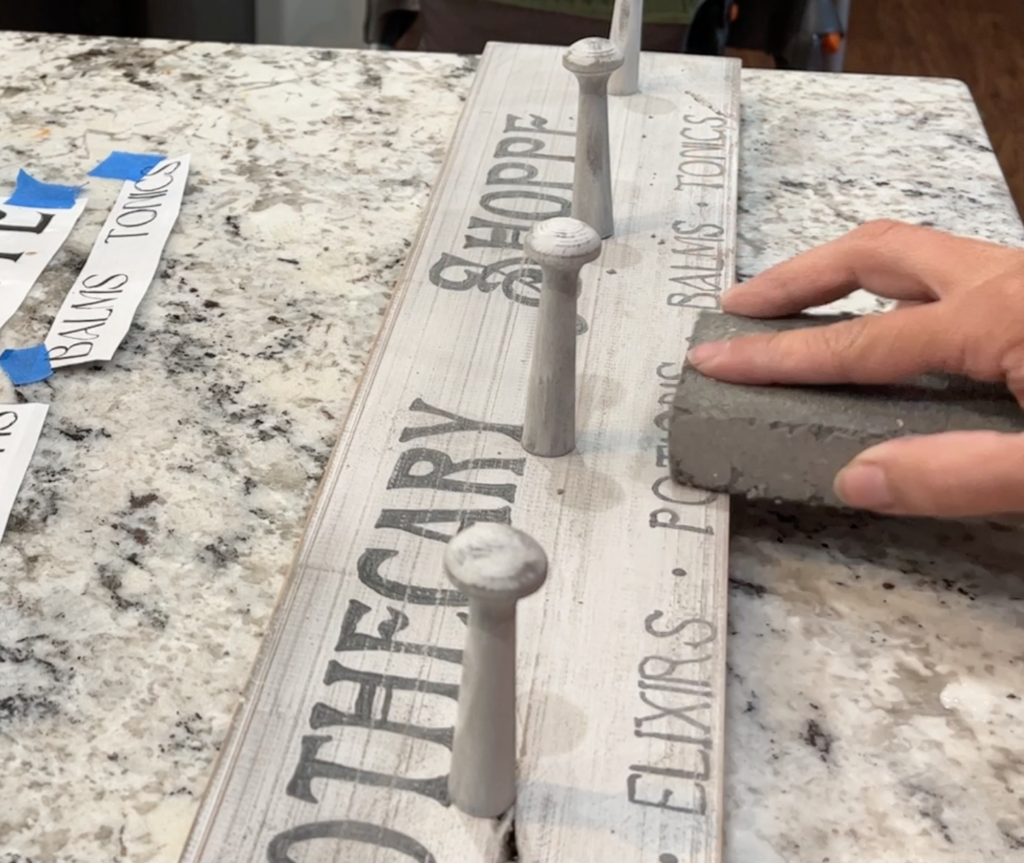
- Using a sanding sponge or fine sand paper, lightly scuff the surface of the paint for a distressed look. Sand as little or as much as you like. Do the same to the wooden pegs.
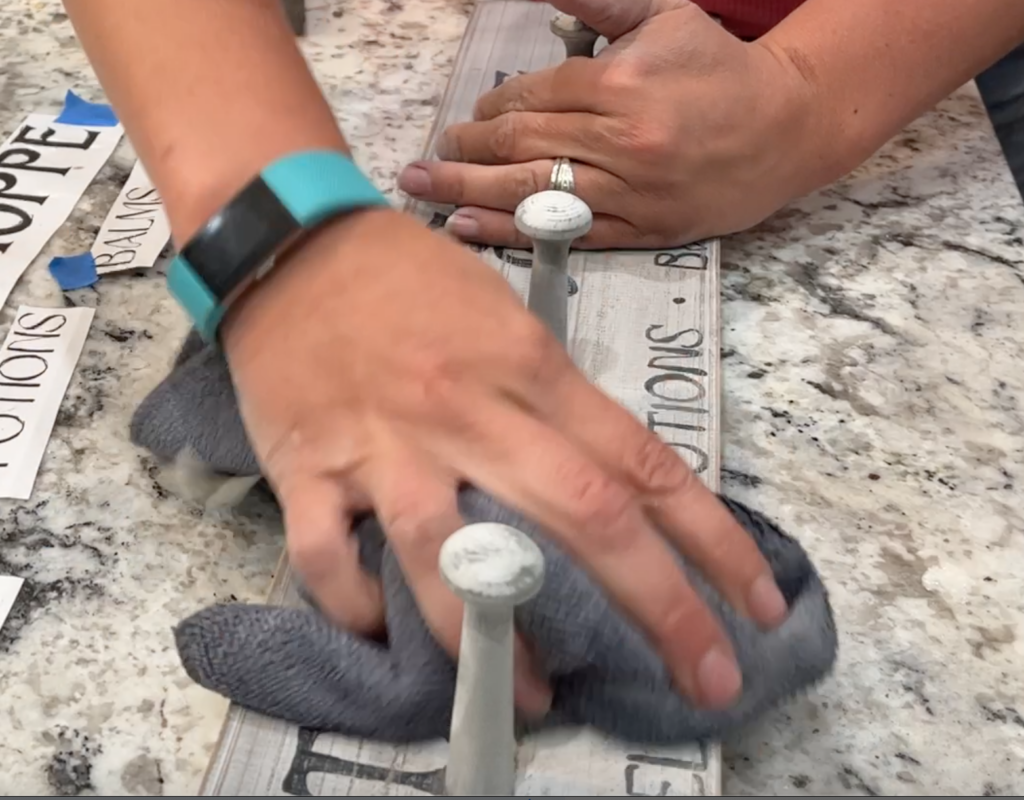
- Using a damp cloth wipe your prject clean of sanding dust and debris. Allow to dry completely.
Step 7: Add protective sealer & hangers
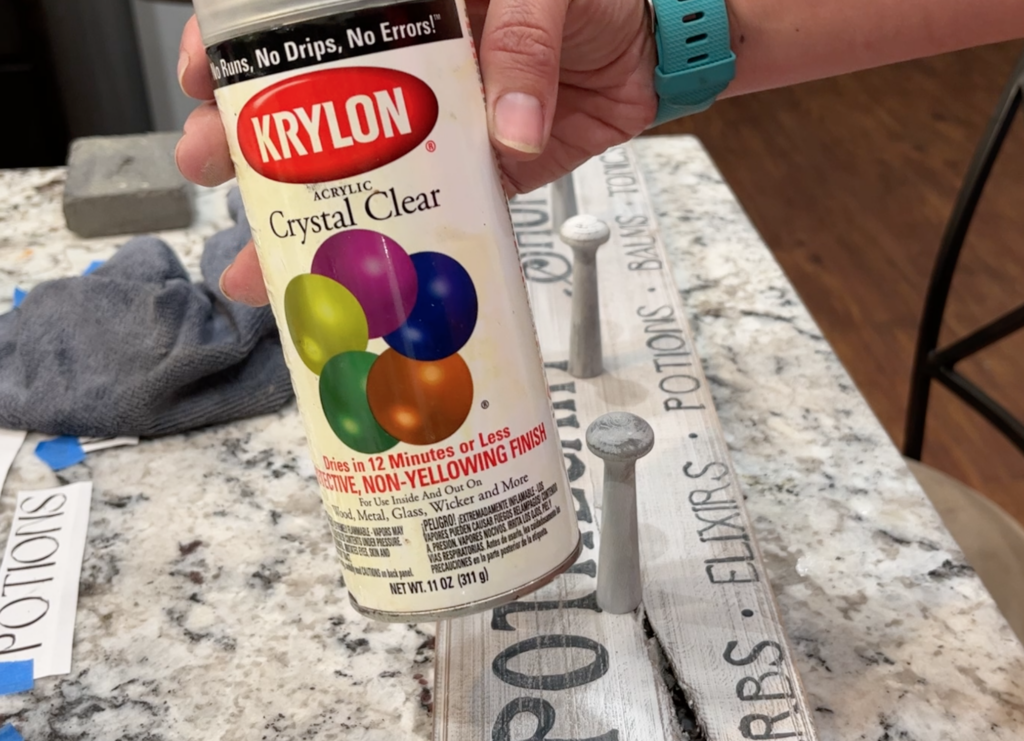
- Select a protective top coat and apply as directed.
- A satin spray is a easy way to get a nice finish on this project. Wood wax and poly acrylic are great options too.
- Allow protective top coat to dry completely.
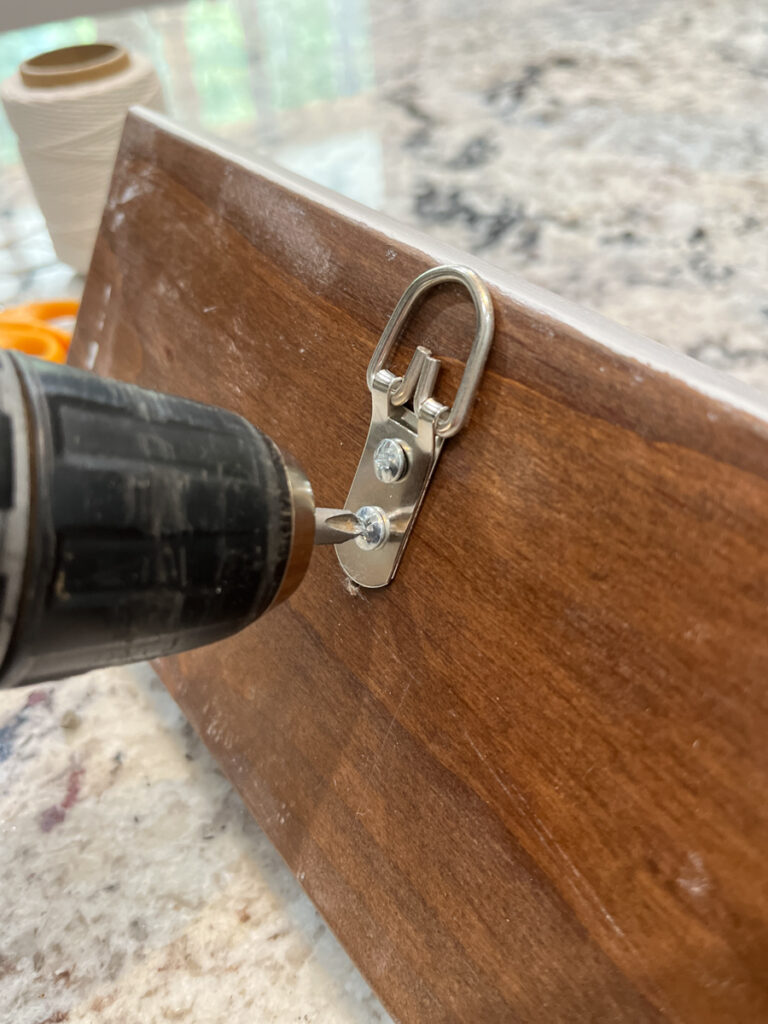
- Attach d-ring picture hangers to the back of the rack. You’re done!
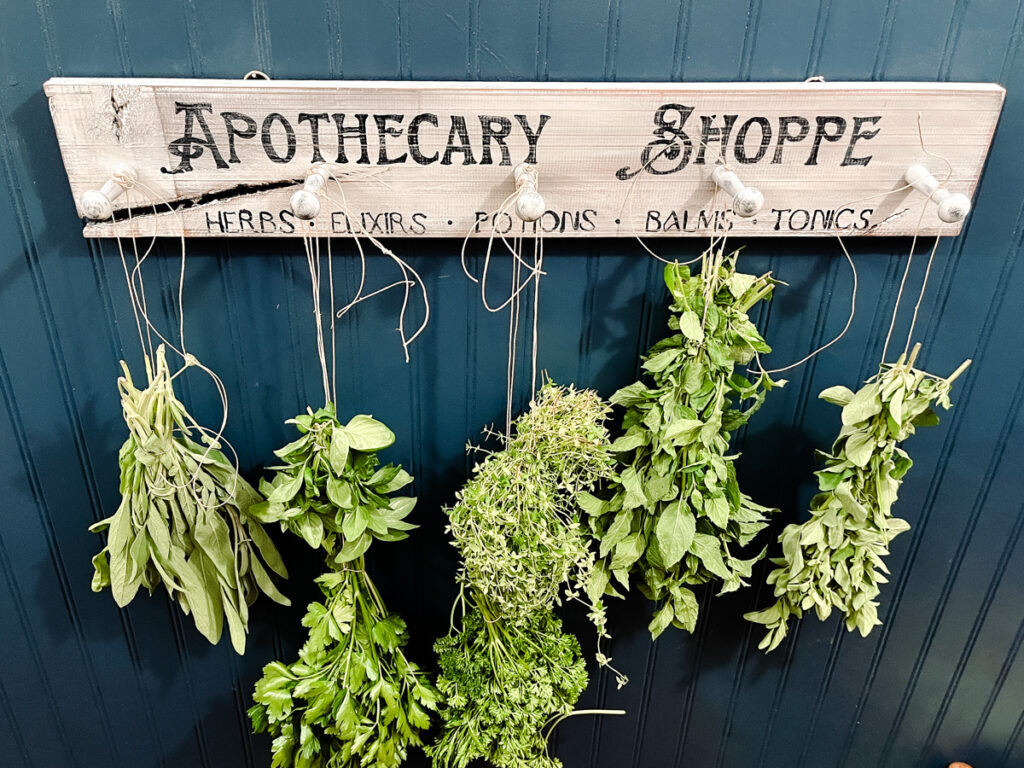
Tie your herbs together in bundles and hang from the pegs to dry!
How about using your FRESH herbs in this simple yummy Basil Pesto?
Shop this Post
Hey Friend,
This was an impromptu afternoon project that I threw together one day. I was needing to get my herbs harvested but had nowhere to hang them to dry. I must say this was a perfect solution. How do you preserve your herbs? Comment below!
Check out My Amazon DIY & Craft Supply Shop
DIY Herb & Flower Rack
This DIY drying rack is super affordable and a fast afternoon project. Great for even the beginner crafter or DIY-er. My sign dimensions happen to be 27in by 4.5in but you can choose any size you like.
Materials
- 1 wooden board (a scrap piece works great) - cut to size
- Brown Craft Paint
- White Craft Paint
- Black Craft Paint
- Pencils
- Printed Lettering of choice (on regular printer paper)
- 1 Medium paint brush
- 1 fine tip paint brush
- Masking tape
- Ball point pen
- Drop cloth (or trash bag to keep working surface protected)
- Round Wooden Pegs
- 120 to 220 (fine grit) Sanding Sponge
- Damp cloth
- Clear Sealant of Choice (i.e. satin clear coat spray, past wax or polyacrylic works great!)
- D-ring picture Hangers
Tools
- Drill with Philips bit
- Drill bit slightly smaller diameter than wooden peg screw
- Printer (to make stencil/letters for board)
- Tape Measure
Instructions
Step 1: Select & paint your rack board and pegs
- First select your board of choice. If you need to cut or have your board cut to size.
- Decide how many round pegs you would like to use for your drying rack. I recommend an odd number because I just think that looks better.
- Cover your work surface with a drop cloth or garbage bag to protect it.
- Use brown craft paint and well moistened medium paint brush, coat all surface of your board with watered down paint. You want to brown wash with this this coat to more or less soak into the board. Do the same with all your wooden pegs.
- Let this coat of paint dry completely.
- Next grab your white craft paint and using a clean medium bursh dipped in water, coat your board on all surfaces with the white paint. This coat does not have to be perfect because you will distress it/sand it later. Make this white coat as light or dark as your prefer. Paint your wooden pegs the same way.
Step 2: Prepare your 8.5 x 11 paper stencil
- While this white coat of paint is drying, prepare your lettering you would like for your drying rack.
- I simply printed what I wanted my sign to say after playing with my Canva design program. You could also design and print your letters in a simple word or google document. Print your design after selecting letter size on a 8.5 x 11 sheet of printer paper.
- Flip the sheet of paper over and using a pencil scribble all over the backside of the letters. (You will then flip the letters back over and trace them to create a transfer outline of your letters.)
Step 3: Create your letter stencil pencil transfer
- Once your white paint has dried, cut out and place your letters/words face up on your sign where you would like them. Use masking tape to secure the paper where you'd like it to be.
- Now, trace around your letters so that the pencil transfers an outline to your white sign. (Tracing a ball point pen creates a smoother transfer)
- Remove the paper transfer and you will see a pencil outline of your letters on your sign.
Step 4: Paint your lettering
- Using a fine tip paint brush and black paint, outline and fill in your letters.
Step 5: Pilot drill & attach wooden pegs
- Allow your sign to dry completely.
- Measure the lenght of your board and evenly space your pegs. Mark where they will go with a pencil.
- Drill a hole slightly smaller than the diameter of your wooden peg screw. (this will allow you to easily screw in pegs and prevent cracking of your board)
- Screw wooden pegs into pilot holes.
Step 6: Distress & clean
- Using a sanding sponge or fine sand paper, lightly scuff the surface of the paint for a distressed look. Sand as little or as much as you like. Do the same to the wooden pegs.
- Using a damp cloth wipe your prject clean of sanding dust and debris. Allow to dry.
Step 7: Add protective sealer & hangers
- Select a protective top coat and apply as directed.
- A satin spray is a easy way to get a nice finish on this project.
- Allow protective top dry completely.
- Attach d-ring picture hangers to the back of the rack. You're done!
Tie your herbs together in bundles and hang off pegs to dry!
Notes
Make sure to place your drying rack in a well ventilated area. Consider using a fan to move air around in the room if humidity is high. Also you can hang smaller bundles to prevent moisture buildup and mold.
PIN this DIY for Later

