
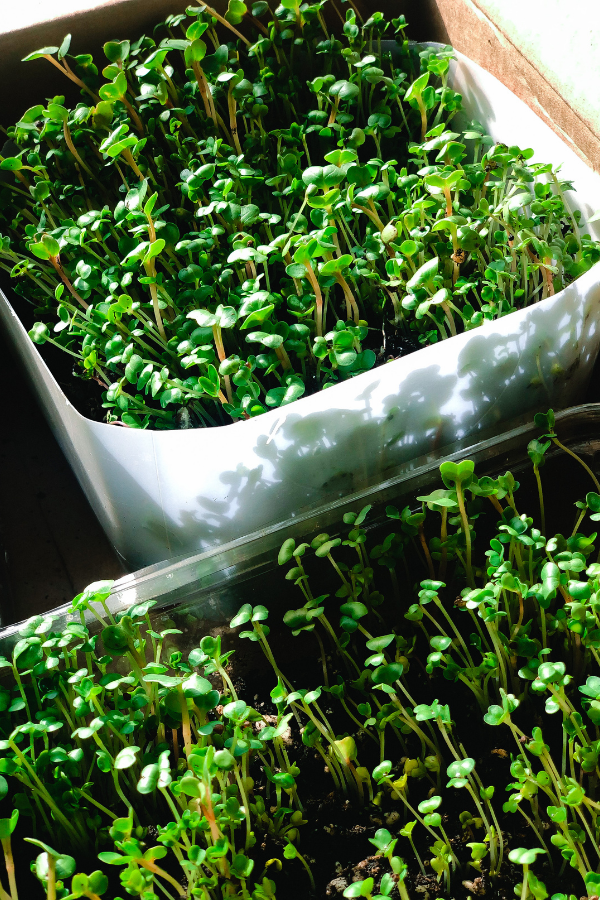
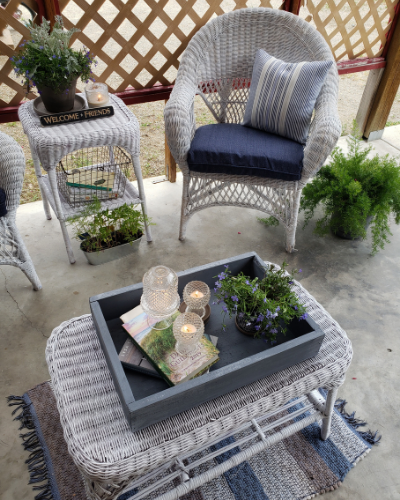
In Northwest Montana the winters are long . . .oh so long. It is such a welcome blessing when the sun begins to shine again and the days become longer. To get us through the long, dark winter months we must find pockets of color and beauty. A great option for the taste of spring we all crave is growing greens indoors. Greens grown & harvested in the seedling phase are called “microgreens”. Last week, on a beautiful but chilly afternoon the kids and I skipped our regularly schedule homeschool program . . . and decided to learn how to grow microgreens in recycled containers. The beautiful, vibrant green in the windowsill certainly scratched my itch for Spring . . . and the crisp, spicy flavor of fresh picked greens certainly was welcome. Here is how we did it.

Gardening indoors and growing microgreens in recycled containers is a great project for kids!
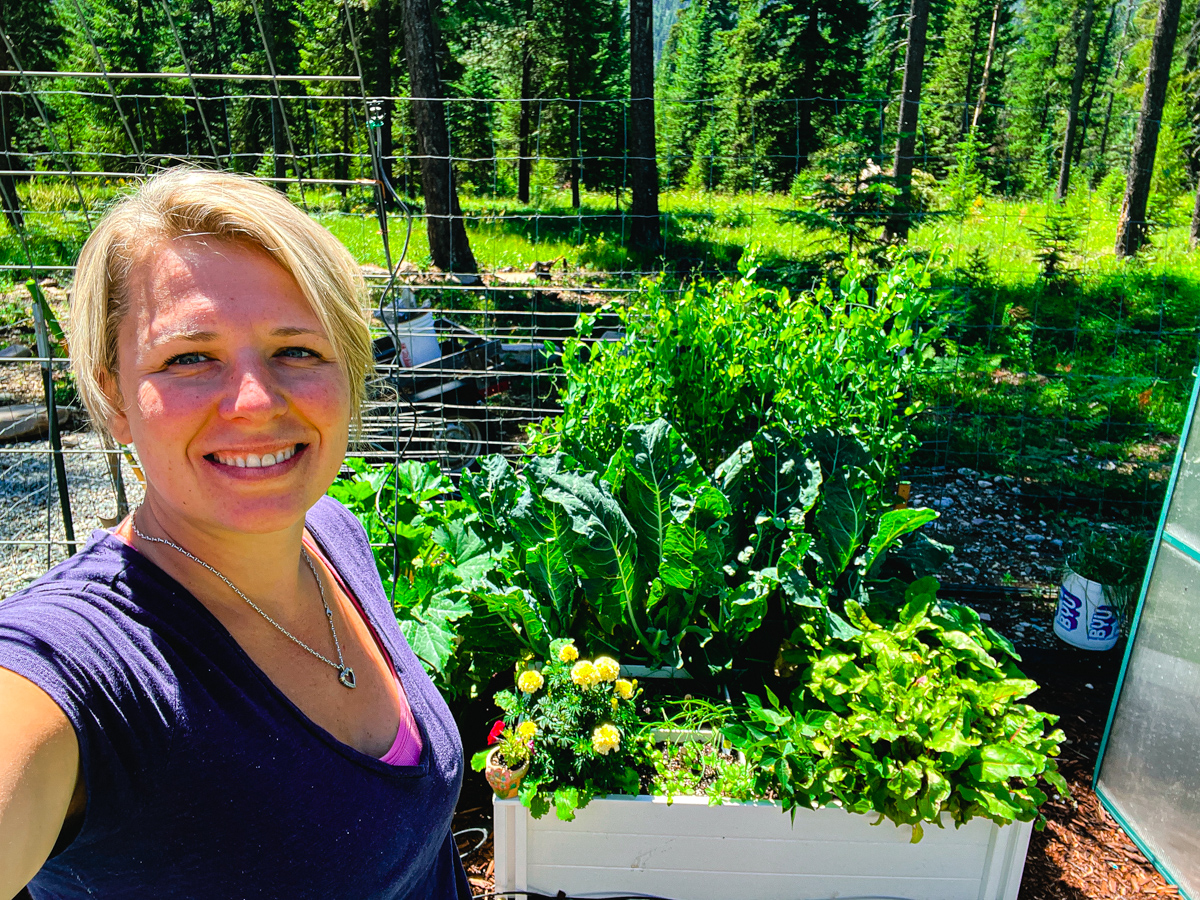
I love to do this little DIY project with my kids. Gardening is so good for them. . . They really enjoy the freedom to get their hands dirty and really SEE where their food comes from. They are eager to participate. I have found over the years that even though they are messy, spill seeds, get water all over etc. . . . if they can help grow a veggie they are more excited about EATING the end result. Gardening inside and growing greens in containers is easier than you might think.
I see you shaking your head BROWN THUMB. I promise you can do this!! Greens sprout fast and grow to harvest in less than a week. You might have to water them TWICE MAX the whole time. Go ahead give it a try!
Because greens typically germinate or begin to sprout in just days so you can quite literally WATCH THE SEEDS GROW.
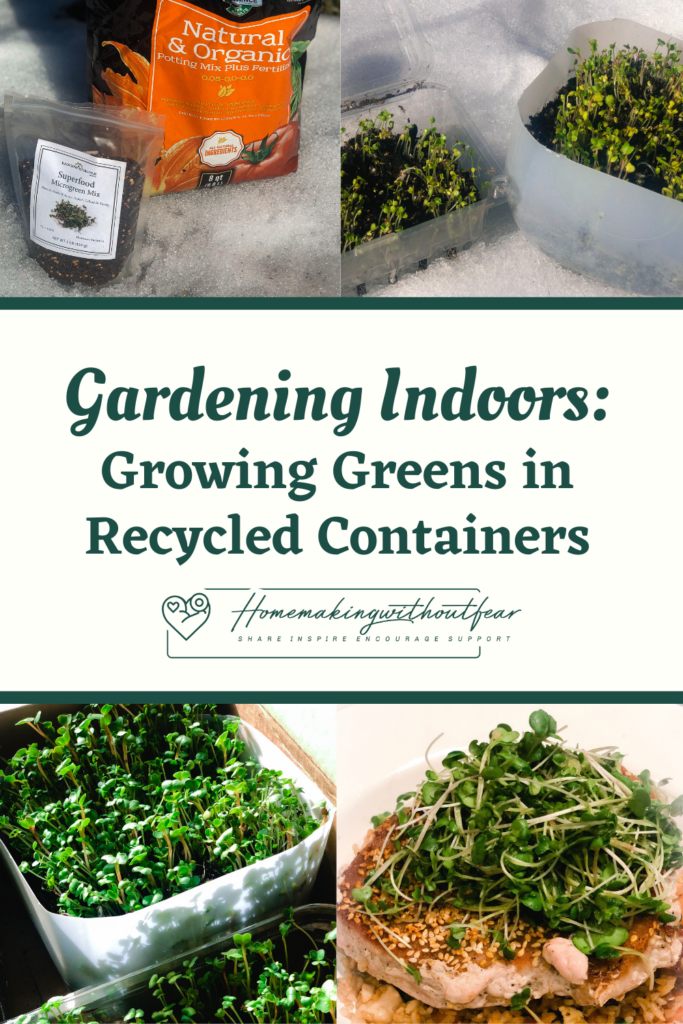
The particular microgreen I chose for this DIY is a heirloom variety that includes: broccoli, purple kohlrabi, radish, collard and turnip. It has a delicious spicy bite and I loved it. I served it with a sesame vinaigrette with and seared tuna steaks. The kids found it a bit too pungent and spicy but to me . . . it tasted like SPRINGTIME!
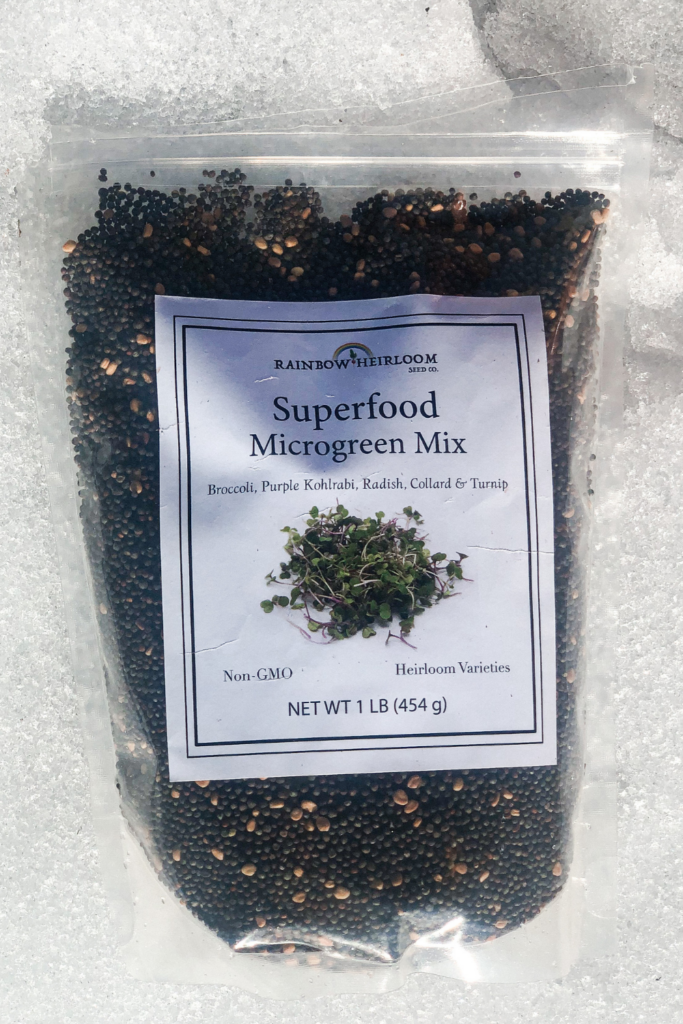
Here is the link if you would like to purchase this same Superfood Microgreen Mix from Rainbow Heirloom Seed Co. I purchased this 1 LB bag on Amazon and can grow many, many batches of greens.
You could certainly choose a more mild lettuce mix or even a spinach for a less spicy flavor but with all of the benefit! No matter what you choose, growing greens in recycled containers is fast, fun and tasty!
What you will need to grow your own microgreens in recycled containers:
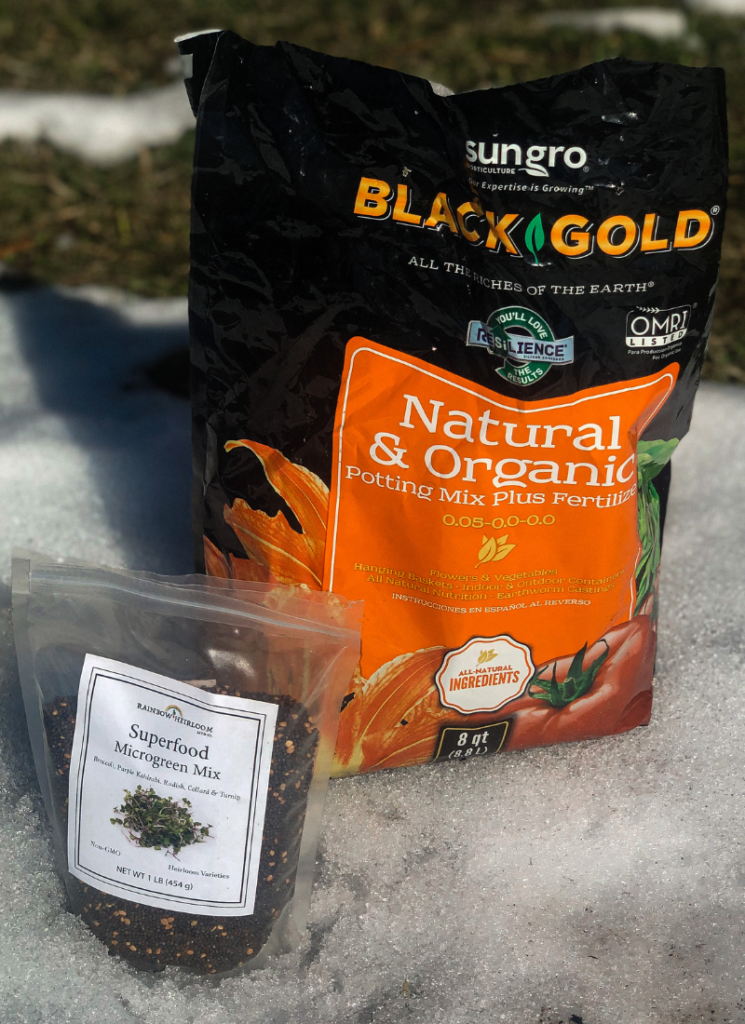
- Potting soil (preferably organic)
- Garden seed– any variety of microgreen, lettuce or spinach, mustard greens, kale, radish or even broccoli.
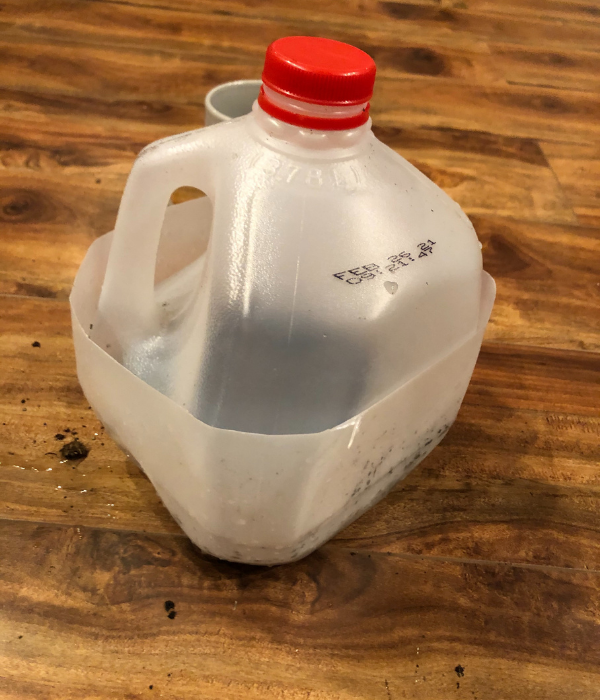
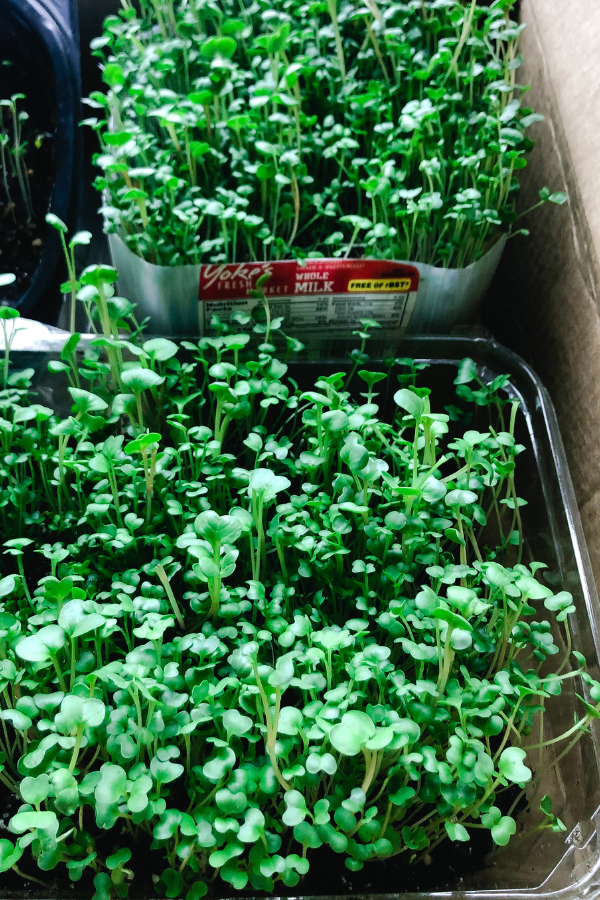
- Containers – you could really use anything i.e. seed trays, egg cartons, milk jugs, strawberry trays, rotisserie chicken containers, plastic lettuce tubs. You can purchase little pots or windowsill planters but we went the frugal route and had fun saving and re-purposing containers.
- Water (non-chlorinated)
Where can I get seeds to grow my microgreens indoors?
Locally
I would recommend FIRST sourcing seeds locally if you can. I just google search seed companies close to me. If you live in Northwest Montana The Good Seed Co. is a great option for heirloom, non-GMO seeds. For heirlooms online I also highly recommend Baker Creek and Seed Savers.
Online
For a great selection of hybrids and heirloom seeds I recommend private, family owned Territorial Seed Company. Gurneys and Johnny’s also offer huge selections seeds . . . many organic and all non-GMO.
Seeds of Change is also a really great option. For every seed you buy, they plant seeds in school growing programs across the country. They teach children about the value of growing their own food and the importance of nutrition. So Cool!
In Stores
Depending on the time of year many grocery stores, farm & ranch stores, feed stores, garden centers and even hardware stores offer garden seeds. They generally have a basic selection as far as variety but they are certainly just fine for growing a quick batch of winter greens.
Most garden seeds will have decent germination rates even 2-3 years after harvest but this certainly decreases over time. Look for FRESH seeds. There should be date somewhere on the package.
Heirloom versus hybrid really doesn’t matter for this project as we aren’t harvesting seeds anyway. I do usually look for organic and certainly NON-GMO when seed shopping.
The step by step process for growing microgreens in recycled containers . . . (printable DIY at the end of post):
Day 1| Plant your seeds!
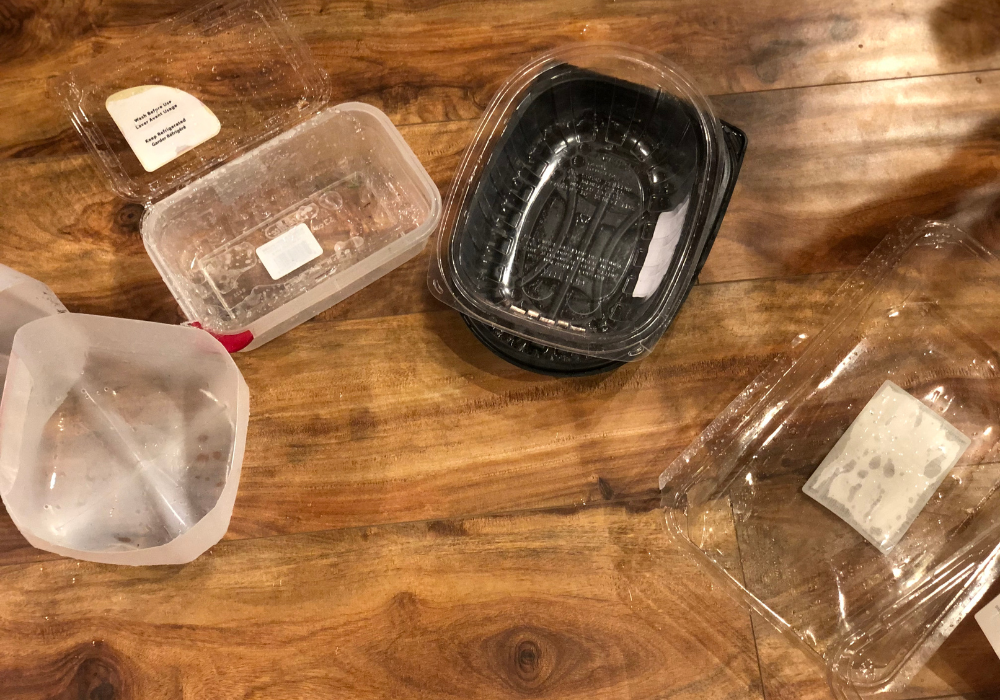
Collect your recycled container(s) and make sure they are well washed and rinsed.
BONUS: teach your kids the lesson of reducing plastic waste by reusing food containers for this project.
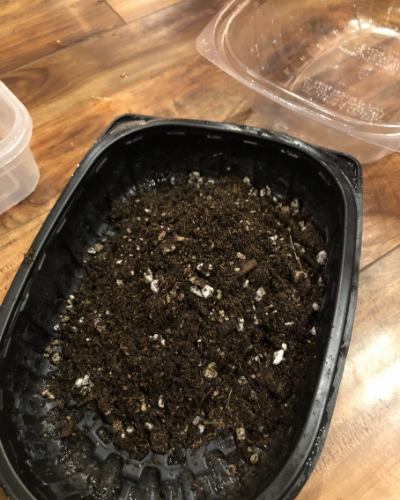
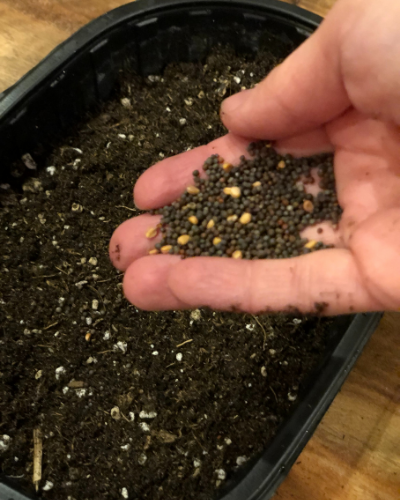
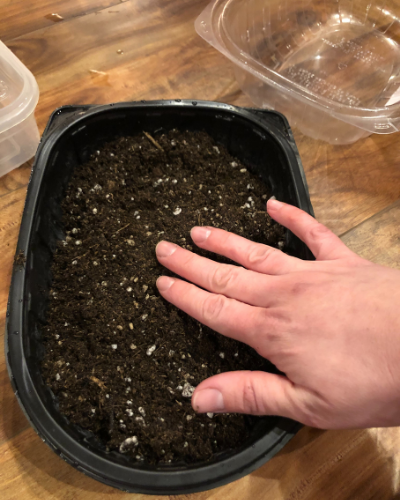
Add 1/2 inch of potting soil to the bottom of your container and level it out. Next, sprinkle seeds on top of soil in a thin layer. . .Like sprinkles on a cupcake. . . you don’t want so many seeds that they touch and overlap.
Next, sprinkle a thin layer of potting soil over the seeds and lightly pat down.
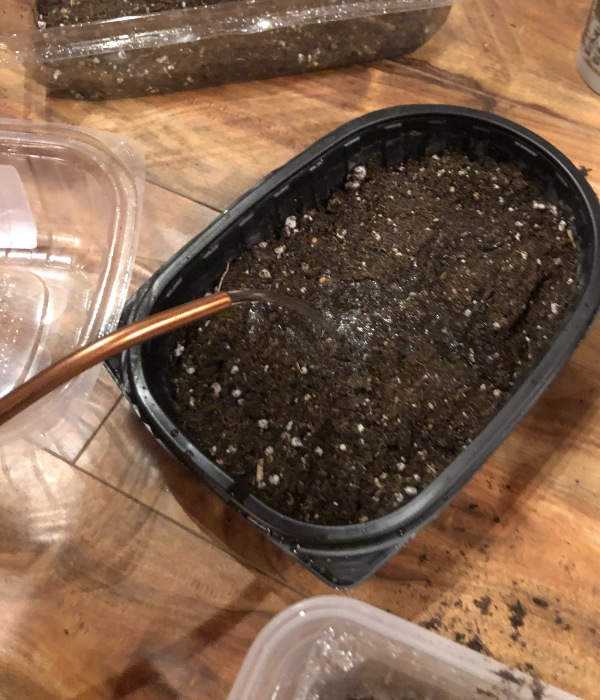
Lastly, water lightly until surface is moist but do not water until soil is floating – too much water will cause seeds to rot and will not germinate.
My daughter accidentally over-watered one container we planted and some seeds germinated but about 50% did not. No big deal . . . you could add a bit more soil on top to soak up the extra water. If this happens just re-sow seeds in the same container right over the top of the ones that did not sprout.
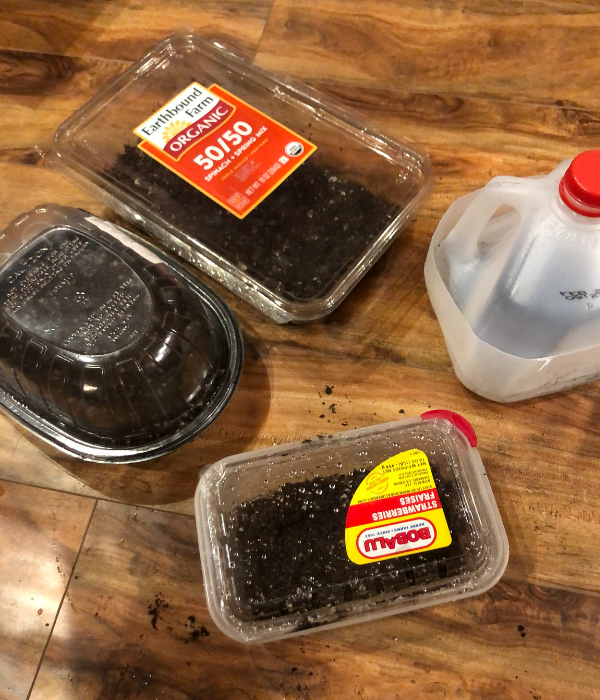
Put lids on containers OR plastic wrap and cover containers with a towel. Place in a warm (70-75 degrees). On top of the refrigerator is actually a great place. It is warm from the motor and out of the way. Just don’t forget about them.
Day 2| Keep containers covered and in a warm spot until they start to sprout.
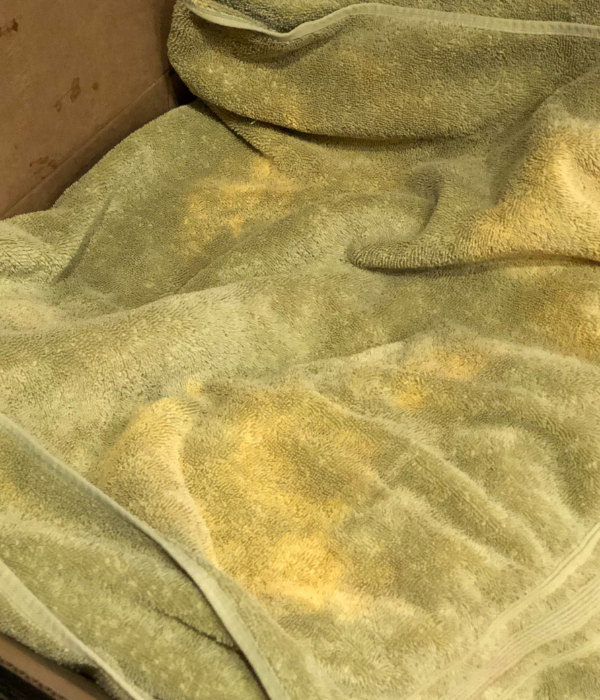
Most lettuces and spinach seeds do not need light to germinate. They DO need to be kept warm . . . 70-75 degrees is best. I cover my containers with an old towel to hold in heat.
Check your containers daily for sprouting and make sure the soil is kept moist to the touch. You most likely will not need to water until you uncover containers for a day or two.
Day 3-4| You should start to see sprouts.

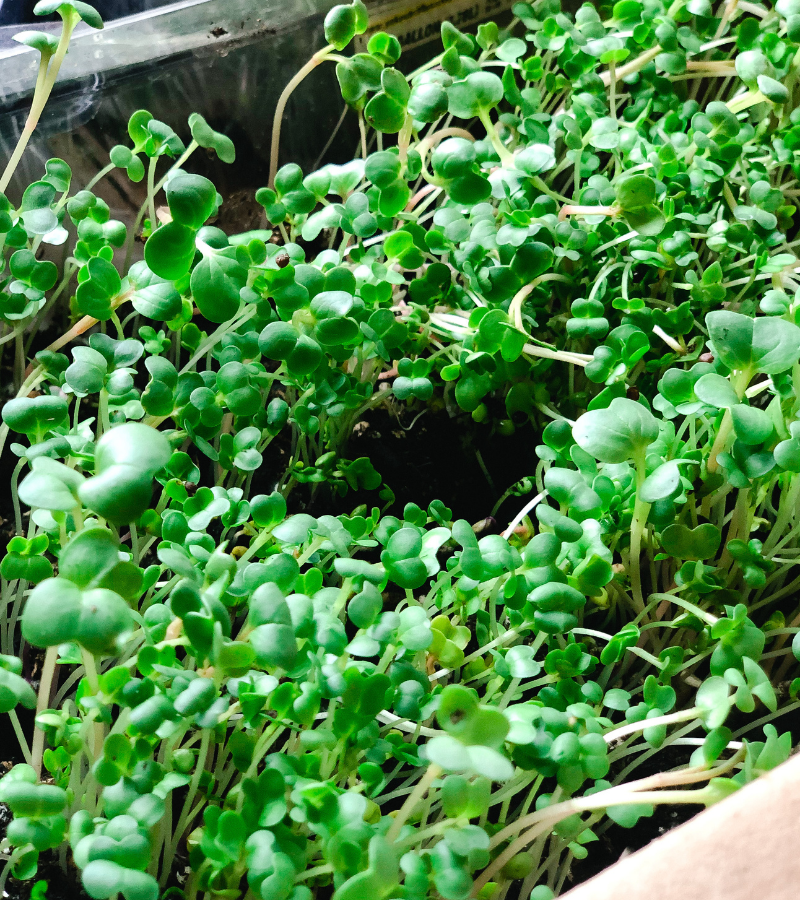
Approximately 3-4 days after planting, your seed will germinate and little sprouts will unfurl. They are soooo cute!
At this point, containers will need to be placed in a sunny spot. Because greens grow quickly and you will be harvesting in less then a week don’t stress out about how much light they are getting. . . I put mine on a bench next to a South Facing window.
A windowsill also works great!
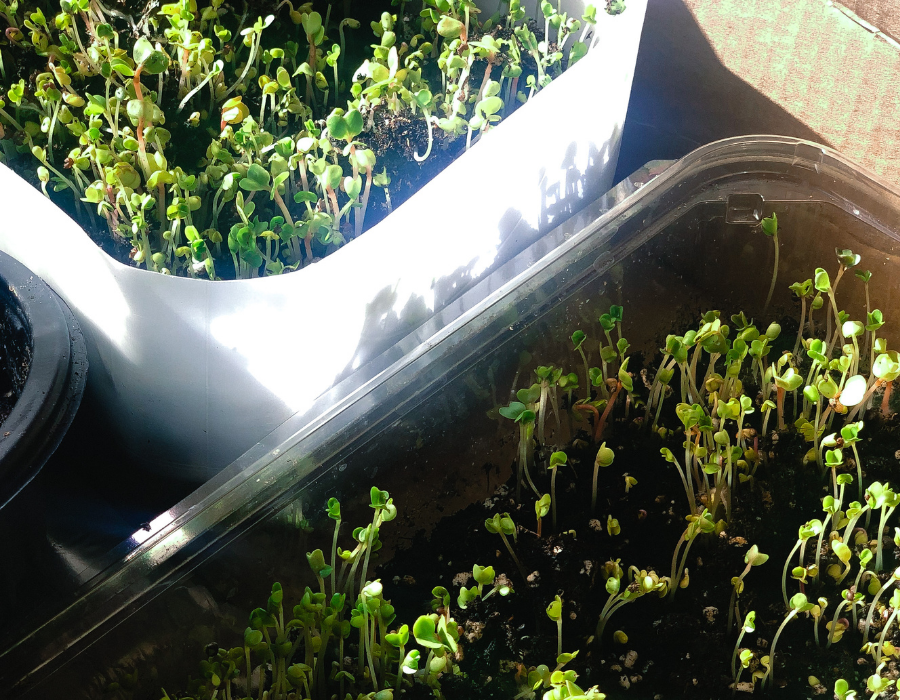
After a full day of sunlight, sprouts will turn a vibrant green.
Bonus! If you are a homeschooling family like us . . . this is a great opportunity to teach about Photosynthesis!
- Here is a Teaching Photosynthesis lesson to help you get started!
Day 4-5| Keep the soil moist but not WET and give the plants lots of sunlight.
It is so fun to watch these little plants grow almost right in front of your eyes. They are so determined, vigorous and beautiful.
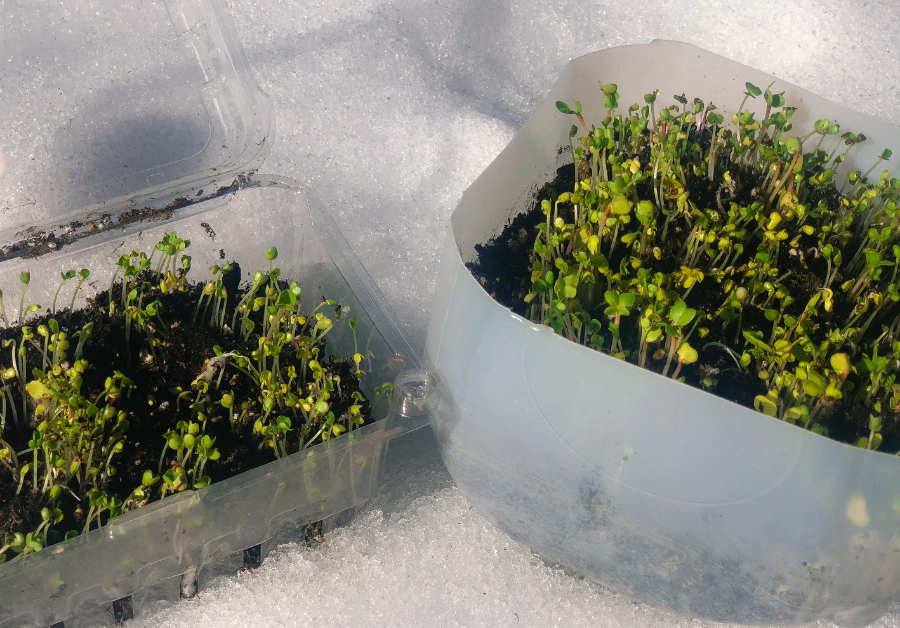
Day 5+| Time to harvest the microgreens.

Using a sharp knife or scissor cut the sprouts off at the soil level and rinse with cold water.
Drain well and toss with your favorite dressing or just oil/vinegar to enjoy a taste of SPRING anytime!
What about the leftover roots?
When using this indoor method of growing greens indoors, the roots are leftover and form a root mat in the bottom of the container. . . chickens LOVE this and it’s very good for them. If you don’t have chickens you can add them to compost.
Re-wash your containers and reuse/replant them them for weekly taste of fresh greens.
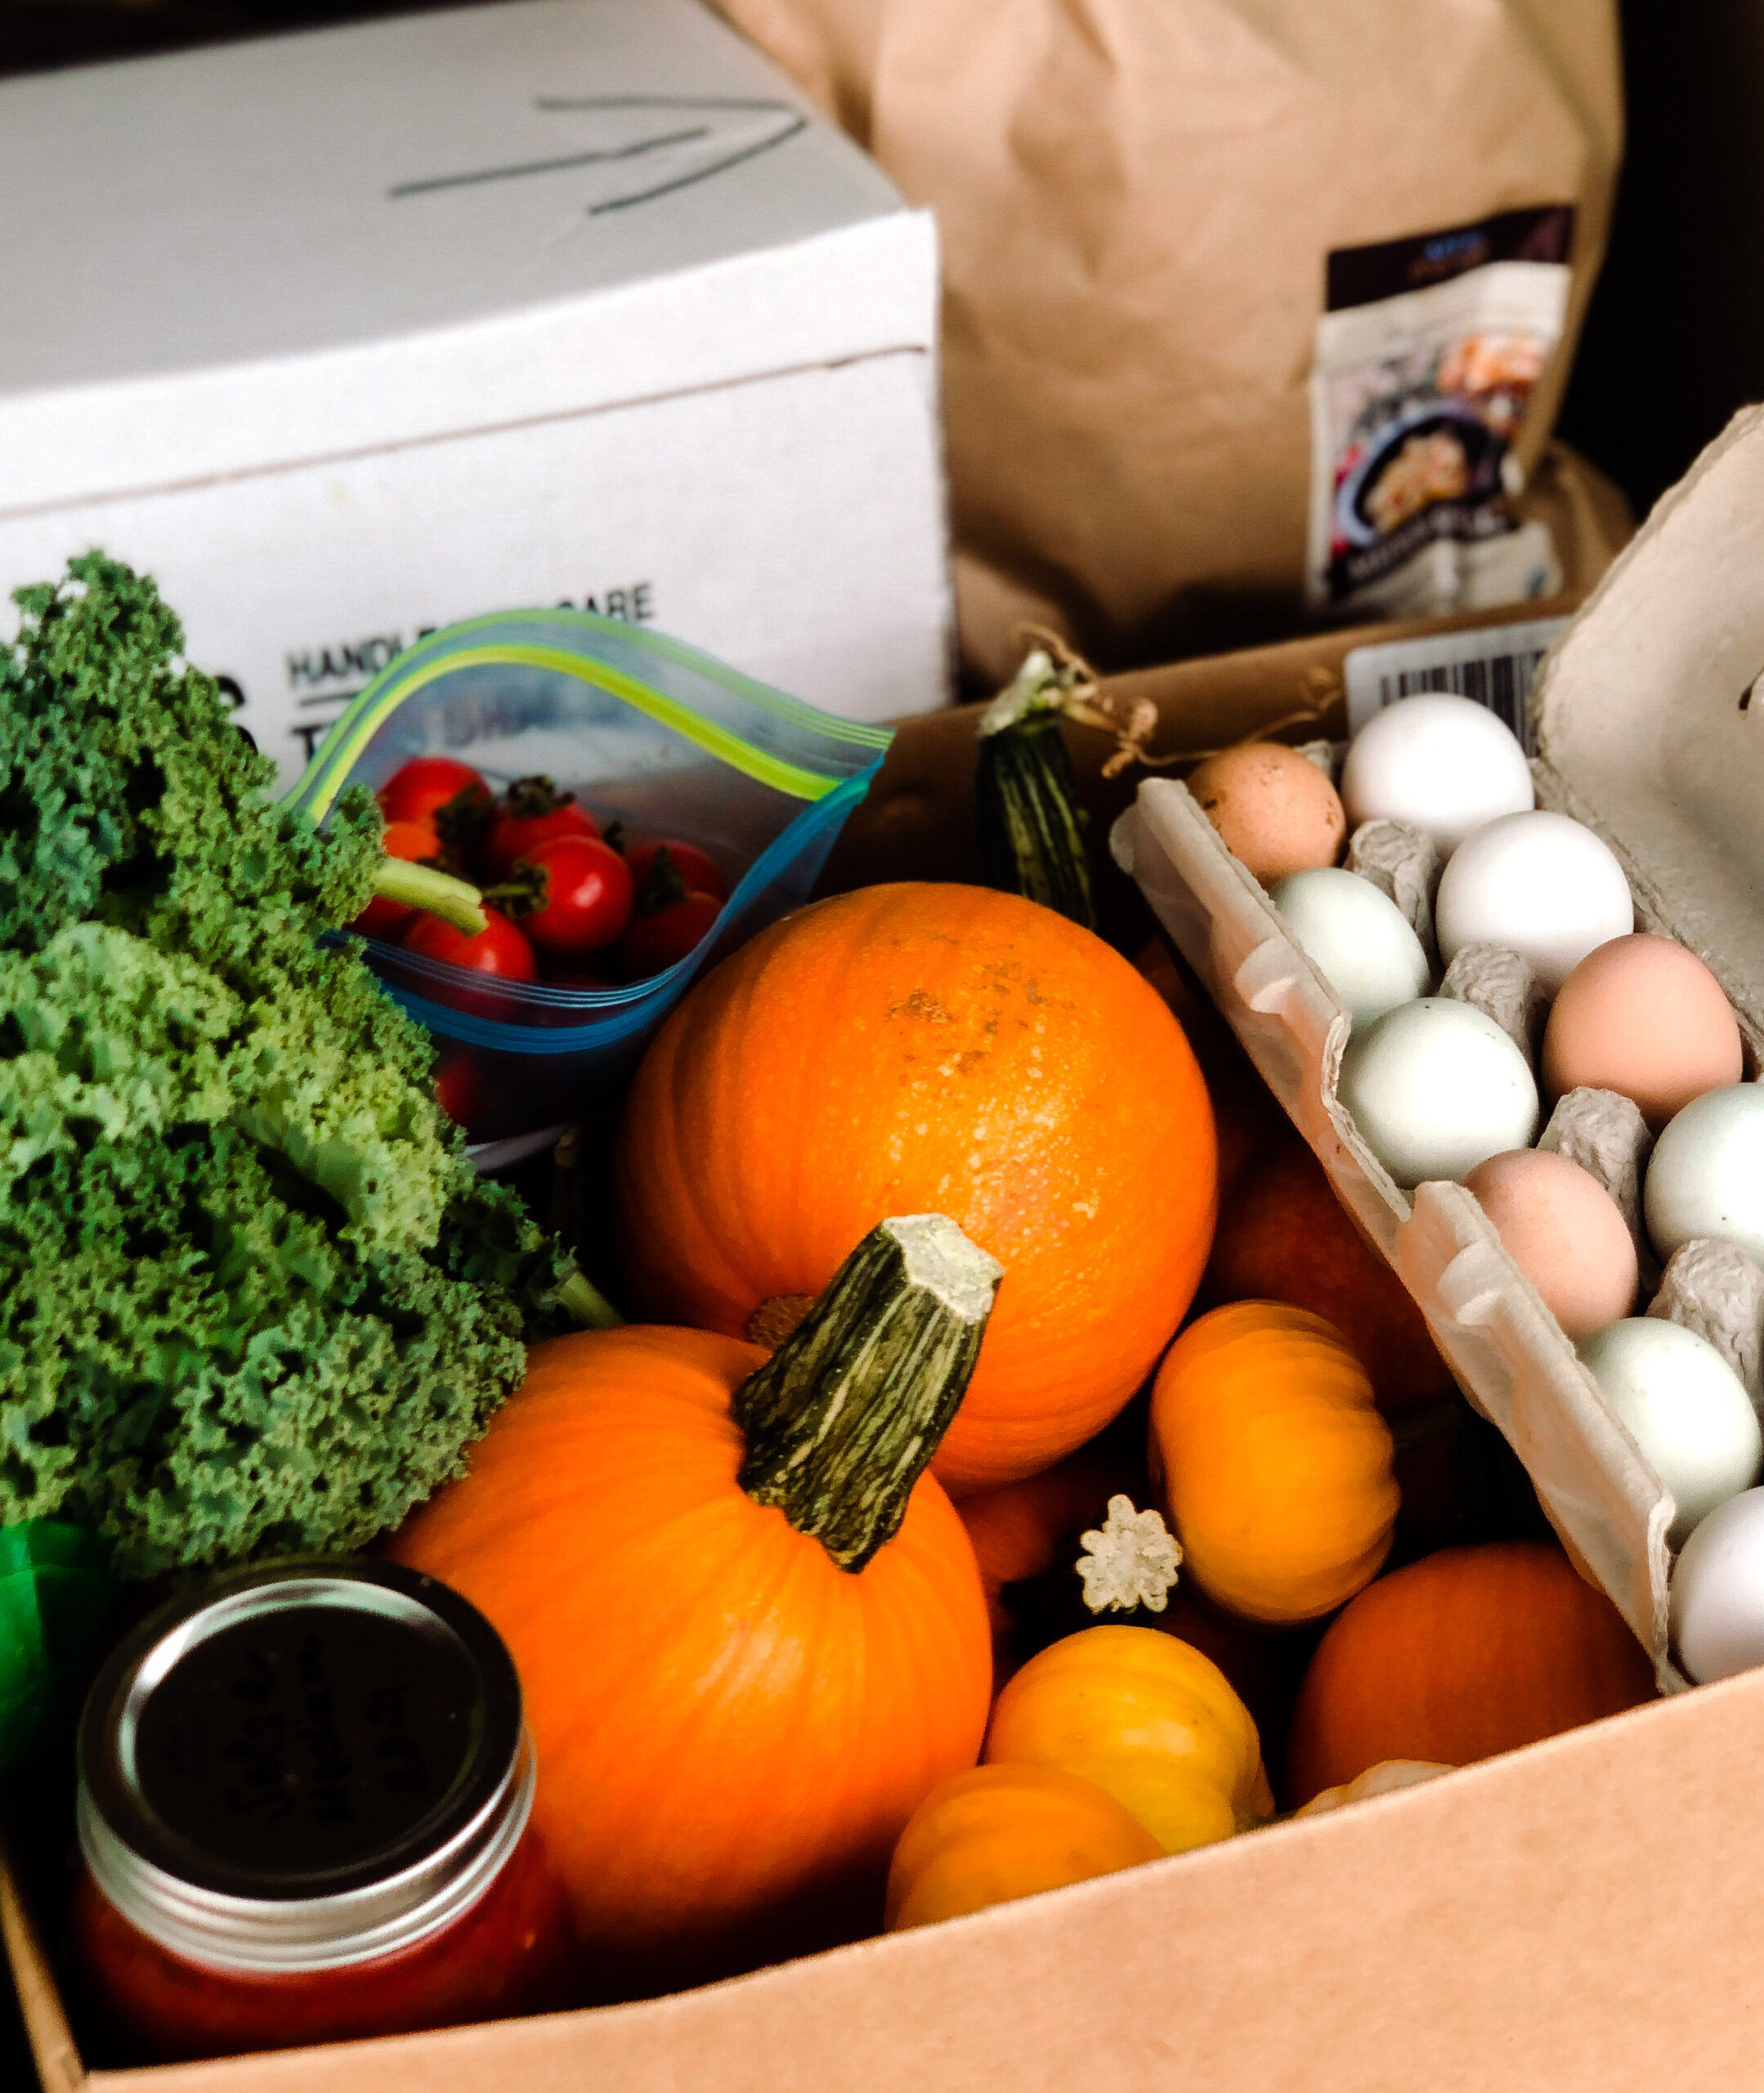
While this method for growing greens in recycled containers is really just for fun . . . and to get a small get a small taste of spring – It is a step in the right direction to food security and being less dependent on grocery stores. For more on this, check out my post Food Security: Providing for your family during uncertain times.
How to Grow Microgreens in Recycled Containers – Shop this post:
Would you prefer a already-put-together greens growing kit for yourself or maybe to send one to someone else?
I have prepared a Gardening in Winter|Growing Greens Kit on Amazon just for you!
This kit includes:
- Natural and Organic Sungro Potting soil
- Seeds of Change Mesculin Salad Mix
- Seeds of Change Butterflay Spinach
Pin it for later:

How to Grow Greens in Recycled Containers
Having a taste of spring all year long is easy when you learn to garden indoors during the winter. Growing greens in recycled containers is a economical and fun way to involve your kids or just scratch the itch to grow something and enjoy fresh picked flavor!
Materials
- Potting Soil (preferably organic)
- Garden seed- any variety of microgreen, lettuce or spinach, mustard greens, kale, radish or even broccoli. Even though things are wierd right now with seeds, I have seen options in grocery stores, farm and ranch stores and garden centers. I got mine from Amazon.
- Containers - you could really use anything i.e. seed trays, egg cartons, milk jugs, strawberry trays, rotisserie chicken containers, plastic lettuce tubs. You can purchase little pots or windowsill planters but we went the frugal route and had fun saving and re-purposing containers.
- Water (non-chlorinated)
Tools
- Watering can or other container for watering
Instructions
- Prepare containers by washing well with dish detergent and hot water, especially if container was used previously for plants. It is important to make sure no residual molds or bacteria are present as they could keep your seeds from germinating.
- Spread approximately 1/2 inch of potting soil in bottom of container. It doesn't take much!
- Sprinkle seed over top of soil. Seed can be pretty close together but not touching. Think sprinkles on a cupcake!
- Spread a light covering of potting soil over the top of the seed. Pat down lightly.
- Water until moist but DO NOT over-water as seeds will rot and not germinate.
- Cover the containers with a clear lid if it came with one or plastic wrap.
- Place containers inside in a warm (70-75 degrees). On top of a refrigerator is great as it is warm from the motor and tends to be out of the way. At this point the seeds DO NOT NEED LIGHT, just warmth.
- Check the seeds daily: make sure the soil is moist to touch and check for sprouting.
- As soon as seeds sprout, move the container to a sunny windowsill.
- That is it! keep the seedlings moist by watering every other day or so and you will have your first harvest in approx 5-7 days.
- To Harvest: cut the greens with sharp scissor or knife at the soil surface.
- ENJOY!
Notes
After you harvest, give the root mat to chickens for a healthy treat or compost them. Wash, reuse/replant containers and grow another batch of greens!


Great and practical idea! Thanks for sharing
Thank you it is a fun project.
Did you poke drainage holes in the recycled containers?
Hi Cynthia,
So in this simple little project I didn’t I just top watered BUT as a microgreen farmer I never top water my commercial greens. This helps to avoid overwatering, keeps greens healthier and avoids introducing molds and such with water on the leaves and stems. Soooo it IS a great idea to poke holes in the bottom and set the container on a dish or in a pan of some sort and BOTTOM WATER only. I use 1020 grow trays from bootstrap farmer, the planting tray has small holes and the bottom water tray does not! They nest together perfectly and ensures even watering. Hope this helps. This is a fun project! – Kassy