If you’re wondering why these two ingredients are the stars of the show, it’s because they pair wonderfully with the hearty, tender nature of pot roast. Bourbon brings a caramelized sweetness and subtle smokiness, while Marsala wine adds depth and complexity with its rich, slightly sweet, and nutty character. Together, they help elevate the beef, infusing it with bold, sophisticated flavors that are anything but ordinary.
Ingredients You’ll Need
To make this mouthwatering Bourbon Marsala Pot Roast, you’ll need the following ingredients:
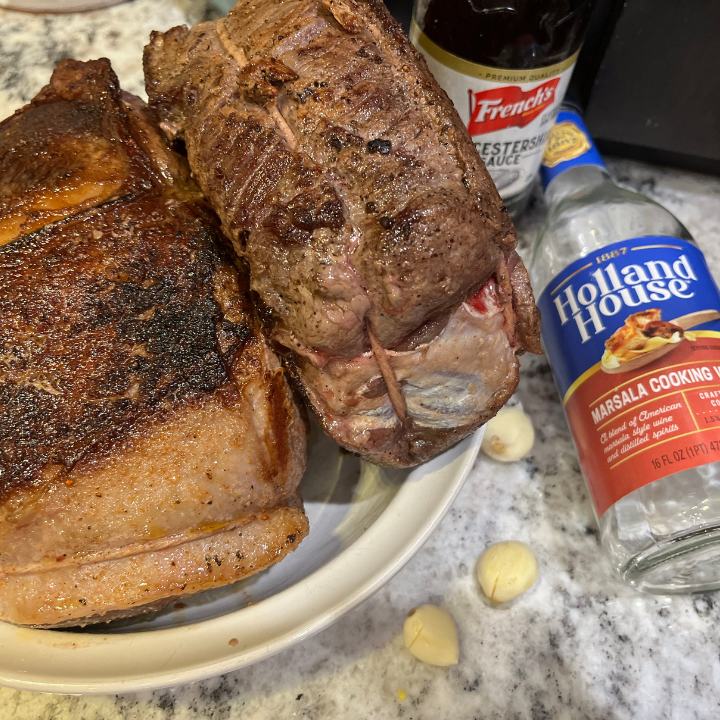
4-5 lb. beef chuck roast (the ideal cut for pot roast due to its tenderness after slow cooking)
2 tablespoons olive oil (for browning the roast)
4 garlic cloves, about 2 Tablespoons, minced
1/2 cup bourbon
1/2 cup Marsala wine (sweet or dry, depending on your preference)
4 cups beef broth (or stock)
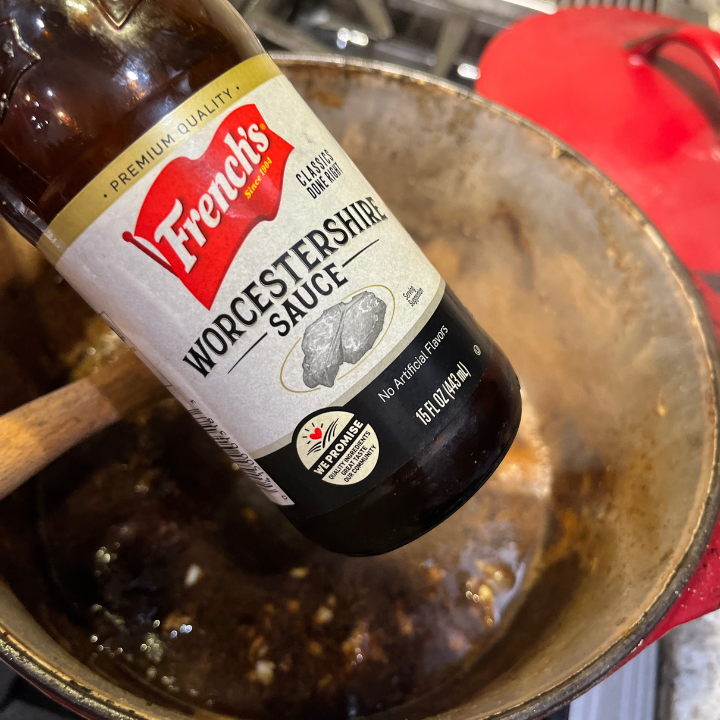
2 Tablespoons Worcestershire sauce
1 tablespoon brown sugar
Salt and pepper, to taste
1-2 tablespoons cornstarch (optional, for thickening the sauce)
Step-by-Step Instructions
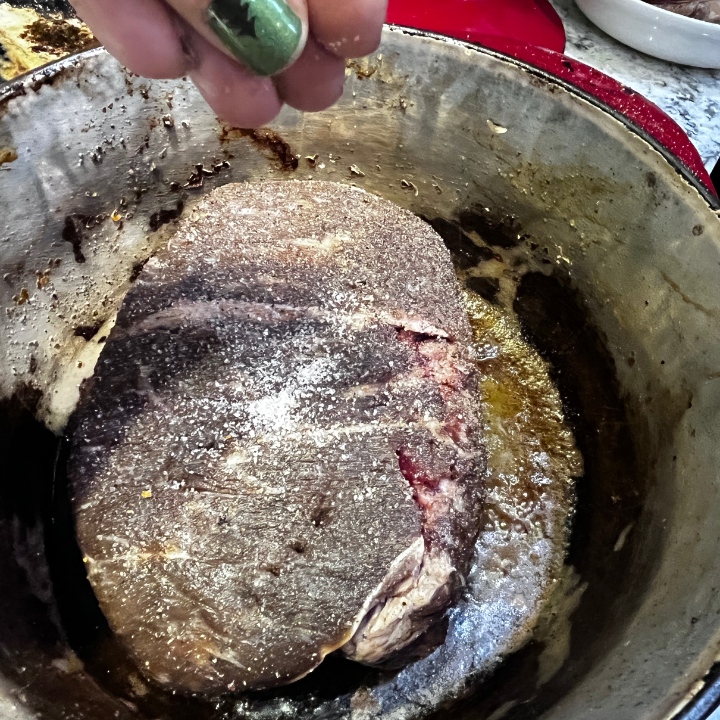
Sear the Roast: Start by seasoning your chuck roast generously with salt and pepper. In a large Dutch oven or heavy-bottomed pot, heat the olive oil over medium-high heat.
When the oil is hot, add the roast and sear it on all sides until it’s beautifully browned. This step helps to lock in the flavors and create a savory crust that will add richness to the dish.
Remove seared roast to a plate and allow to rest while you prepare the braising liquid/sauce.
Deglaze with Bourbon: Now, pour in the bourbon. Use a wooden spoon to scrape up all the browned bits from the bottom of the pot—these bits are packed with flavor. Let the bourbon simmer for about 2-3 minutes, reducing slightly. This will cook off the alcohol, leaving behind the sweet, smoky flavors of the bourbon.
Add Marsala Wine and Beef Broth: Next, pour in the Marsala wine, garlic and beef broth, stirring everything together. Add the brown sugar, which will enhance the sweetness of the bourbon and Marsala, balancing the richness of the beef.
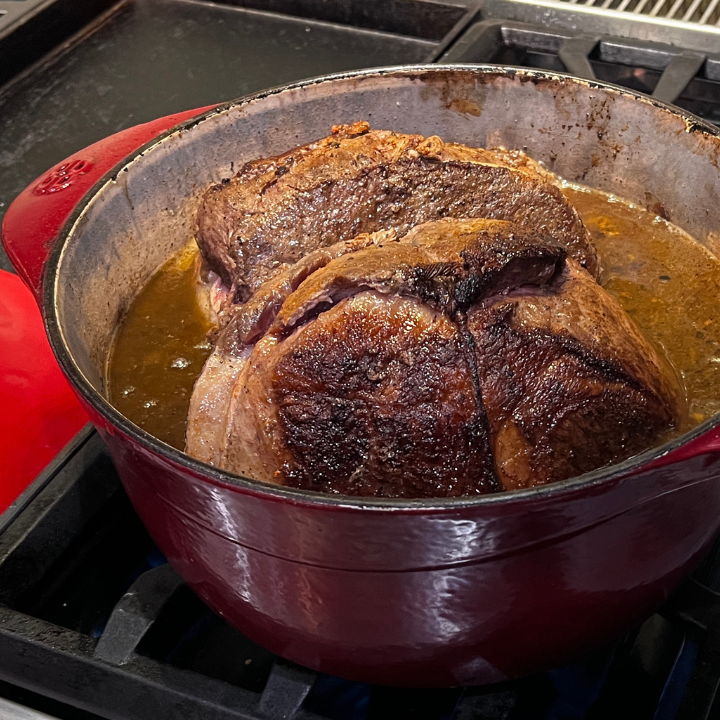
Braise the Roast: Return the browned roast to the pot, ensuring it’s mostly submerged in the liquid. Bring the mixture to a simmer, then cover the pot with a tight-fitting lid. Transfer the pot to a preheated 325°F (165°C) oven and let it cook for 4-5 hours, or until the roast is fork-tender. Alternatively, you can simmer it on the stovetop over low heat for a similar amount of time.
Check hourly (or so) to make sure liquids have not cooked dry. Add beef broth as needed to maintain liquid in the pot. Aim to keep roast covered by half. You can also flip roast over occasionally during the roasting process, allowing all parts of the meat to baste in the sauce while roasting.
During the last hour of cooking, allow the liquid to concentrate down to about 1/4 the roast. This will leave with about 2-3 cups of rich drippings.
Finish the Sauce (Optional): Once the roast is tender, remove it from the pot and set it aside to rest. If you prefer a thicker sauce, you can make a slurry by mixing cornstarch with a little water and whisking it into the simmering liquid. Let it cook for a few minutes until it thickens to your desired consistency.
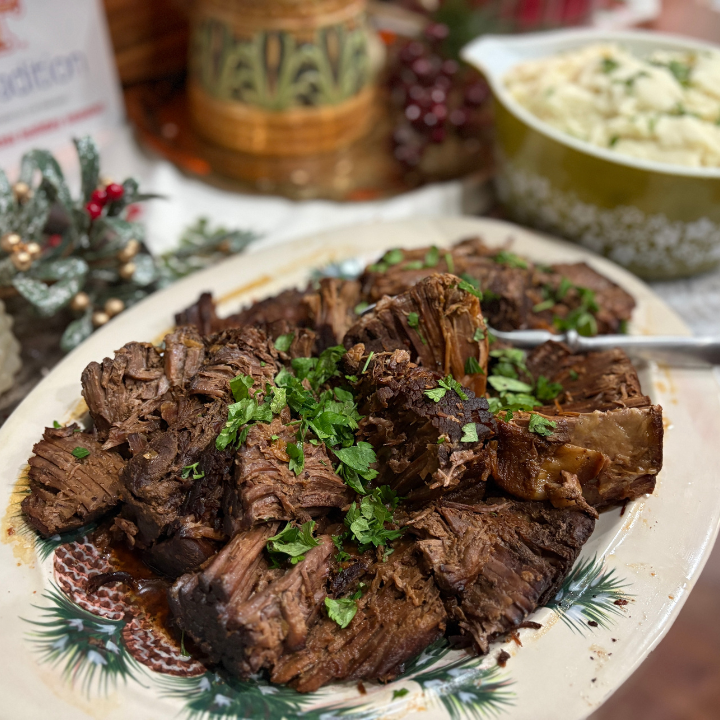
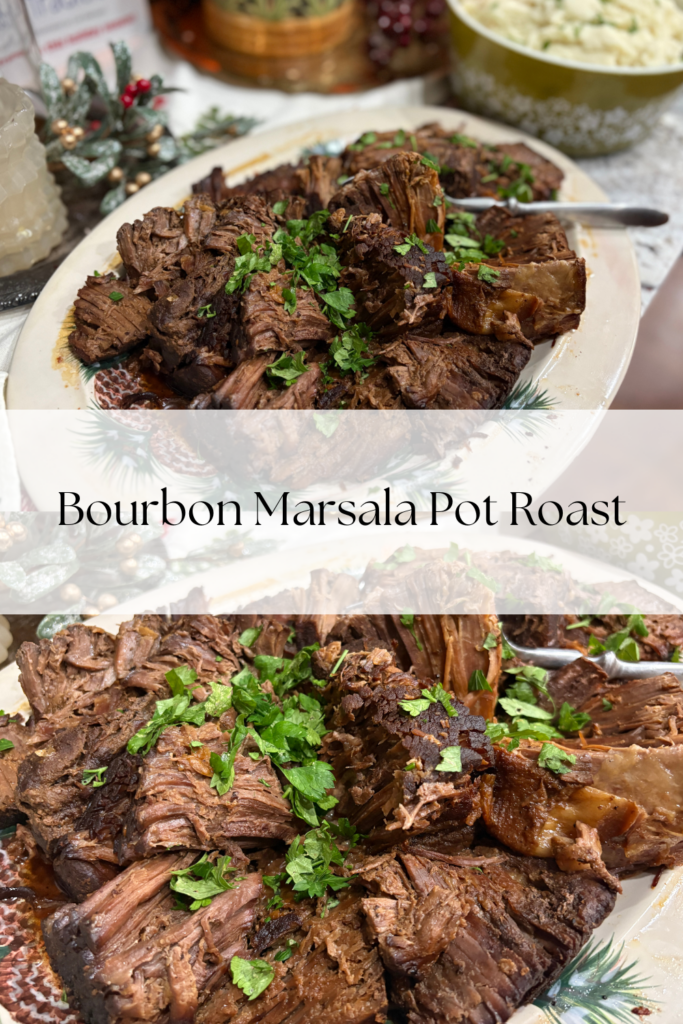
Serve: Slice the pot roast against the grain or shred it using two forks. Pour the rich bourbon Marsala sauce over the top, and garnish with fresh herbs if desired. This dish pairs wonderfully with mashed potatoes, roasted vegetables, or a simple green salad.
Tips for Success
Braising Time: The key to a perfect pot roast is slow cooking. The longer you let it braise, the more tender and flavorful it becomes. If you’re short on time, you can reduce the braising time, but for the best results, aim for at least 3 hours of low-and-slow cooking.
Marsala Wine: If you can’t find Marsala wine or prefer something else, you can substitute it with another fortified wine like sherry or port. Just keep in mind that Marsala’s unique flavor adds a special depth to the dish.
Make Ahead: This pot roast is even better the next day! It’s a great make-ahead meal because the flavors have time to meld, and it reheats wonderfully.
The Bourbon: The main differences between bourbon and whiskey are the kind of grain used and where the spirit is produced. Bourbon is an American made whiskey that must contain at least 51 percent corn in its mash and be aged in new, charred-oak barrels. The way bourbon is made imparts a deep, particularly smokey, rich flavor to this dish. Make sure to let the alcohol reduce and simmer off, leaving only the rich flavors.
The PERFECT Holiday Main Dish
This pot roast recipe is so simple but decadent, it makes the ideal holiday main dish. We particularly enjoy making this pot roast for Christmas or even New Year’s Even dinner celebrations.
Join us on our YouTube channel Wild Roots Home for a fun & festive Grinchmas Feast. Both in the video and the blog post below, I’m sharing all the Grinchmas Goods that combine to make a very special family Holiday Tradition. Get the menu, recipe ideas, decor inspiration and MORE!
This dish is a perfect marriage of rich, hearty flavors and sophisticated complexity. The beef is melt-in-your-mouth tender, the sauce is deeply flavorful with hints of sweetness and smokiness, and the entire meal feels like a special treat.
Hey there my friends!
Whether you’re cooking for a weeknight dinner or a holiday gathering, this Bourbon Marsala Pot Roast will be a hit every time. This Bourbon Marsala Pot Roast often takes center stage in our annual Grinchmas Holiday Feast.
So next time you’re craving a classic pot roast, why not take it up a notch with a little bourbon and Marsala? Your taste buds will thank you!
. Let me know if you make this recipe and I’d love for you to share it and tag me on Instagram!
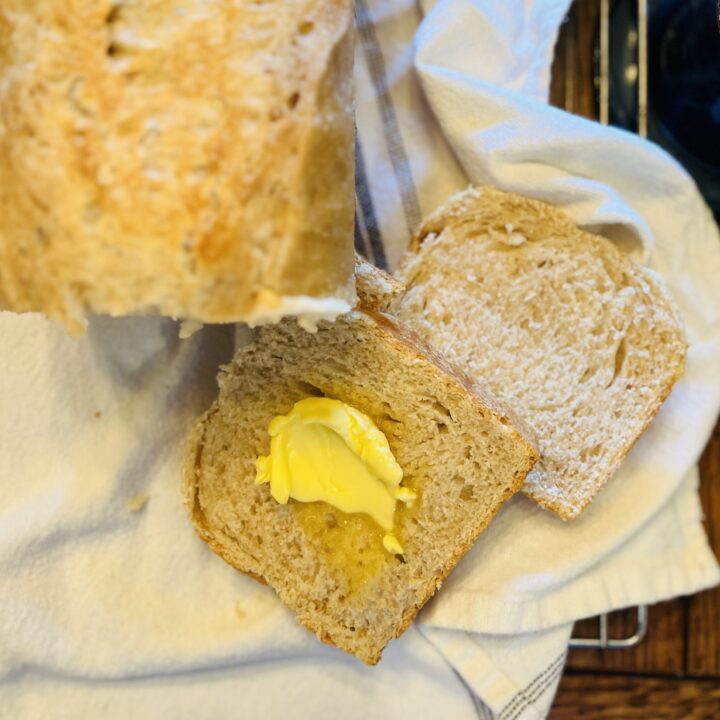
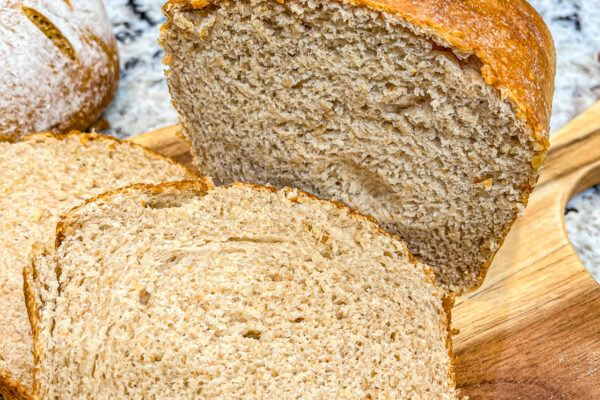
This sourdough loaf made in a pullman pan results in the best sandwhich bread. It is soft and thin - no tough chewy crust here. The crumb is very delicate but sturdy enough to hold all the good stuff. The flavor is wonderful and will become more "sour" the longer you allow it to bulk ferment. Do we even need to mention all the wonderful health benefits of sourdough! Enjoy this one, we sure do.
Measure or weigh sourdough starter into large mixing bowl. Add warm water and mix with fork or whisk until milky.
Add melted and cooled oil (OR butter) AND honey (or sugar).
Mix well with fork or whisk
Add white flour and stir until incorporated.
Add the remaining flour (whole wheat flour) and stir to combine. Dough will be sticky and shaggy in appearance. Cover with plastic wrap or damp towel and let rest for 30 minutes. Moisture will be absorbed as the dough rests and begins to ferment.
After this first 30 minute rest add salt by sprinkling over surface and using your hands to stretch and fold the dough on all sides - stretch up and to the middle of the ball. (Salt improves flavor and structure but can slow down fermentation so that is why it's add last.)
Cover bowl with plastic wrap or damp towel and let sit in warm location for another 30 minutes.
Perform another series of stretch and folds - pulling dough up from the sides and folding over toward the middle - do this until dough has no more stretch to give.
Cover with damp towel or plastic wrap and let "bulk ferment" or "long rise" in a warm location overnight or at least 8-10 hours.
Dough should be nearly doubled and bubbly before you are ready to shape and let final proof.
How to bake using the Pullman Loaf Pan:
After initial bulk ferment, this dough can either be shaped by stretching gently into a 12 x 12 inch square and rolling up (cinnamon roll style) and placing in the Pullman Pan (lid on) for a final proof. - OR - dough can be placed in the refrigerator for an even longer bulk ferment. I have left bulk batches of dough for up to 10 days before shaping, proofing and baking. They will get a bit more "sour" in flavor.
After shaping, either cold proof or warm proof your dough. If wanting to bake within a few hours, proof dough in the Pullman Pan, in a warm (110 degree-ish) location for 2-3 hours or until slightly poofed. (Loaf may not double at this point and that is ok.)
If you have cold proofed your dough in the Pullman pan, pull it out of the refrigerator, score it an bake in as directed. If you cold proofed your dough in a bowl or in bulk container then remove from refrigerator, shape, place in pullman pan and allow to warm FIRST by placing location for 4-5 hours or until slightly poofed. (Again, loaf may not double at this point and that is ok.)
To bake your loaf:
Preheat oven to 375 degrees F
Using a bread lame or sharp knife, score about a 3/4 inch slice down the length of the loaf, right in the center.
Make sure your lid is on the Pullman pan and that your loaf has been properly proofed. (cold proofed IN the Pullman pan or shaped, placed in pan and warm proofed for 4ish hours)
Bake for 40 mins.
Remove pan and slide lid open to allow to vent/cool for an hour or so before removing from pan and slicing.
Store in bread bag at room temp or in refrigerator and slice as needed for lasting freshness. This loaf also freezes great!
NOTE: This recipe has been formulated to be the perfect size for the 13x4 inch Pullman pan (adjust accordingly for smaller or larger pans)
Notes
TIPS for the BEST loaf:
BIG BATCH BAKING: This recipe can easily be doubled or even tripled. Use the gram measurements for best accuracy and result. Store the dough in the refrigerator after bulk fermentation. When ready to bake a loaf, weigh out approximately 1250 grams of cold dough, stretch, shape, place in pan and let rise for 2-3 hours until slightly puffed before baking.
Score the top of the loaf with a bread lame or sharp knife, right down the center (approx 3/4 inch deep) right before closing the lid and popping it in the oven. This helps the loaf expand (and not blow out)
Expect the loaf to "oven spring" and expand nicely and fill the full loaf pan.
Don't overbake. The crust should be light brown and sturdy yet soft.
Wait until cooled to slice.
Store in the refrigerator and slice as needed to maintain freshness.
Baked loaves can also be wrapped in plastic wrap and frozen. They thaw nicely and taste great!
Did you make this recipe?
Please leave a comment on the blog or share a photo on Instagram
If you’re looking for a healthy homemade breakfast option that’s both satisfying and packed with protein, these cottage cheese bagels are a must-try. With just four simple ingredients, you can...
Looking to add a bit of festive flair to your holiday baking this year? Why not try making a cinnamon twist Christmas tree from scratch? This delicious and eye-catching treat combines the warm,...
Who doesn't love a warm, fluffy, flaky, melt-in-your-mouth biscuit? These old fashioned biscuits are just the ones to satisfy your or any biscuit lover's craving. I especially love this recipe...
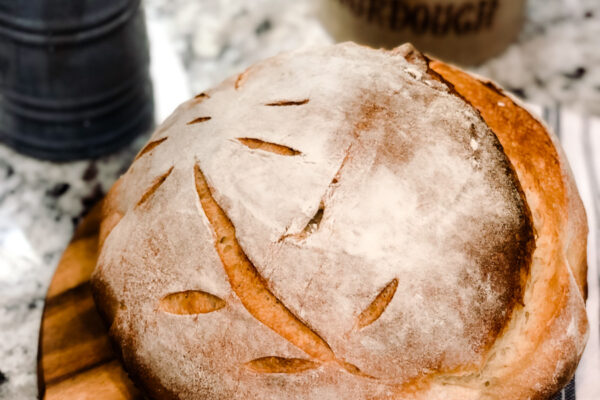
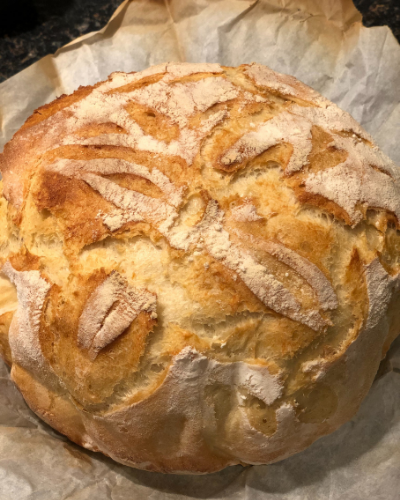
This Rustic Sourdough Boule Recipe is baked in a dutch oven. It is super simple to put together and the result is a beautiful non-fussy artisan looking loaf. Score your bread to make it as fancy or...
These Cast Iron Flatbreads are so delicious and super easy to put together for a weeknight meal. Use my 5 ingredient yeast French Bread Dough to make them or in a pinch use store bought frozen bread...
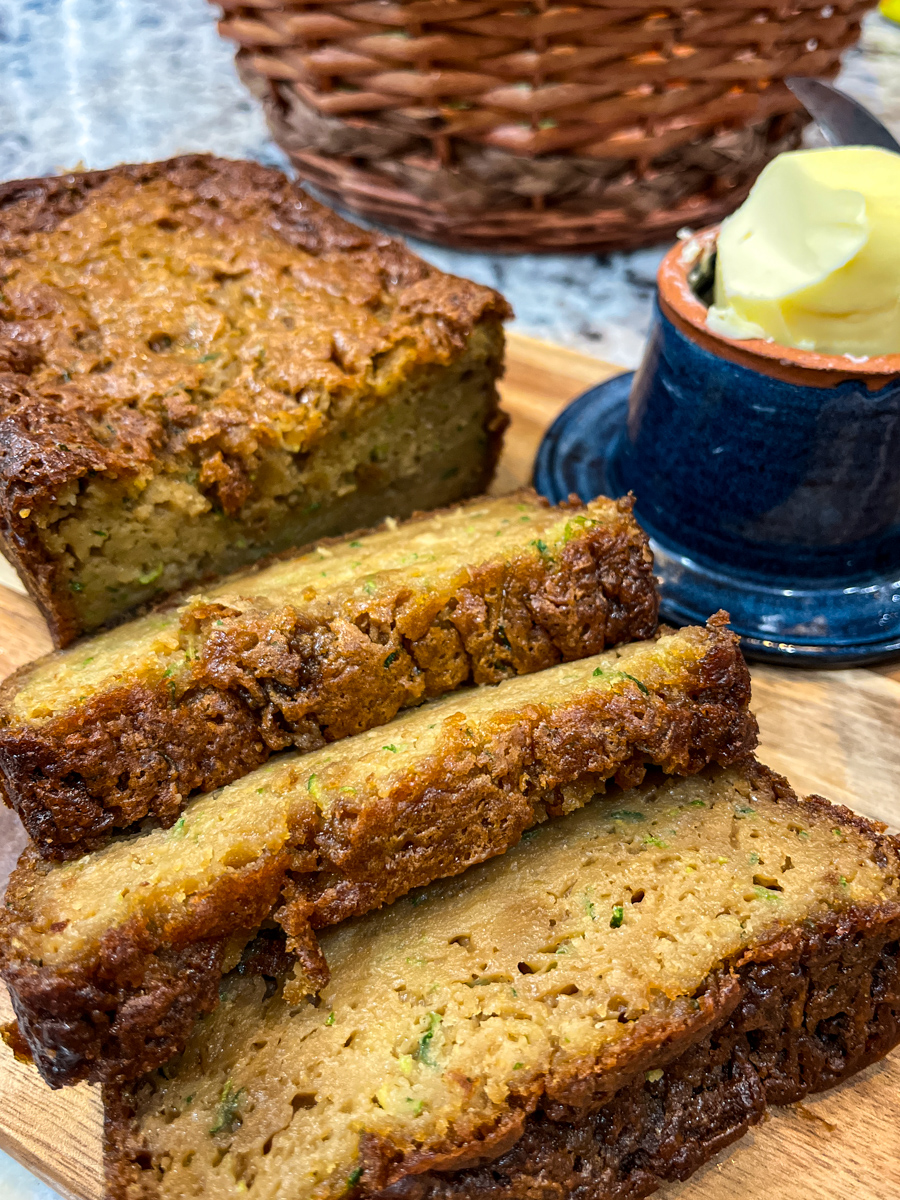
STOP! This really is the BEST Zucchini Bread recipe you'll ever need. It is moist but not gummy, soft but crisp on edges, sweet but not too sweet - let's just say it's perfect. AND here is why. . ....
Are you looking for the BEST Gluten Free, Low Carb or Keto Friendly idea for cauliflower bread slice or pizza crust replacement? STOP HERE . . . this really is a simple recipe. Simple to put...
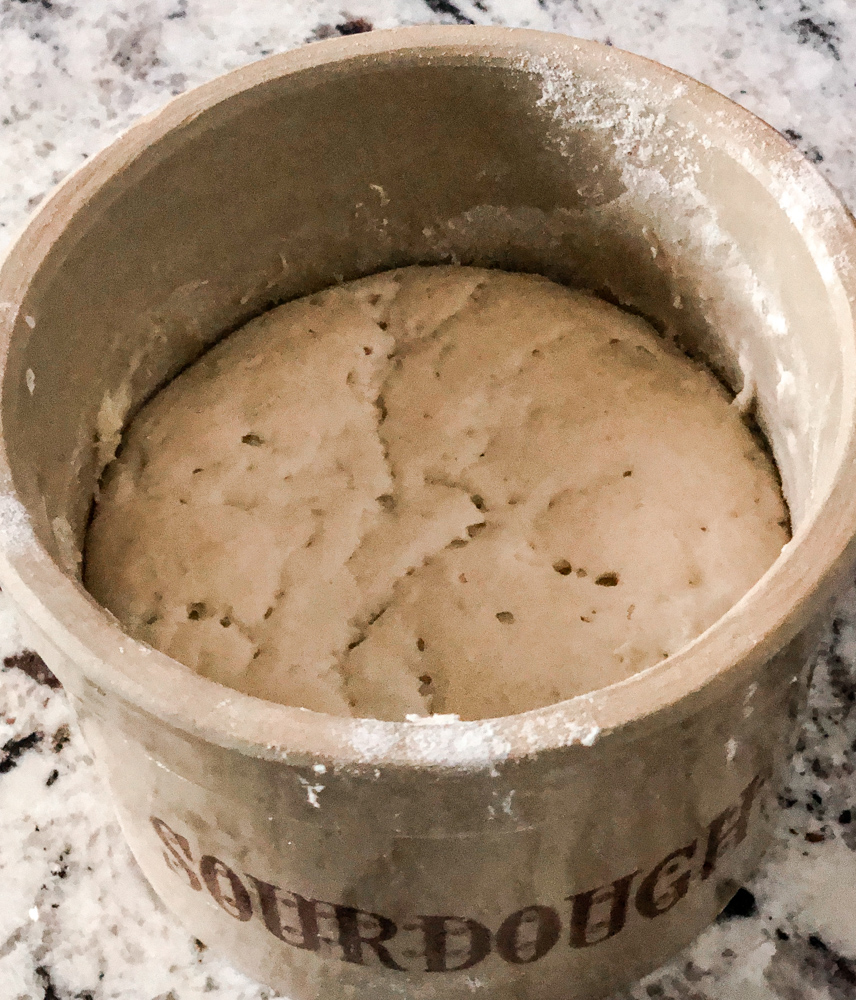
Sourdough, how I love thee! So many people have jumped on the sourdough bandwagon in the last few years. Have you? Do you find it complicated? Maybe annoying? Possibly wasteful to keep a sourdough...
You do not have to bake homemade bread or really to cook at all to be a Homemaker but there is NOTHING quite like the aroma and flavor of fresh bread. With grocery stores shelves not exactly...
Sourdough bread-making, an old fashioned skill, saw a resurgence in 2020 when grocery stores became suddenly empty of most bread products. I have been making sourdough bread for years now. After...
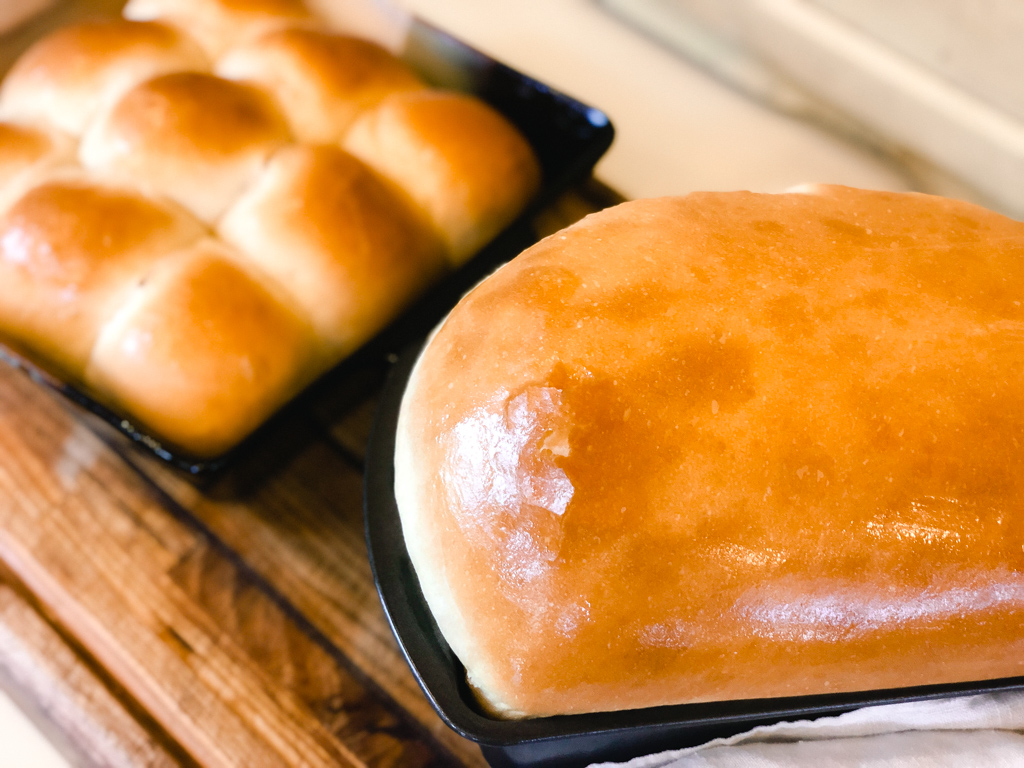
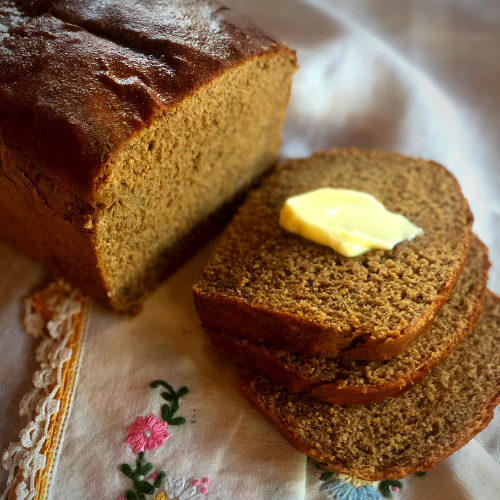
Oh my goodness!!! This honey whole wheat bread is so so good. It is slightly sweet, earthy, nutty moist and DELISH! I am partial because I would eat moist whole wheat over white bread any day . . ....
Over the next weeks I will be sharing the BEST tried and true bread recipes. I love bread and so does my family but in order to make it to the "best of the best" list it has to have it ALL . . ....