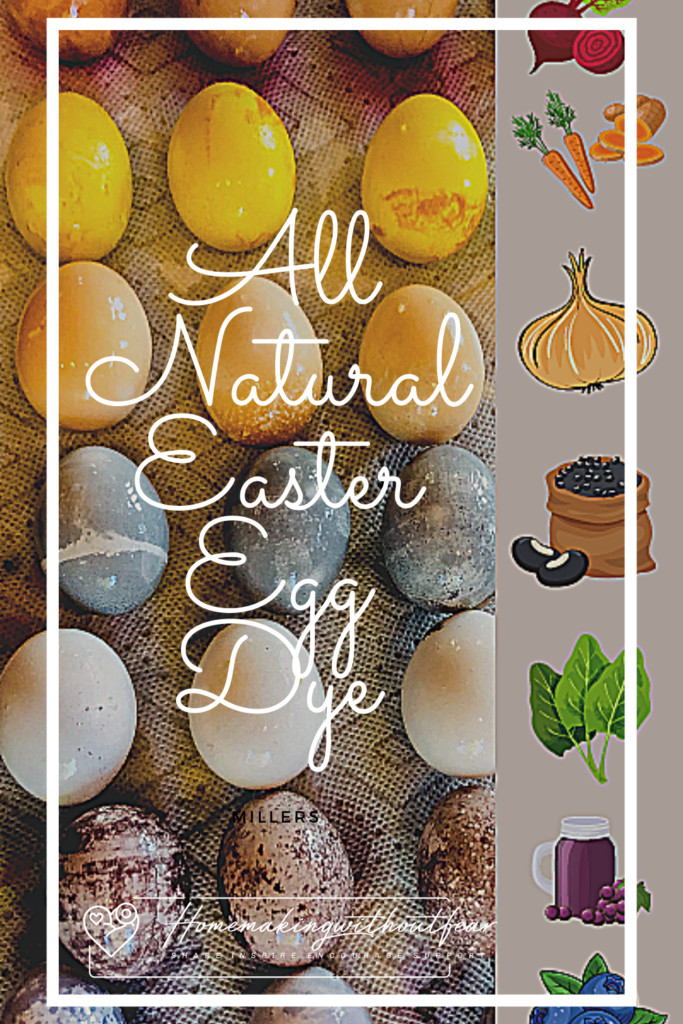
The world we live in is full of toxins and artificial ingredients. We know this and I think most of us are looking for simple ways to limit our family’s exposure. This All Natural Easter Egg Dye is EXACTLY what you are lookingfor if you too would like an alternative to grocery store, artificial food dyes and the chemicals that come with it!
This is such a fun DIY project for kids. Especially if your kids are old enough to particpate and enjoy preparing food, cooking, mixing things. My daughter loves to help chop and stir and is such a helpful little sous-chef.
My son isn’t as interested in kitchen things but he loves to watch the process of creating the dyes . . . It’s like a big science experiment, coming up with all the color variations. This is a wonderful home-school project.
Nature provides us with so many natural, beautiful colors and hues. I think the funnest part of the project for me was thinking about what we already had in our home . . . and imagining what we could use to create all the colors of the rainbow.
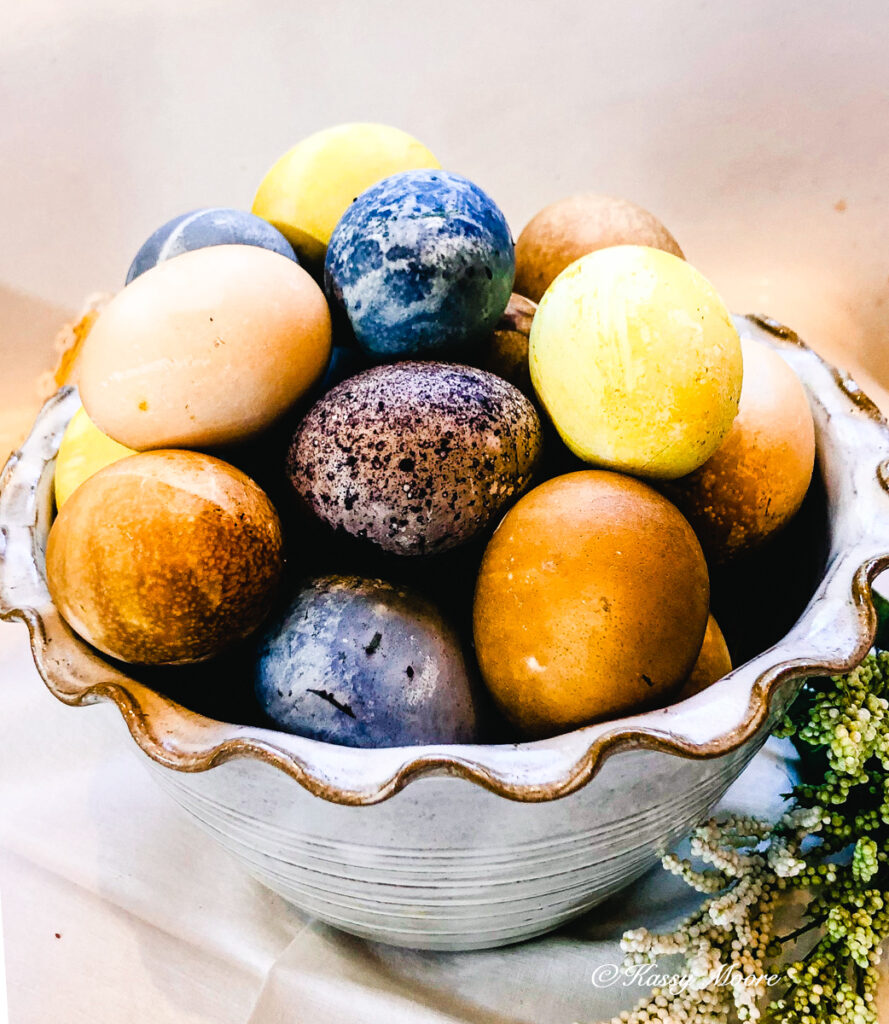
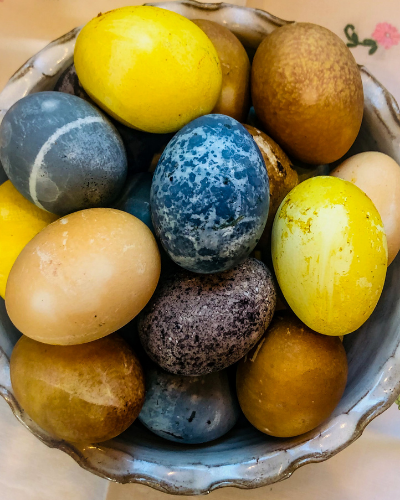
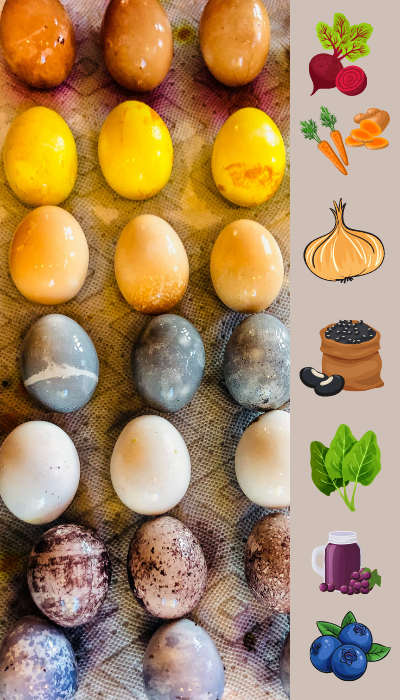
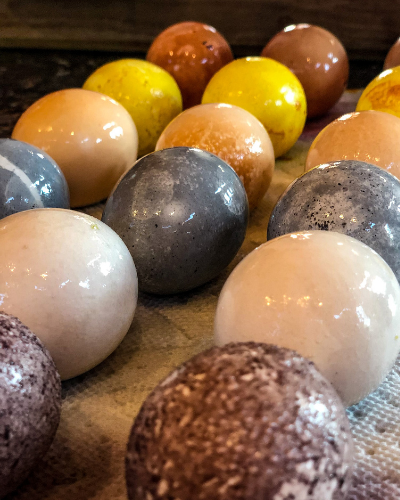
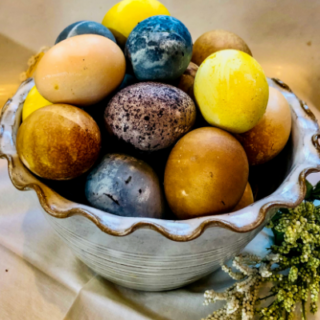
Overall the resulting dye colors are not as vibrant as artificial dyes but I think the soft, naturally variable tones are sooo BEAUTIFUL . .
What you will need:
White eggs for dying
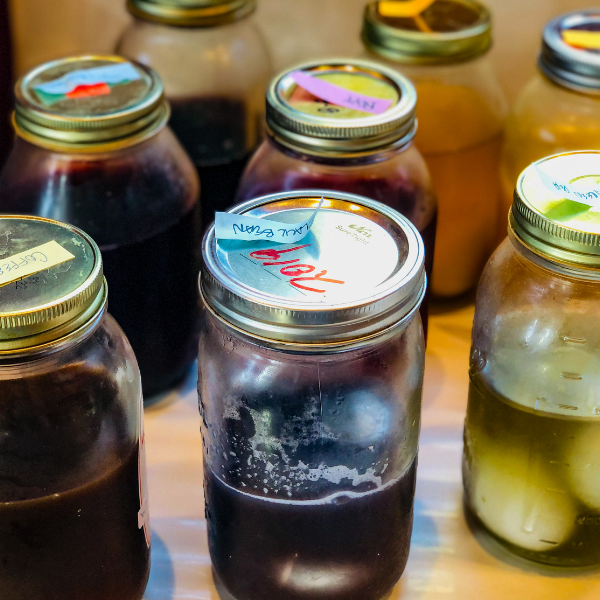
8 clean WIDE-MOUTH quart jars with lids (1 jar for each color you choose to make)
Distilled white vinegar
An array of veggies/foods depending on what colors you wish to make. I limit our selection to 8 colors so that we don’t get too overwhelmed and messy . . . but still have a beautiful basket.
Keep in mind that color result may vary because colors of food in natures varies . . . Duh
But . . . seeing what you get in the end is the fun part.
Think about what you already have in your home . . . Feel free to be CREATIVE, PLAY & HAVE FUN adding to the list below.
Here are some ideas for All Natural Easter Egg Dye colors!
Reds/pinks: beets, raspberries, blueberries, red cabbage, grape juice, dried red bean
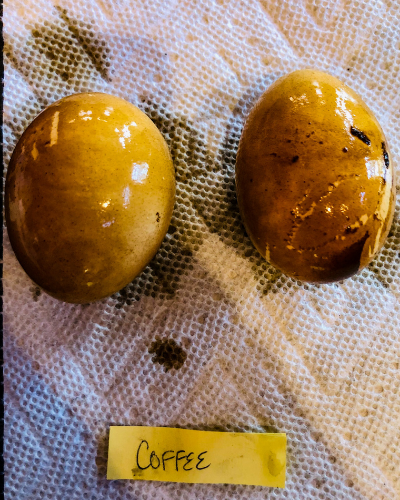
Brown/tan: instant coffee granules, black tea, cocoa powder
Here is how we made our All-Natural Easter Egg Dye:
START THIS DYE MAKING PROJECT THE DAY BEFORE YOU WISH TO COLOR EGGS. START COLORING THE NEXT MORNING AS EGGS WILL NEED TO BE IN DYE AT LEAST 4-6 HOURS.
Prepare quart jars and lids by washing in hot soapy water. (1 quart jar per color you wish to create)
Collect your veggies/foods/pantry ingredients coinciding with color choices.
Wash any whole fruits or vegetables. Rough chop large vegetables but peeling is not necessary. For every 2 cups of dye you wish to create, you will need approximately 1 cup of chopped vegetable or fruit.
Place 2 Tbsp of distilled white vinegar in each quart jar. DON’T SKIP THE VINEGAR IT HELPS THE DYE ADHERE TO THE SHELL AND RESULT IN MORE VIBRANT COLORS. YOU COULD SUBSTITUTE THE VINEGAR FOR LEMON JUICE.
Follow Dye processing instructions BELOW depending on which kind of food you are using.
Once you have prepared all jars and filled them with dye concoction let all liquids cool completely. Make sure that some foods sit overnight for dye to develop. For example you must let dried beans, onion skins and cabbage sit in the vinegar water solution for the color to be extracted.
PROCESSING INSTRUCTIONS FOR DYE BASED ON FOOD TYPE:
For herb/granular food based dye: (i.e. turmeric, instant coffee granules, cocoa powder)
Place 1-2 Tbsp of herb or powder directly in jar and dissolve with 2 cups of warm water.
Place lid on and shake well. – no cooking necessary
For liquid drink based dye: (i.e. grape juice, tea, coffee or juice)
Use 1 cup of drink liquid and add it to quart jar with vinegar.
Then add 1 cup of warm water. You could choose to skip watering down the drink . . . full strength would result in deeper color.
Place lid on jar and shake to mix everything together. – no cooking necessary
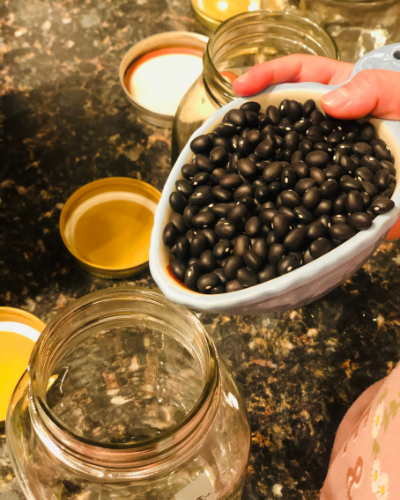
Cabbage, onion or dried bean based dyes: (i.e. purple/red cabbage, red onion skins, yellow onion skin, dried red bean, black bean or navy bean)
Submerged approximately 1 packed cup of shredded cabbage – OR – dry outer onion skin layer into 2 cups of warm water with the vinegar.- No cooking necessary.
For dried beans use 1 cup of bean to 2.5 cups of warm water with vinegar. The beans soak up some of the water so using 2.5 cups will make sure you still get 2 cups of dye in the end. – No cooking necessary.
In order for the dye to develop from these items THEY MUST SOAK FOR AT LEAST 8 HOURS OR OVERNIGHT.
Shake jar a few times throughout the soaking process.When desired color is achieved, strain solids from liquids.
Discard solids and add liquid back to quart jar. If you make dye from beans you certainly could SAVE, COOK and EAT the beans since they have soaked in water and vinegar. . . you do this with dried beans anyway!! I HATE wasting food.
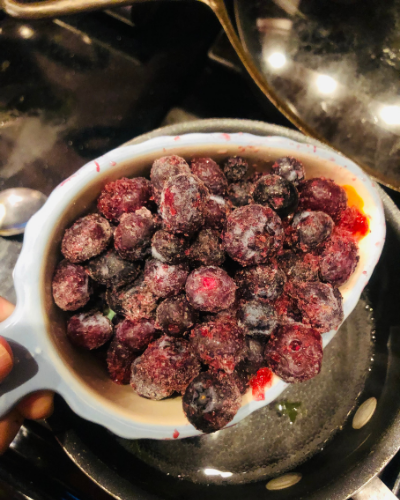
Berry based dyes; (i.e blueberry, raspberry)
Boil 1 cup of fruit with 2.5 cups of water for about 5 minutes until the liquid becomes colored and fruit begins to break down.
Next, strain liquid from solids and pour liquid into quart jar with the vinegar.
Lastly, Let liquid cool and discard solids.
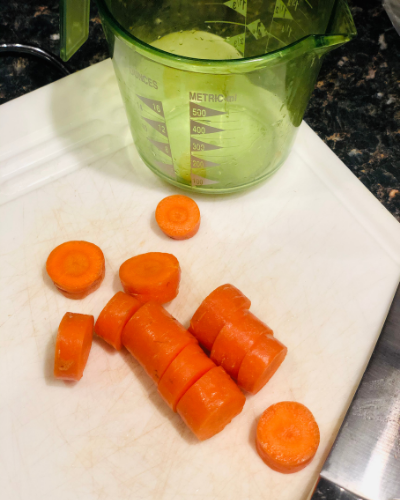
For vegetable or leaf based dyes. Like broccoli, sweet potato, carrot, carrot tops, grass clippings or pine needles.
Boil approximately 1 packed cup of chopped vegetable with 2.5 cups of water until vegetable is just soft and the boiling liquid becomes colored.
Strain solids from liquids.
Pour liquid in to quart jar with vinegar.
After you have prepared All Natural Easter Egg Dye you are to dye eggs:
Place hard boiled eggs into jars (can fit up to 4-5 eggs per jar just make sure eggs are submerged and let sit for 4-6 hours . . . or even over night in refrigerator for deeper colors.)
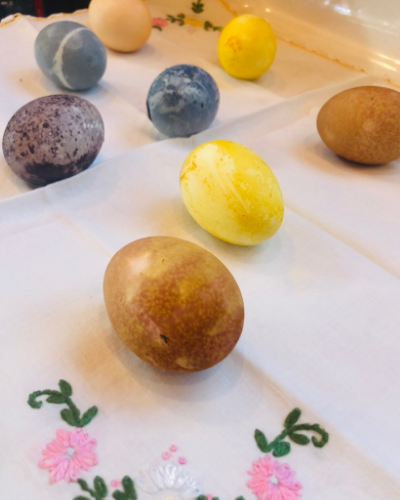
When desired hue is achieved remove eggs from jars and set out on towels to dry.
Discard remaining dye. Good news it is non-toxic and can be composted, dumped in the garden or very easily and safely added to a septic system.
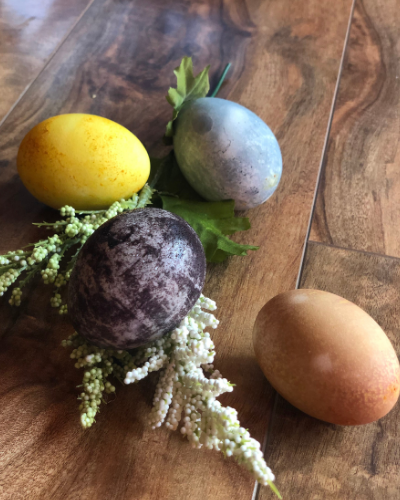
OPTIONAL: When eggs are dry you can shine them up with bit of olive oil. Place a few drops in your palm and roll the egg around in your hands.
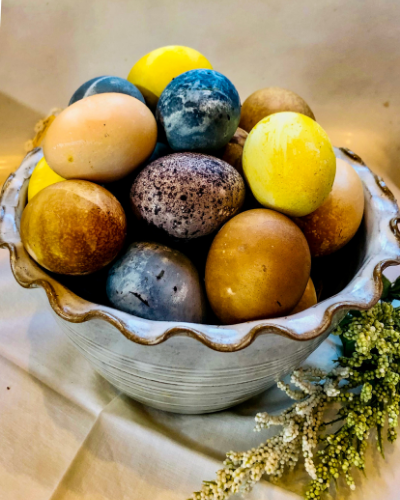
These non-toxic, naturally dyed Easter eggs turned out even more beautiful than I imagined they would. I do hope you try this project and let me know the colors you come up with!
Happy Easter and God Bless!
Check out more beautiful & FUN homemaking projects!
This All Natural Easter Egg Dye is mostly whole foods based. It does not contain harmful chemicals like grocery store chemical dyes. The colors tend to be softer and muted but reflect the naturally variable and oh so BEAUTIFUL colors of nature. Happy Spring!
No Ratings
Materials
8 WIDE-MOUTH quart jars with lids
Distilled white vinegar
Desired food/pantry items depending on dye colors (see color ides in notes below)
water
Hard boiled eggs for dying
Tools
kitchen pots for boiling
spoons for stirring
Strainer for straining solids from liquids
pitcher for collecting liquids when strained
Instructions
START THIS DYE MAKING PROJECT THE DAY BEFORE YOU WISH TO COLOR EGGS. START COLORING THE NEXT MORNING AS EGGS WILL NEED TO BE IN DYE AT 4-6 HOURS
'Prepare quart jars and lids by washing in hot soapy water. (1 quart jar per color you wish to create)
Collect your veggies/foods/pantry ingredients coinciding with color choices.
Wash ANY whole fruits or vegetables. Rough chop large vegetables but peeling is not necessary. For every 2 cups of dye you wish to create, you will need approx 1 cup of chopped vegetable or fruit.
Place 2 Tbsp of distilled white vinegar in each quart jar.
Follow Dye processing instructions BELOW depending on which kind of product you are using.
Once you have prepared all jars filled with dye concoction let all liquids cool completely. Some foods must sit overnight for dye to for: i.e. cabbage, bean and onion skins
Place hard boiled eggs into jars (can fit up to 4-5 eggs per jar) and let sit for 4-6 hours . . . or even over night in refrigerator for deeper colors. I DO NOT RECOMMEND LEAVING EGGS IN DYE FOR LONGER THAN 12 HOURS AS SOME OF THE FOOD/VINEGAR FLAVOR COULD ALTER THE EGG TASTE.
When desired hue is achieved remove eggs from jars and set out on towels to dry.
OPTIONAL: When eggs are dry you can shine them up with bit of olive oil. Place a few drops in your palm and roll the egg around in your hands.
Discard remaining dye. Good news it is non-toxic and can be composted, dumped in the garden or very easily and safely added to a septic system.
PROCESSING INSTRUCTIONS FOR DYE BASED ON FOOD TYPE:
For herb/granular food based dye: (i.e. turmeric, instant coffee granules)
For yellow dye (turmeric), tan/brown dye (instant coffee granules) or any other herb/granular item place 1-2 Tbsp directly in jar and dissolve with 2 cups of warm water.
Place lid on and shake well. - no cooking necessary
For drink based dye: (i.e. wine, grape juice, tea, coffee or juice)
Use 1 cup of drink liquid and 1 cup of warm water added to the jar with vinegar - no cooking necessary
For Cabbage, onion or bean based dyes: (i.e. purple/red cabbage, red onion skins, yellow onion skin, dried red bean, dried black bean or navy bean)
Submerged approx 1 packed cup of shredded cabbage - OR - dry outer onion skins into 2 cups of warm water with the vinegar. - No cooking necessary '
For dried beans use 1 cup of bean to 2.5 cups of warm water with vinegar. The beans soak up some of the water so using 2.5 cups water will make sure you still get 2 cups of dye in the end. - No cooking necessary
In order for the dye to develop from these items THEY MUST SOAK FOR AT LEAST 8 HOURS OR OVERNIGHT.
Shake jar a few times throughout the soaking process.
When desired color is achieved, strain solids form liquids.
Discard solids and add liquid back to quart jar. (You can cook and eat beans after they have soaked!)
For Berry based dyes; (i.e blueberry, raspberry)
Boil 1 cup of fruit with 2.5 cups of water for about 5 minutes until the liquid is becomes colored and fruit begins to break down.
Strain liquid from solids and pour liquid into quart jar with the vinegar.
Let liquid cool and discard solids.
For vegetable or leaf based dyes: (i.e: broccoli, sweet potato, carrot, carrot tops, grass clippings, pine needles)
Boil approx 1 packed cup of chopped vegetable with 2.5 cups of water until vegetable is just soft and the boiling liquid becomes colored.
Strain solids from liquids.
Pour liquid in to quart jar with vinegar.
Notes
START THIS DYE MAKING PROJECT THE DAY BEFORE YOU WISH TO COLOR EGGS. START COLORING THE NEXT MORNING AS EGGS WILL NEED TO BE IN DYE AT LEAST A FEW HOURS
Don't waist boiled/cooked fruits or vegetables - use in other recipes or mash up for baby foods (peel them first if you choose to do this) - OR - feed them to chickens (no onion to chickens or dogs)
Here are a few color ideas:
With exception of coffee granules, black tea and turmeric powder you will need approximately 1 cup of produce/food that has been washed/rinsed but unpeeled and rough chopped.
Reds/pinks: beets, raspberries, blueberries, red cabbage, red wine (inexpensive variety), grape juice
Blue/purple/violet: black beans, blueberries, huckleberry, grape juice, red cabbage, red/purple onion skin, red beans
The holiday season is the perfect time to transform your home into a warm and inviting winter wonderland. Classic Christmas decorations never go out of style and bring a sense of nostalgia and...
Join us in this festive video as we prepare to transform our spaces into a cozy Christmas home! Learn how to create a stunning DIY advent “wreath” using natural elements, and get inspired in...
Transform your family holiday dinner into a whimsical, fun-filled “Grinchmas” celebration inspired by Dr. Seuss’s How the Grinch Stole Christmas. With a touch of creativity and a sprinkle of...
Creating a welcoming porch can elevate your home’s curb appeal, and one of the key elements is the railing. A well-designed railing not only enhances safety but also adds character to your outdoor...
Welcome, do you all remember back in 2001 when I shared my kitchen, dining room and pantry mood boards? Well I sure do! I remember searching the web, saving ideas and pictures and dreaming up a...
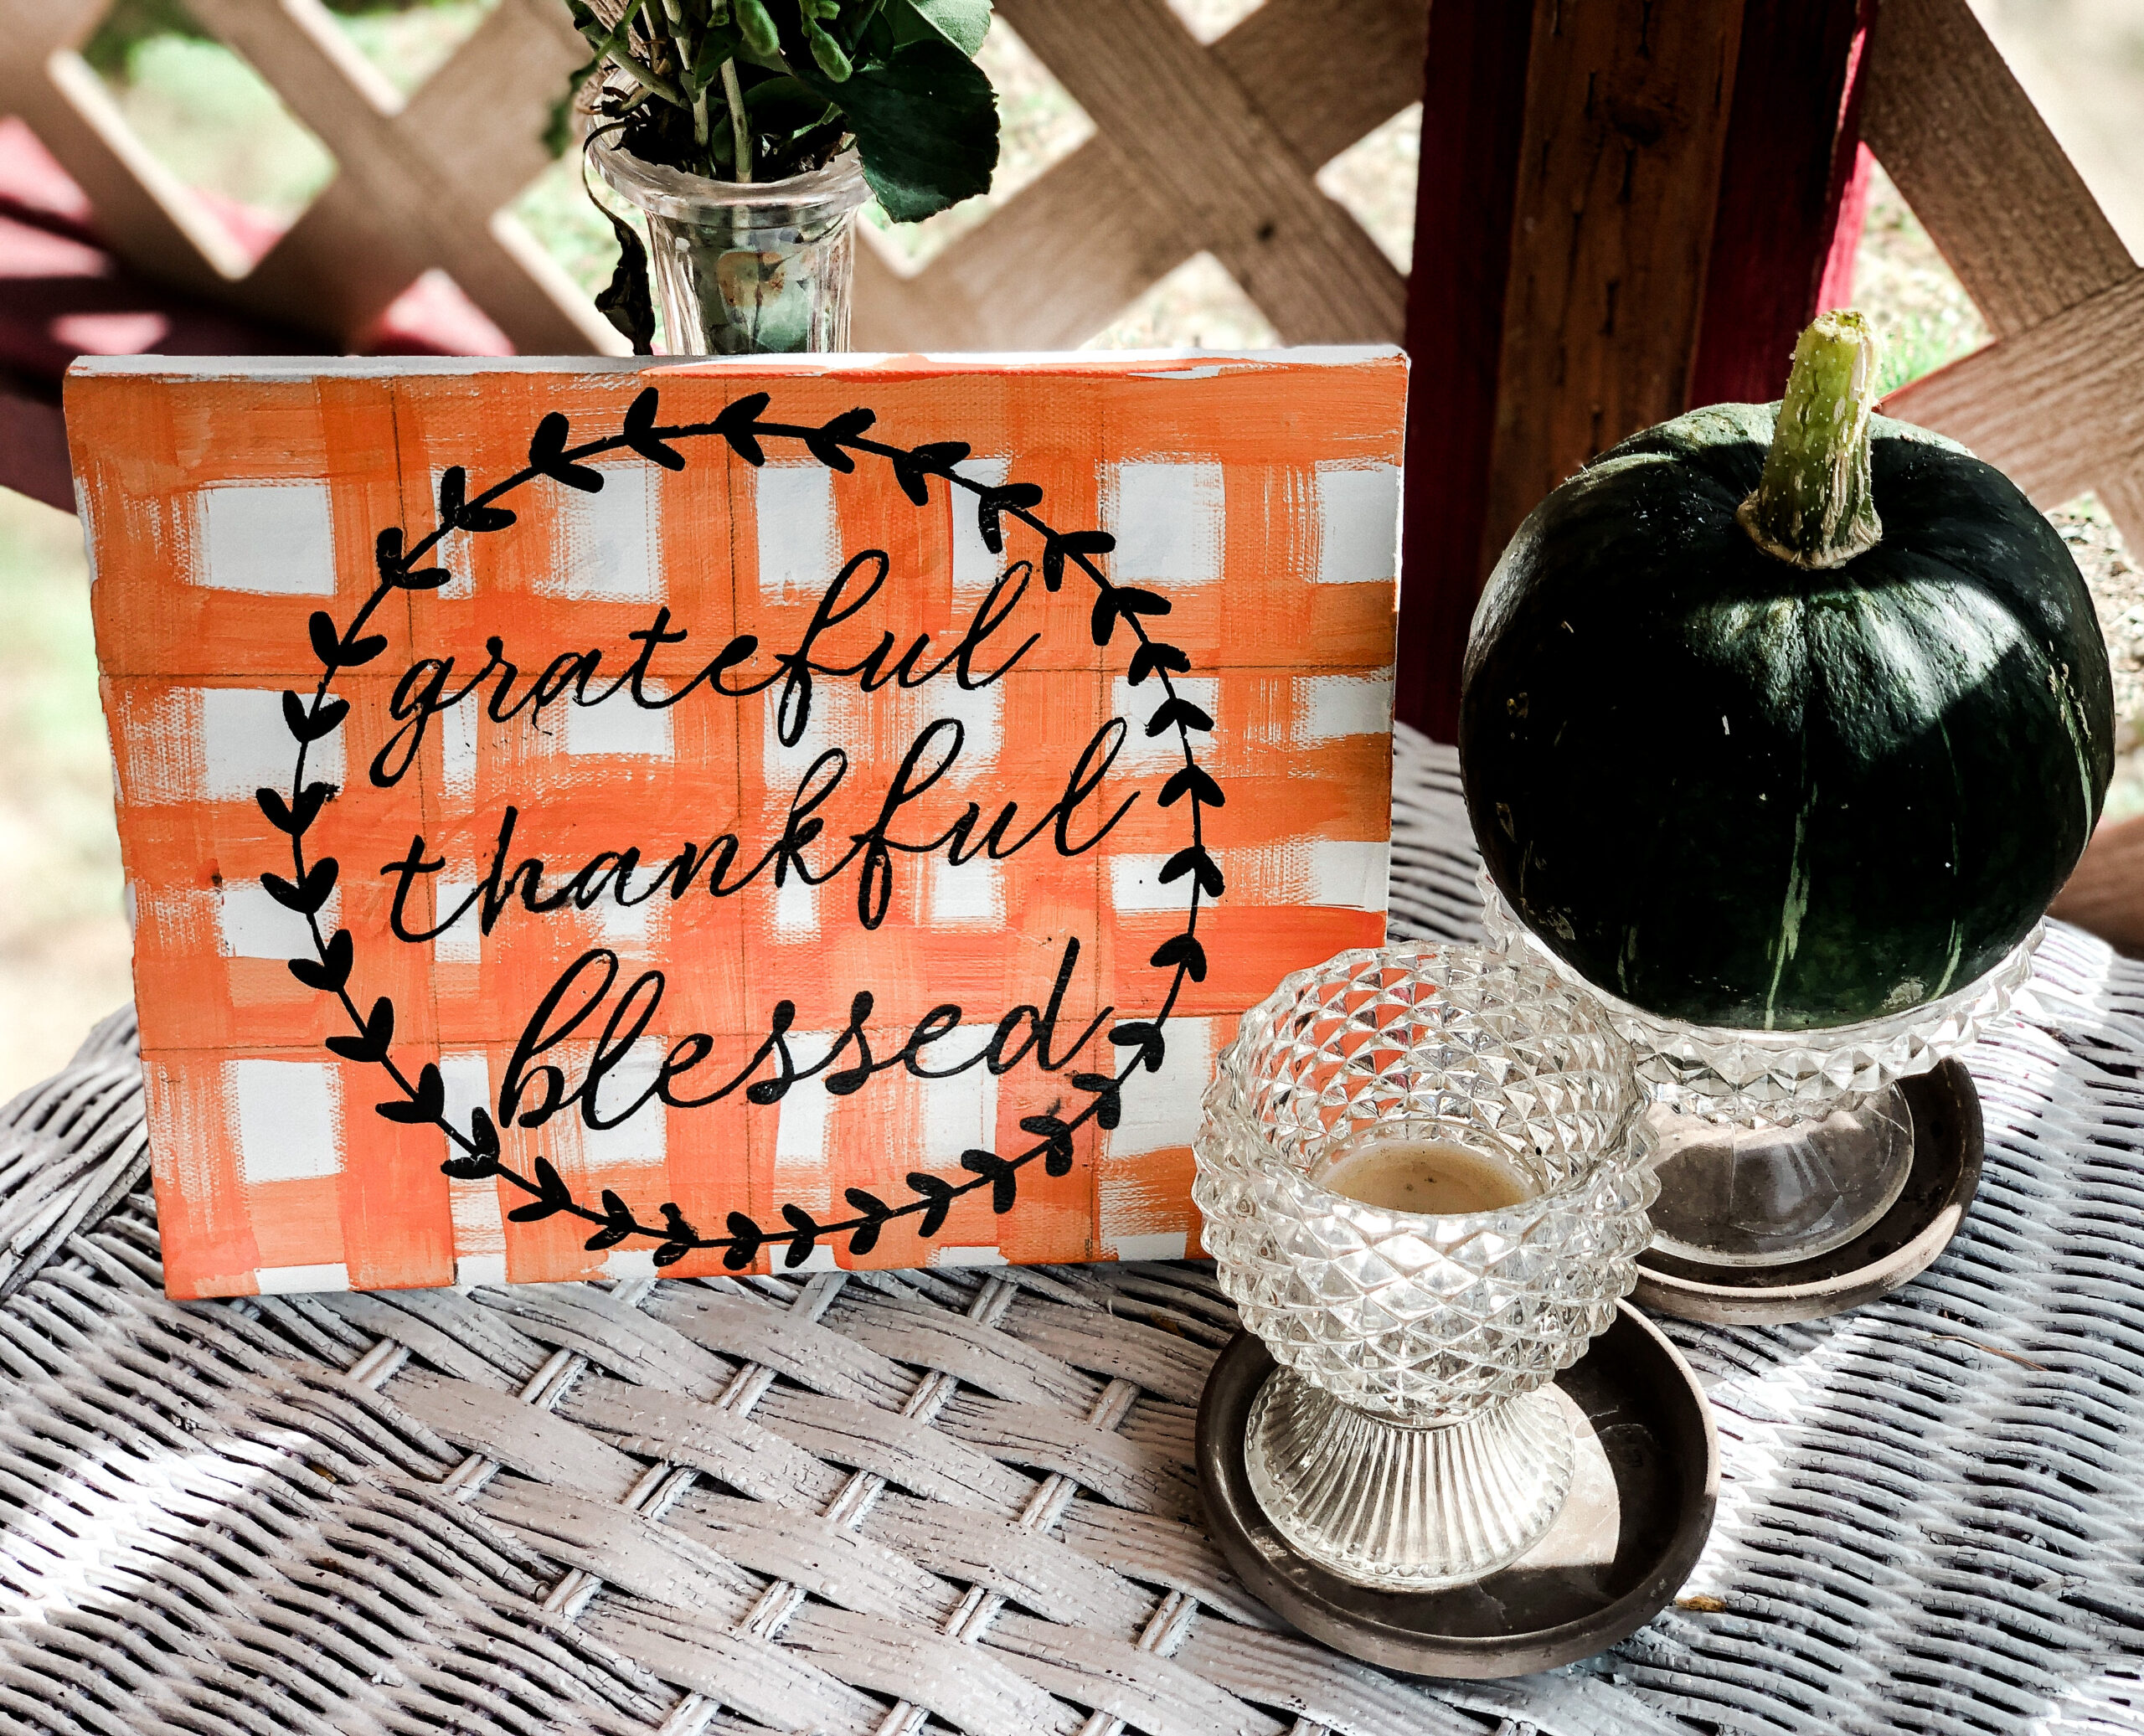
Oh my word! Can ya’ll tell me WHY it has taken me so long to get some proper fall decor up. I’m in love with how my dining room turned out this year. I guess all I needed was a little thrift...
Come with me today as I share with you my Fall 2024 inspiration AND a recent thrift shop haul that gives me all the Fall vibes. Feel free to check out my Fall 2024 Milanote Mood Board below. Cool,...
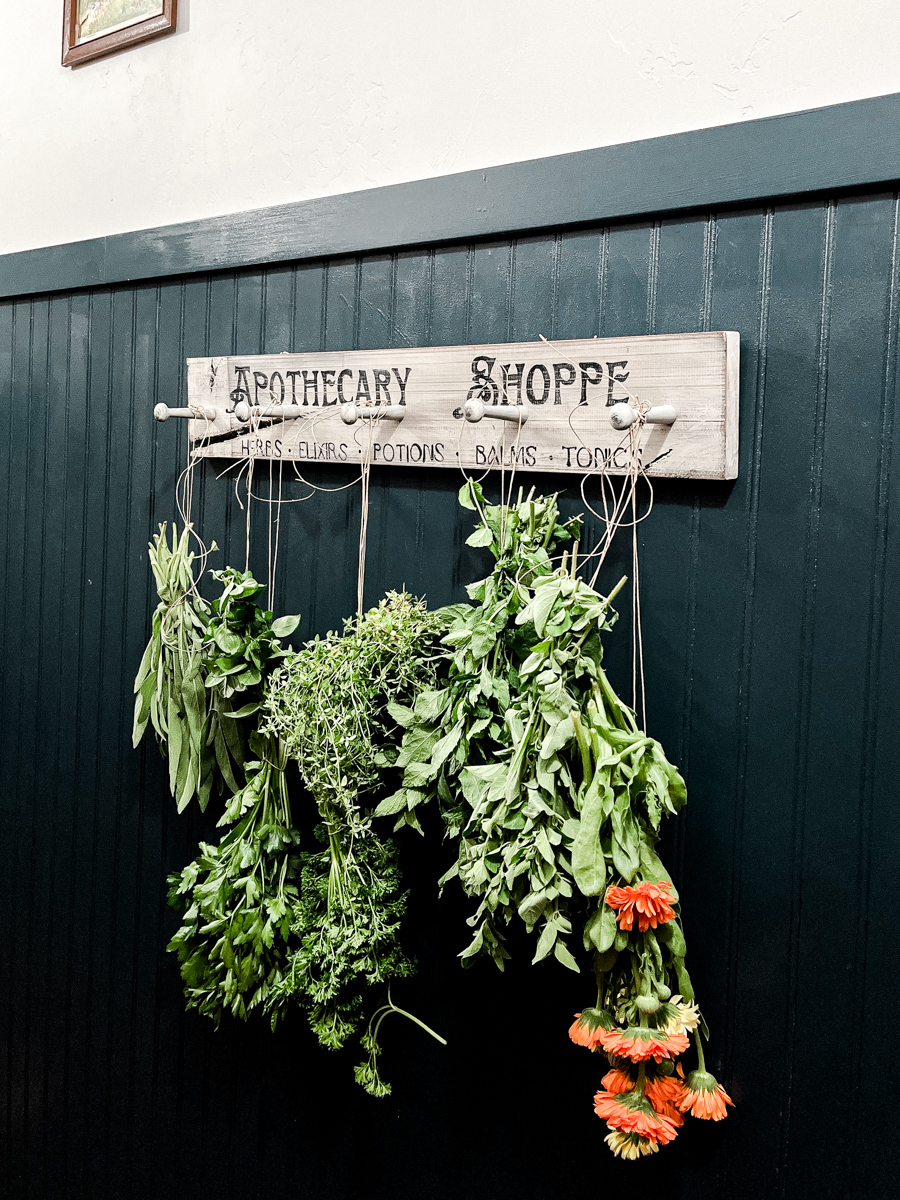
Summer harvest season is upon us. Vegetables, fruits, flowers, herbs. Praise God for this abundance! It is time to savor, gather and preserve all this goodness. Herbs are on my mind but I needed a...
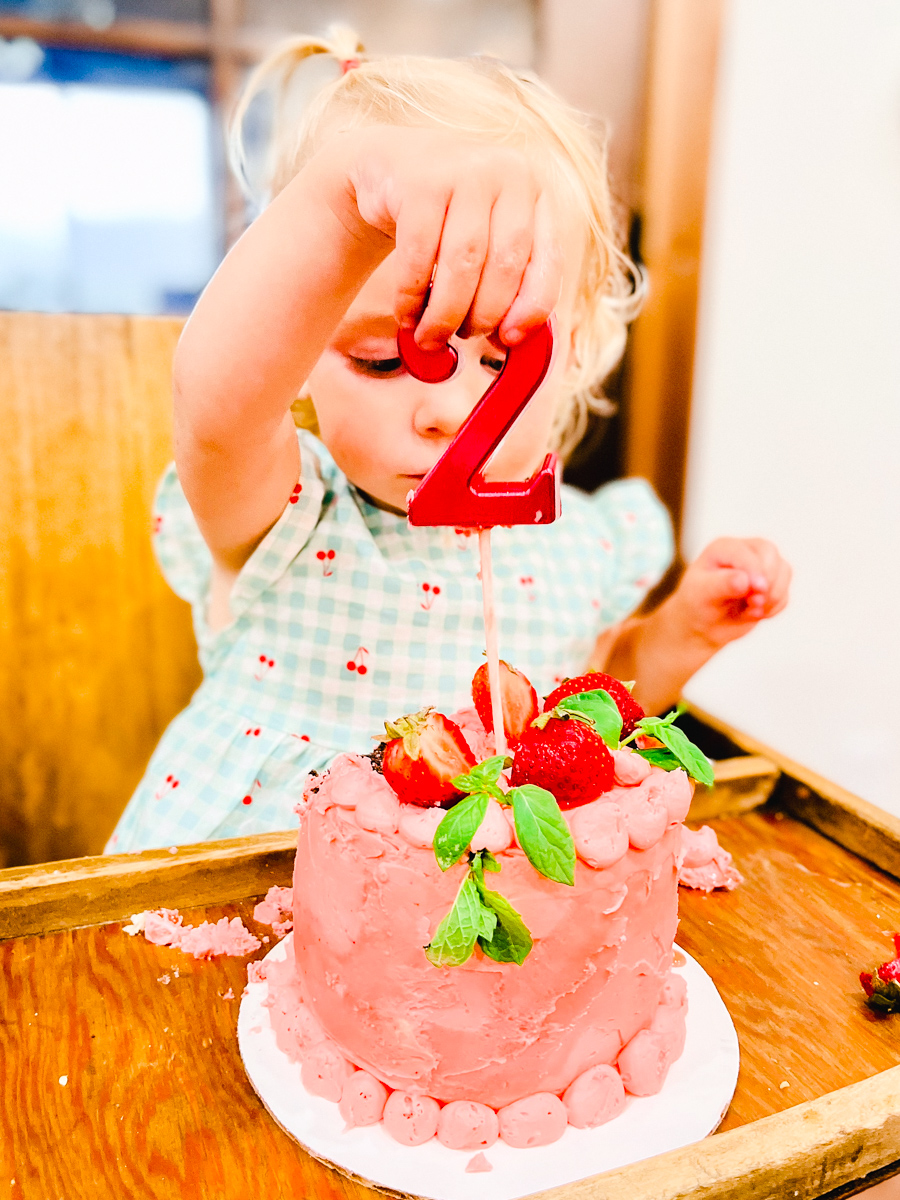
Need ideas for a Garden Theme Birthday Party? Our baby girl turned 2 years old last week. They just grow so fast don't they? Because the weather, the garden and the back patio is beautiful right now...
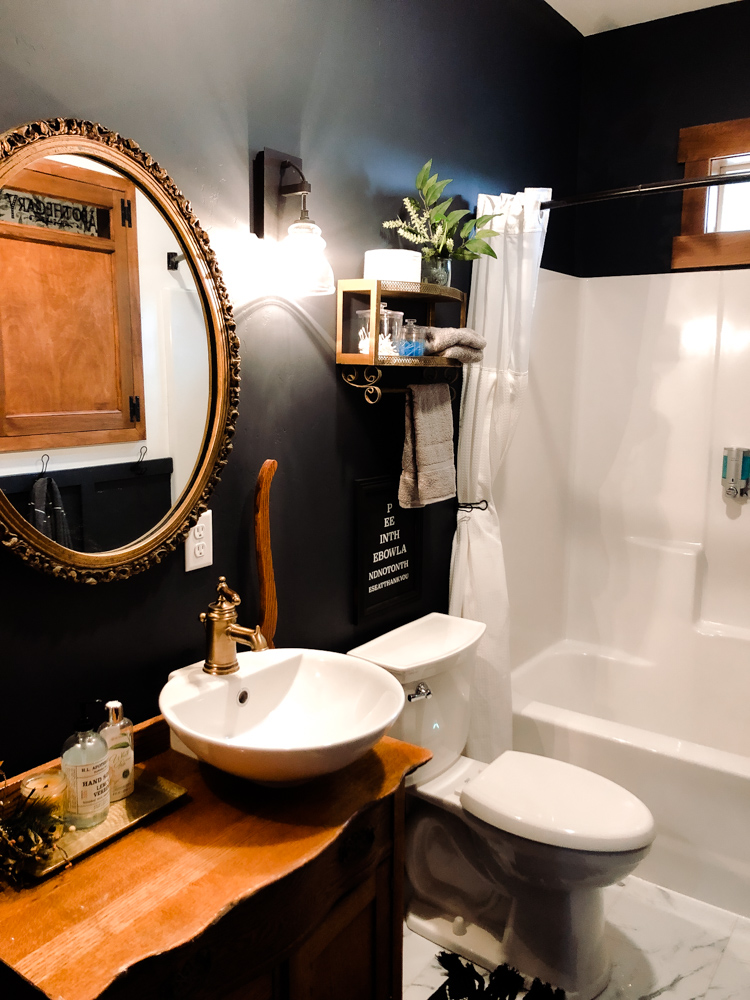
Does a sexy dark wall color in a SMALL bathroom scare you? Don't let it. Dark walls - even black can be done. The resulting will be moody, intimate cozy, timeless and FABULOUS. Let share with you...
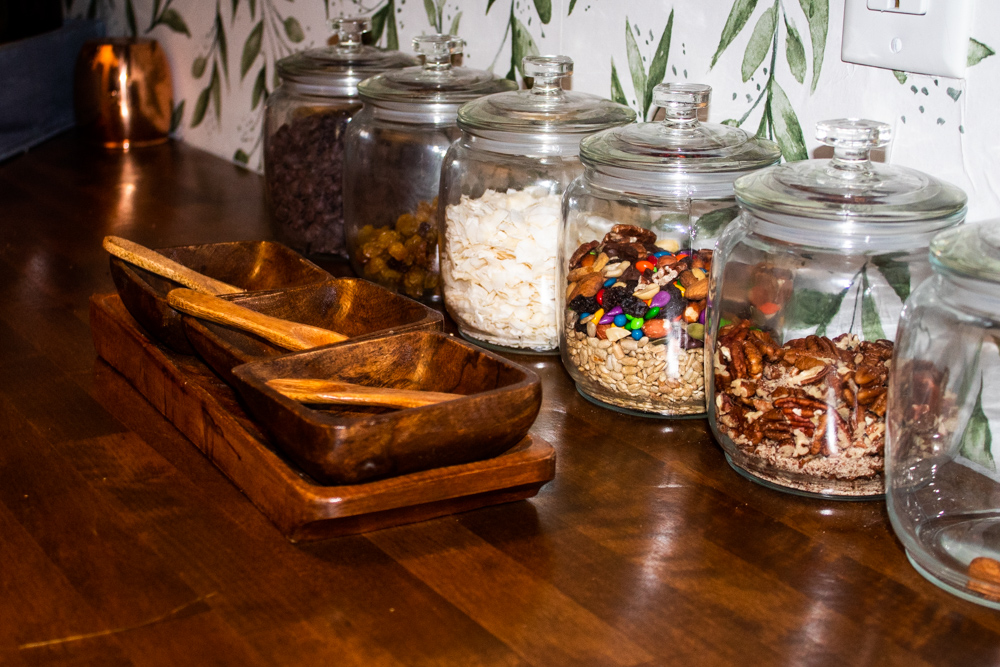
A functional and BEAUTIFUL pantry is an essential part of any home. Be it a cottage, farmhouse or country home - a pantry must function like a workhorse. BUT it can also be simply pleasing to the...
Gosh am I READY to share this project with you!! I started it and filmed it months ago but with moving and all it has been put on the back burner. Despite having to do this project TWICE because the...
Even though the Holidays can often be all hustle and bustle, it is nice to slow down focus on family and friends & just time together. Gift giving is part of all the fun but does NOT have to...
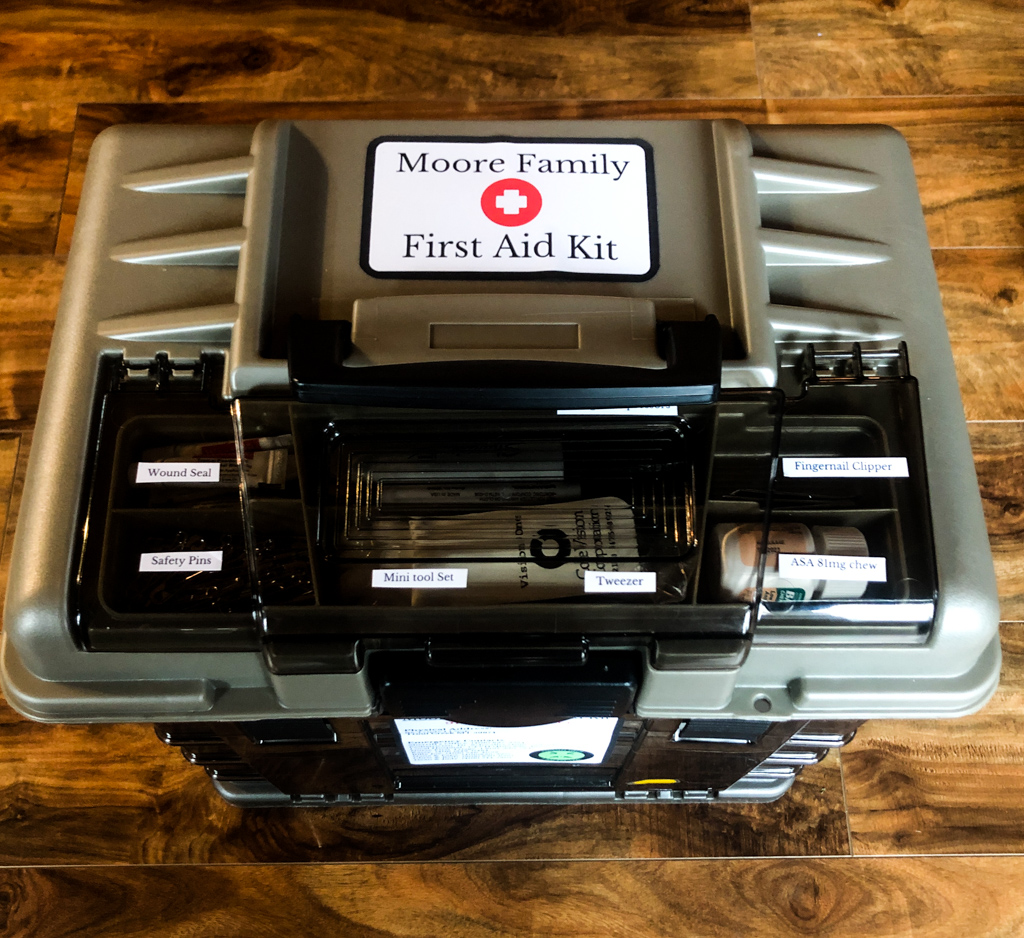
Having a well-stocked DIY Home First Aid Kit is such an important part of a home. Keep in mind that if conventional medications are not your thing a home medical/first aid kit could be stocked with...
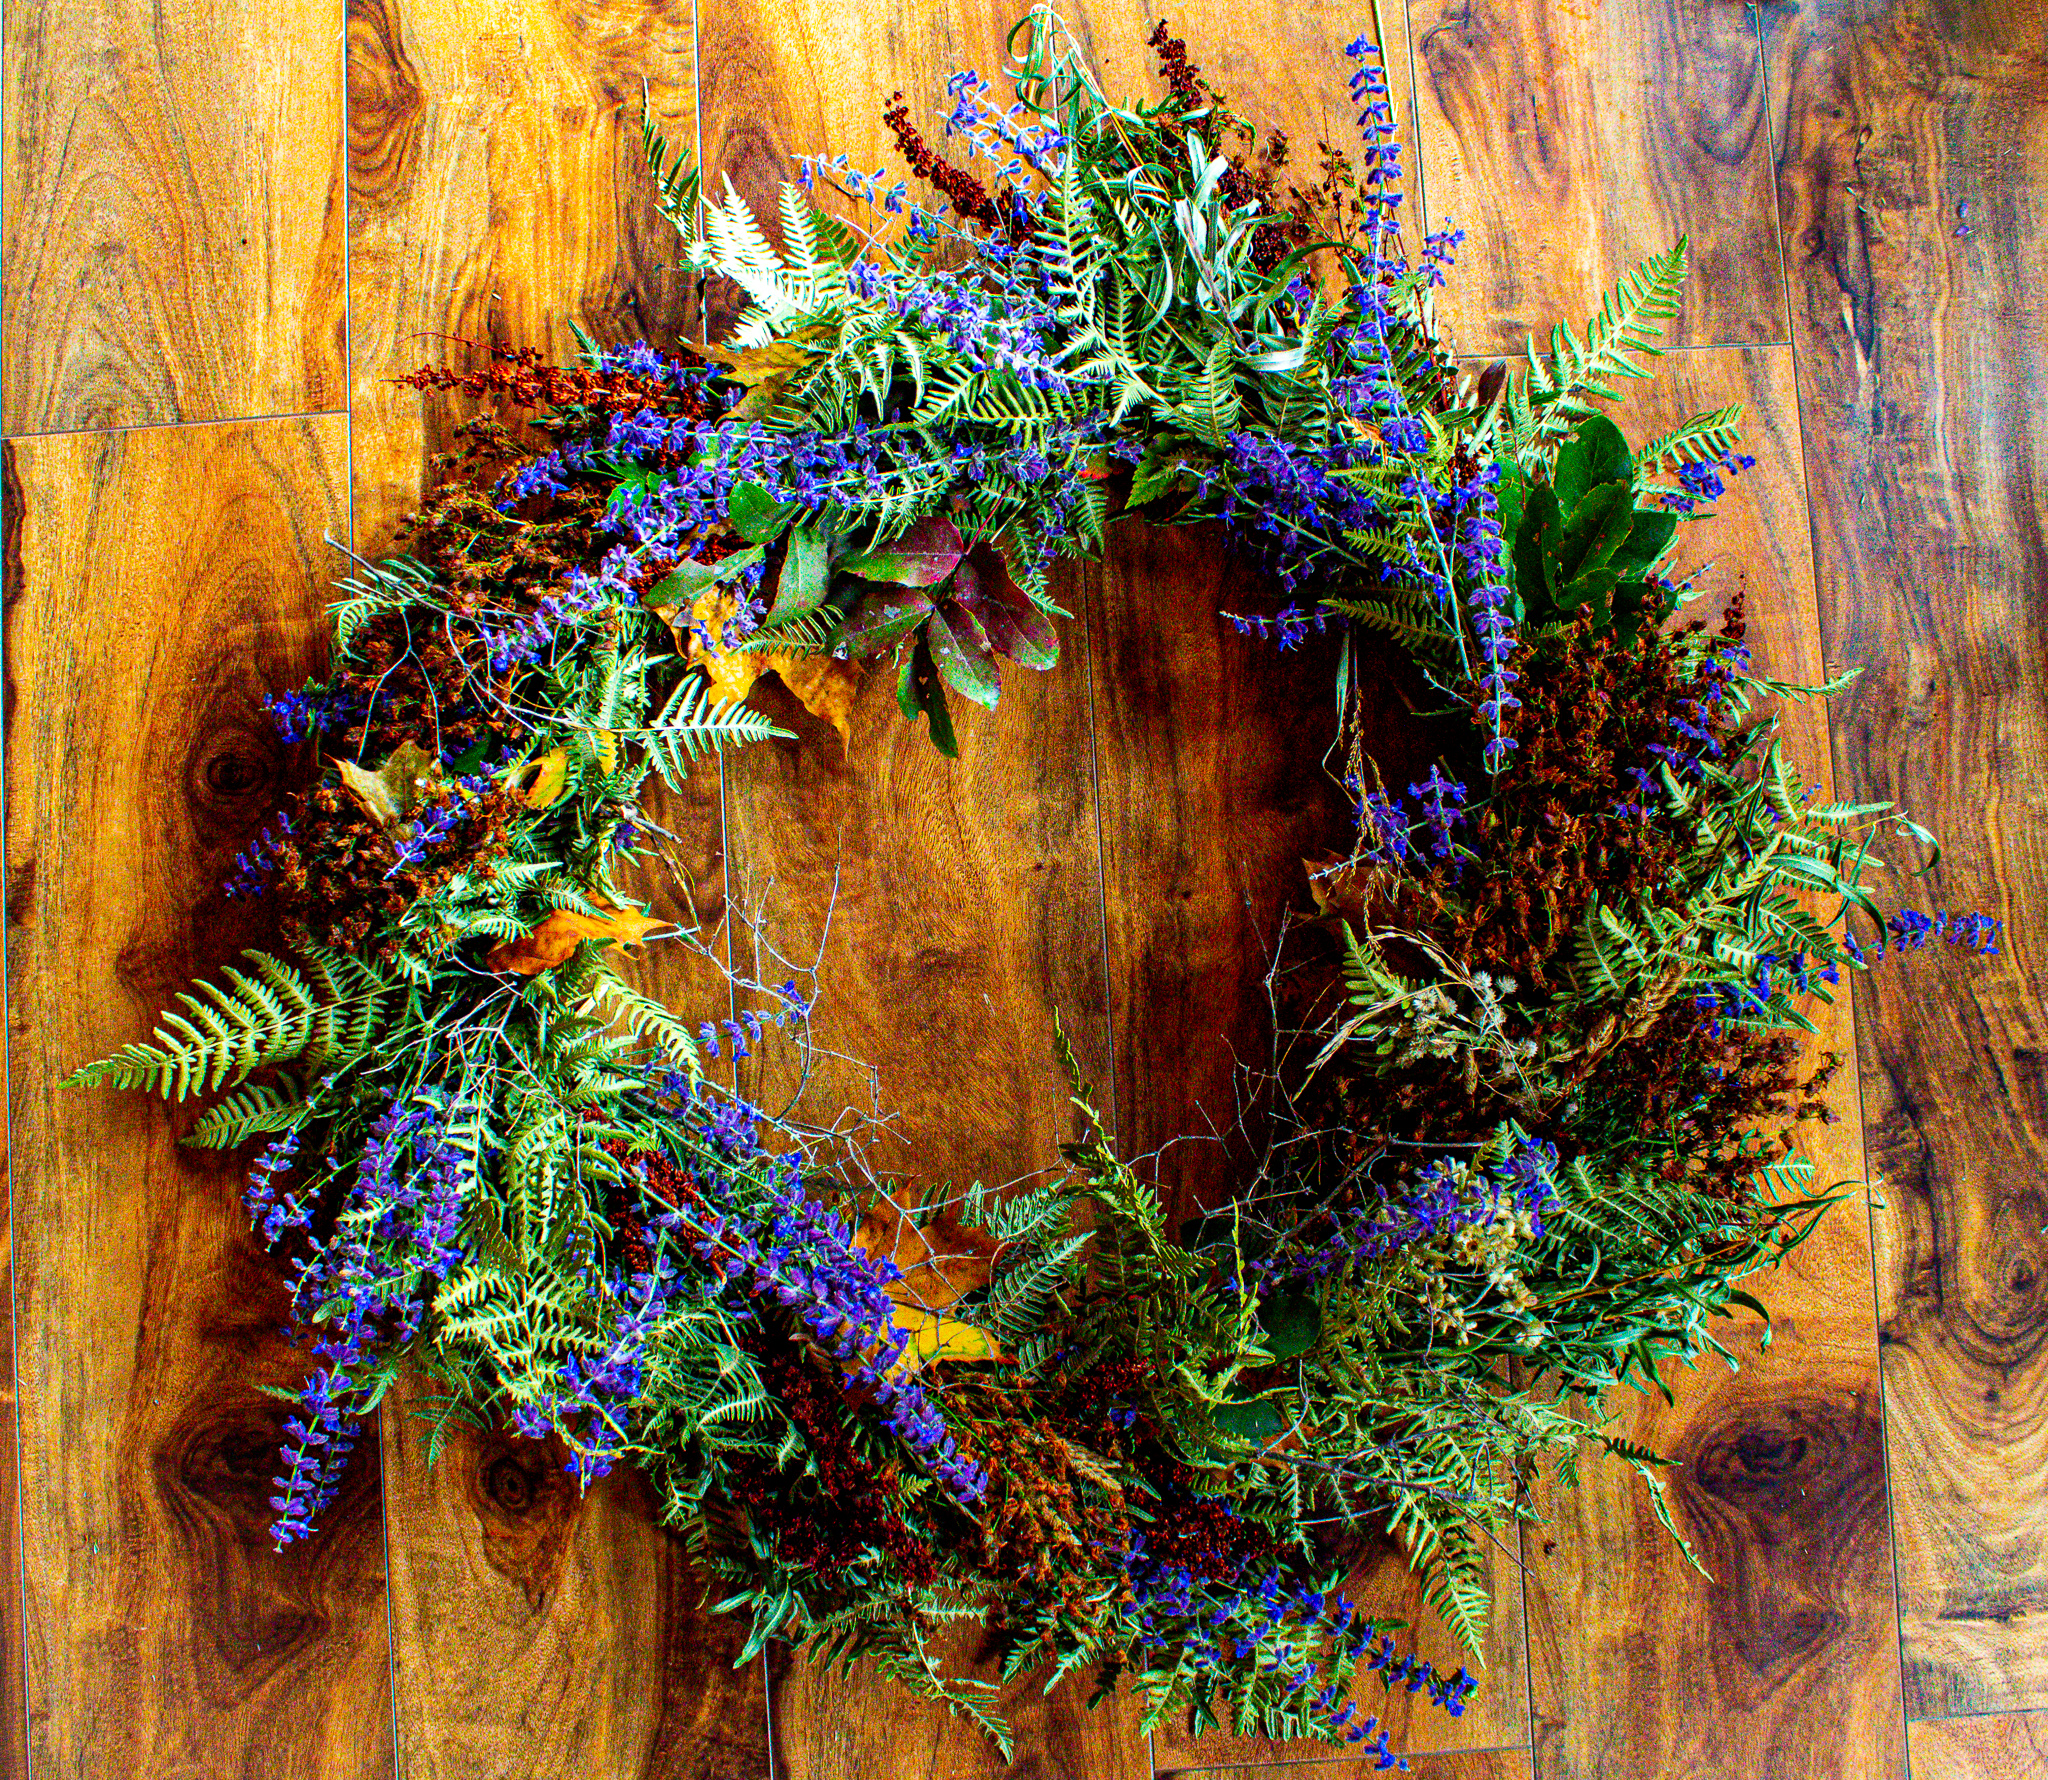
Fall is nearly here! Planning and putting together Fall decor and making our homes cozy is just the best. A beautiful Fall wreath can really add something extra special to a Fall space. You could...
Decorating for Fall is one of my very favorite things to do to make my home feel warm and cozy. I love looking at all the beautiful wreaths, pumpkins and warm earthy colors of throw pillows and...
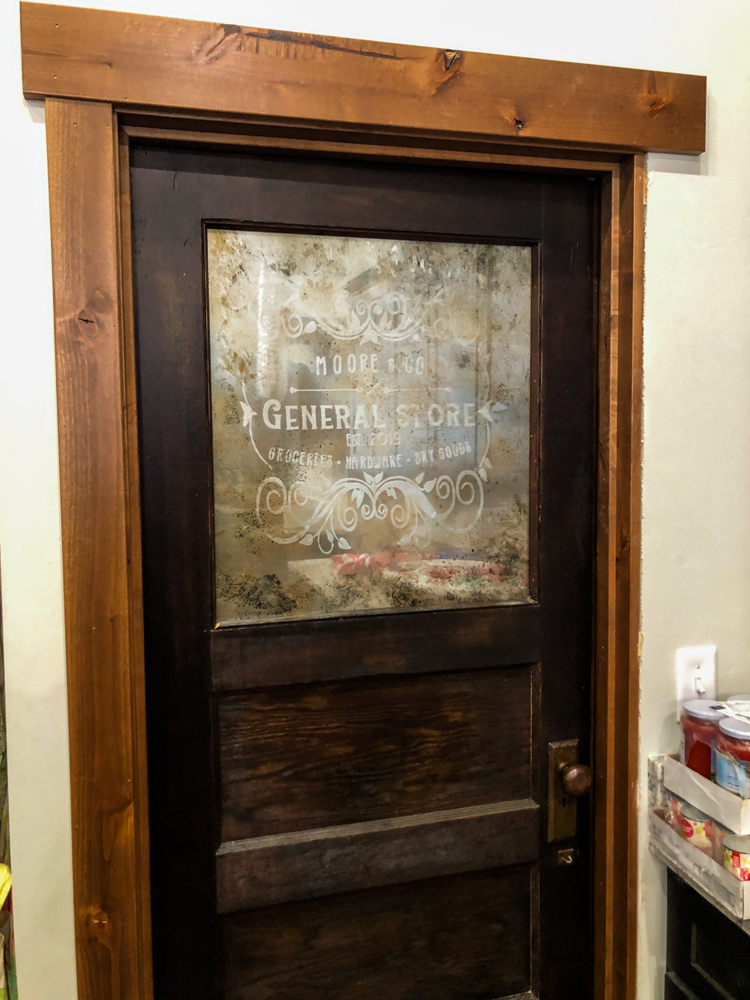
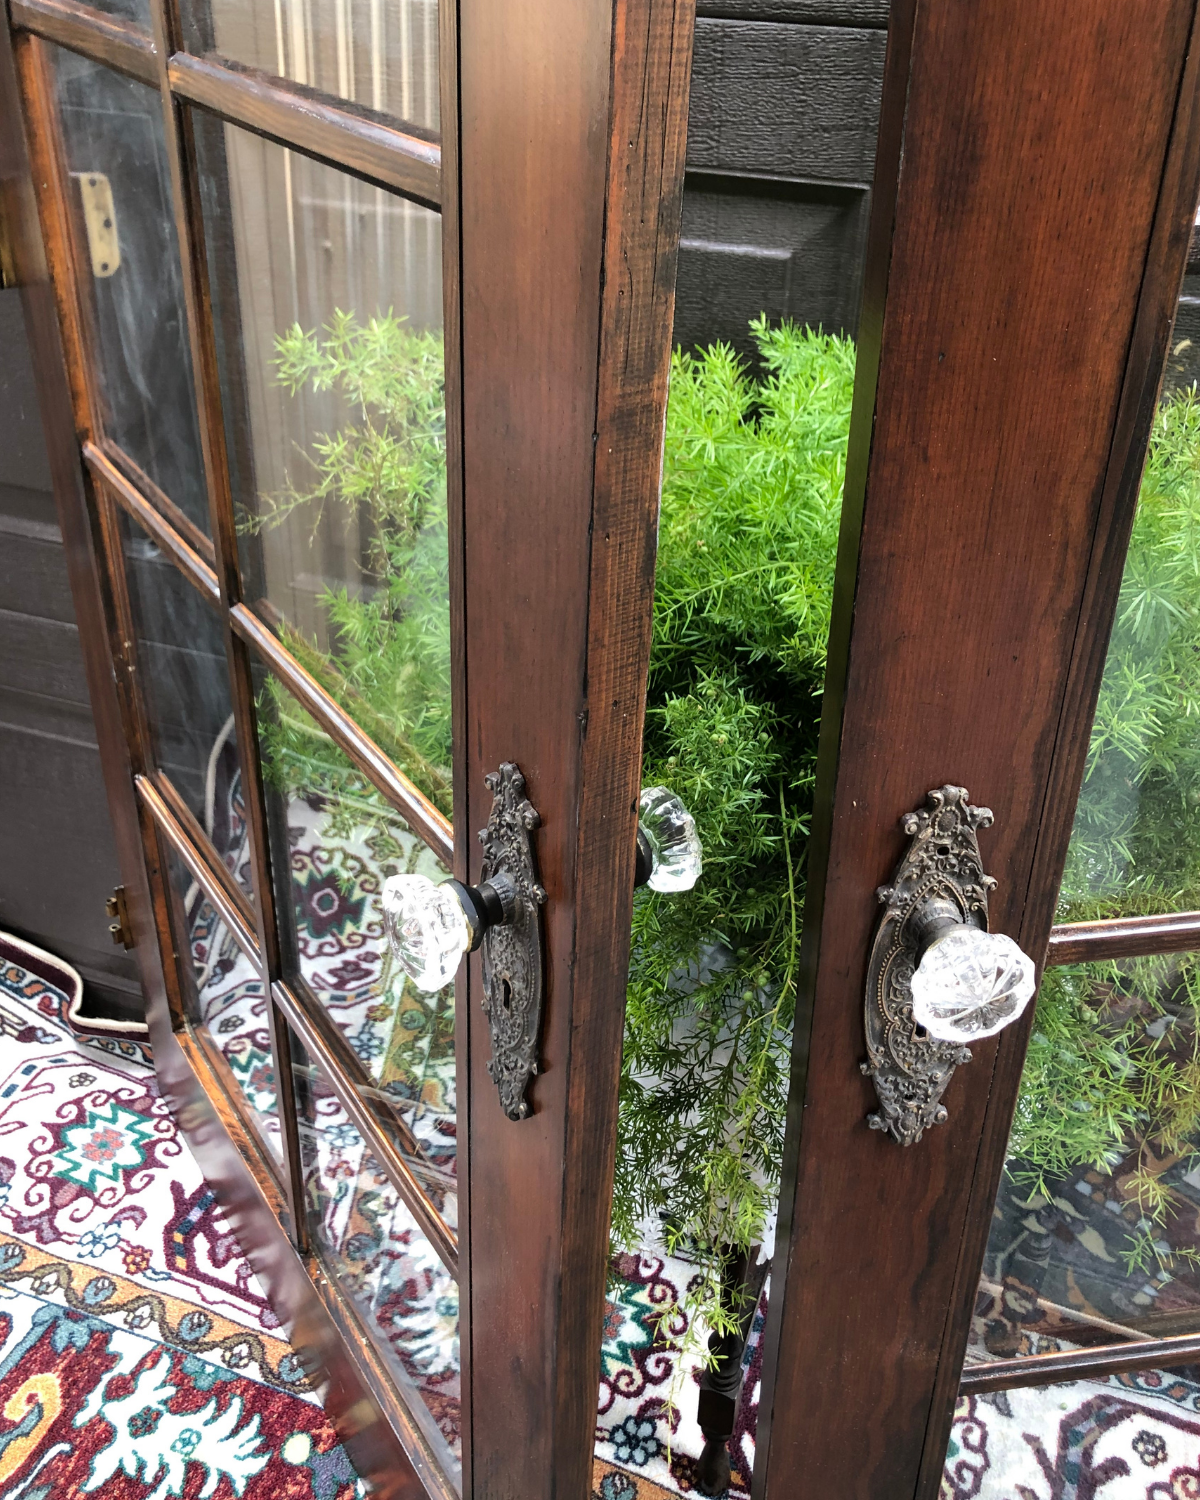
If you have been with me very long at all, you know how much I LOVE thrifting and finding antique treasures for my home. Beautiful doors give a home such character and charm. . . new doors can be...
Practical birthday gifts are just the best! This year my sister moved into a new home, had a new baby and still works FULL TIME. She would really like and certainly deserves a beautiful, welcoming...
Shopping for home decor can be expensive but you don't always have to buy brand new items at crazy prices. It is very possible to bring interesting character and personality to your home without...
Designing and dreaming continue this week! . . . I am working on my favorite spaces second to the kitchen - Bedrooms! I continue to draw on Timeless Traditional Decor in these spaces. This style is...
We are building a brand new home and I cannot tell you how excited I am. I have been planning, designing and dreaming about what it will be like and look like. I have had difficulty putting words to...
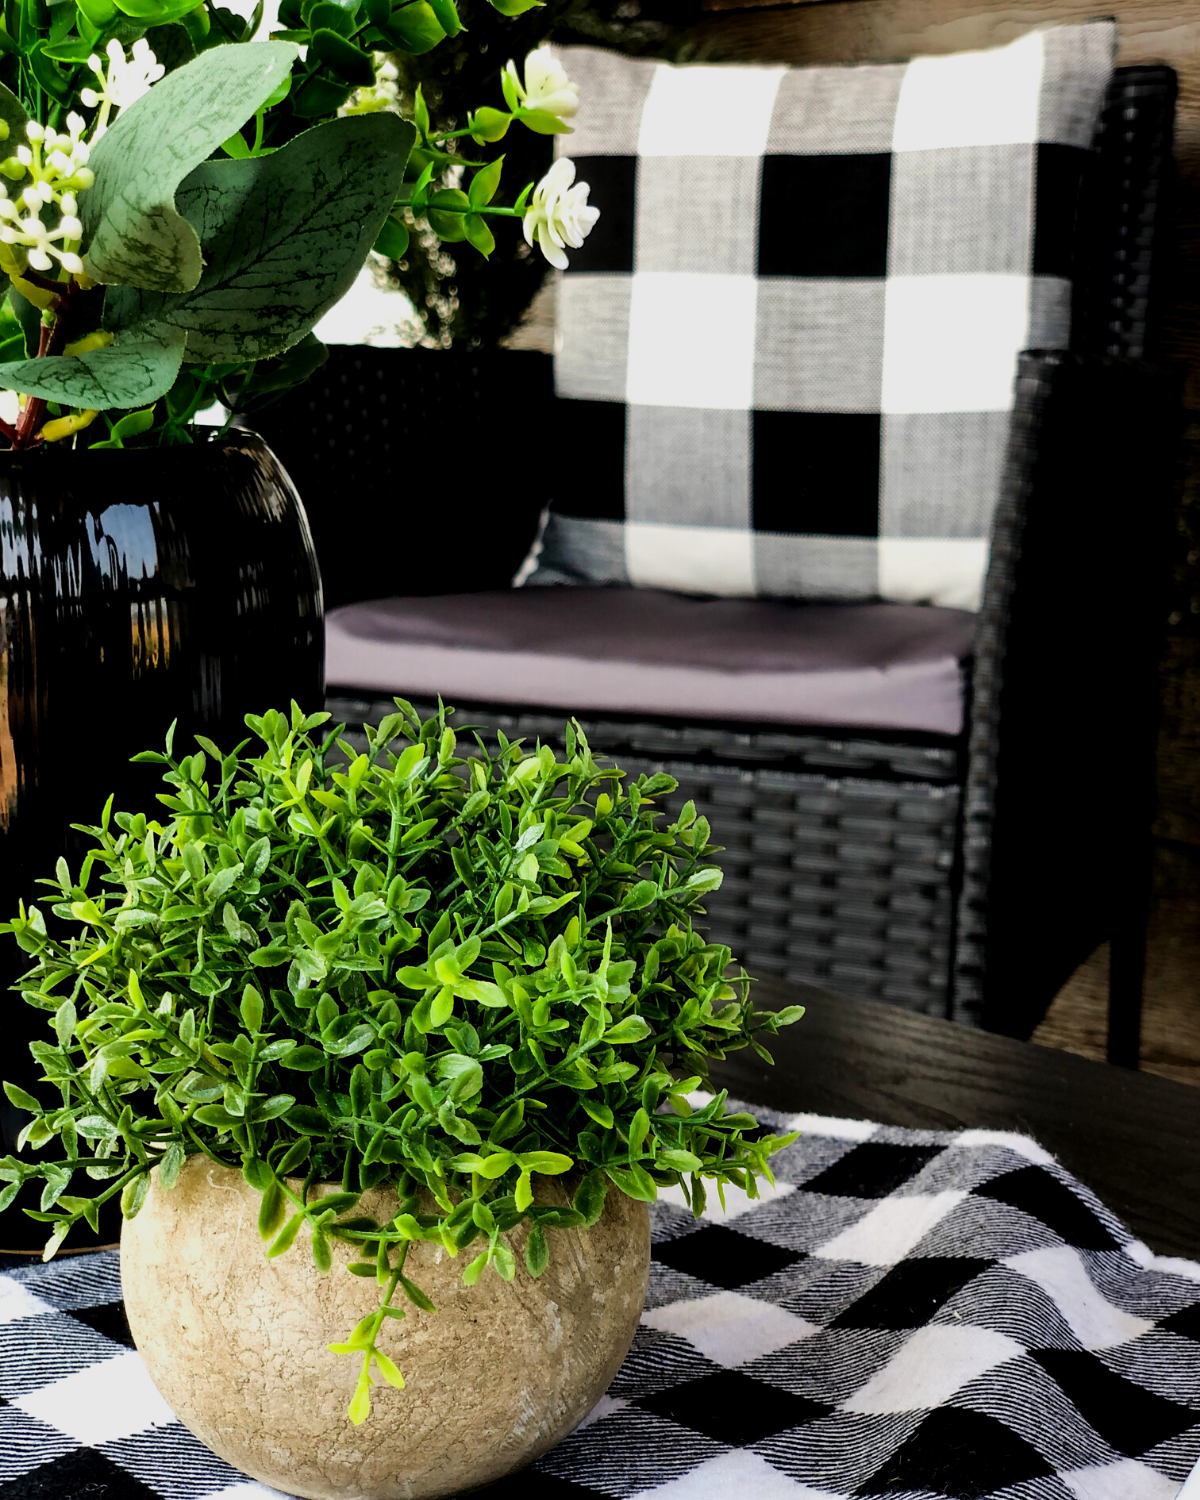
Wicker patio furniture has that classic, timeless style. It is simple but beautiful, inviting and incredibly comfortable at the same time. While there are gorgeous NEW wicker sets out there, there's...
Wooden kitchen tools have found a permanent place in my home. Salad bowls, wooden spoons and spatulas, cutting boards, rolling pins, butcher block. . . they are all essential WORKHORSES in my...
In honor of SPRINGTIME, I have created a special Free Printable for all of you. This Spring Stationery for the Homemaker set includes: recipe card, shopping list, to-do list, note card, and gift...
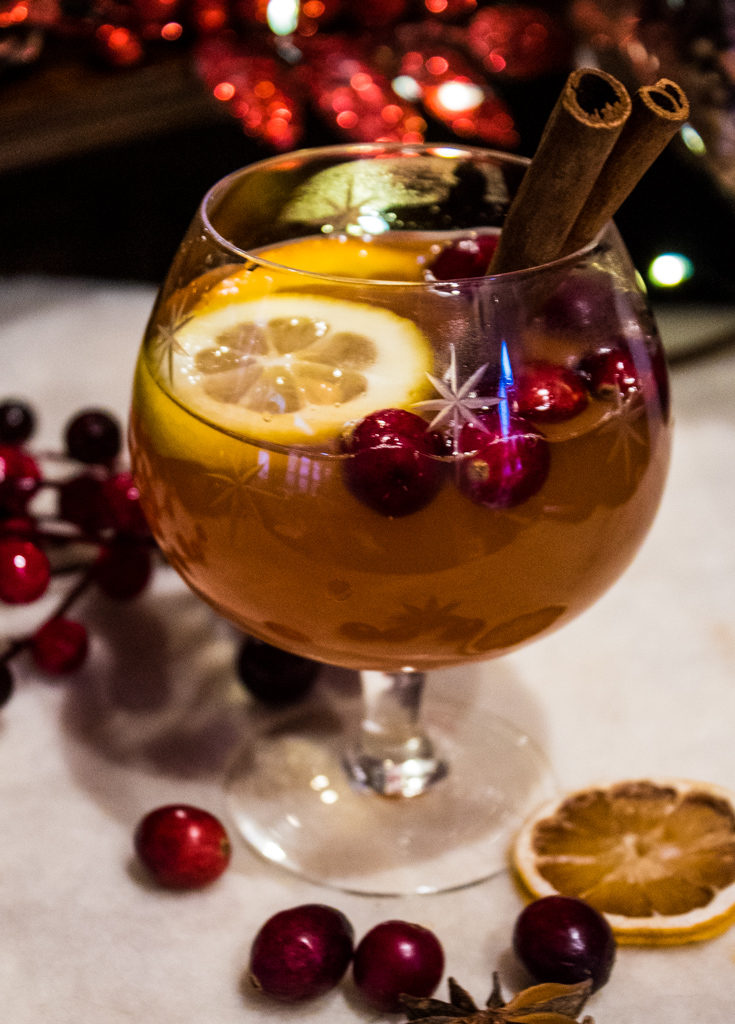
In Northwest Montana the winters are long . . .oh so long. It is such a welcome blessing when the sun begins to shine again and the days become longer. To get us through the long, dark winter months...
This all natural essential oil salve is so versatile. I have used it with excellent results for all kinds of skin issues from eczema to acne, baby diaper rash to dry skin. My family's skin has been...
7 thoughts on “All Natural Easter Egg Dye”
These look so beautiful! I love the natural colors. Great idea.
These are stunning! And it’s such a great way to get kids in the kitchen and teach them about natural foods, dyes, and mixing colors. Thank you for sharing!
Thank you. . . yes it is a bit of a longer process but sometimes instant gratification isn’t all its cracked up to be haha! Waiting for the color to develop was a good way to teach patience in them and myself!


These look so beautiful! I love the natural colors. Great idea.
They you I was surprised at how colorful they really are. . . the green didn’t turn out very dark at all. . . maybe I’ll use grass next time!
These are stunning! And it’s such a great way to get kids in the kitchen and teach them about natural foods, dyes, and mixing colors. Thank you for sharing!
Thank you. . . yes it is a bit of a longer process but sometimes instant gratification isn’t all its cracked up to be haha! Waiting for the color to develop was a good way to teach patience in them and myself!
You are so right! It is hard but worth the wait.
I love these natural colors so much more than the kits. Such a fun idea!
Me too and some came out more vibrant than expected! The distilled vinegar is a must to help the dye adhere to the shell!